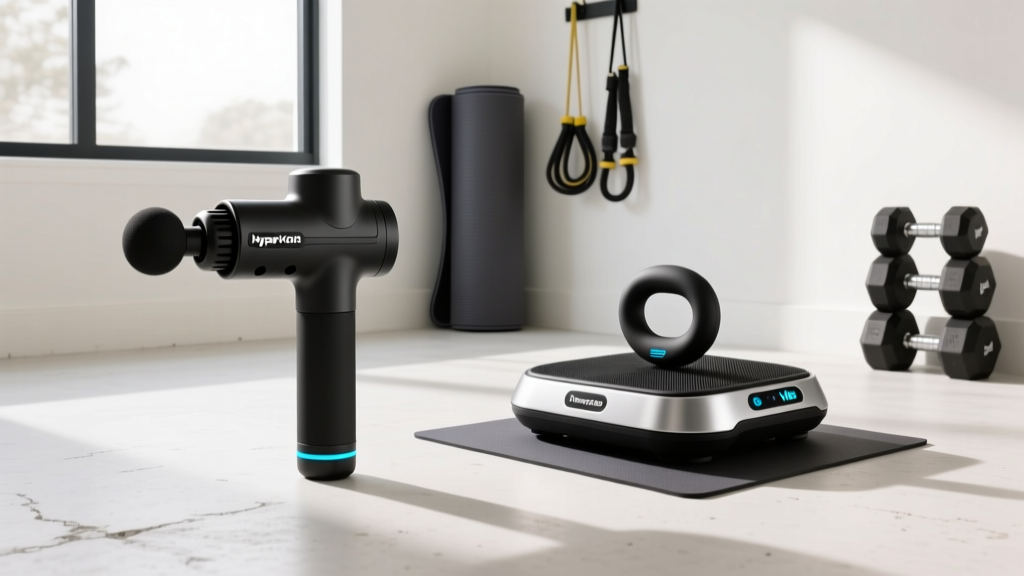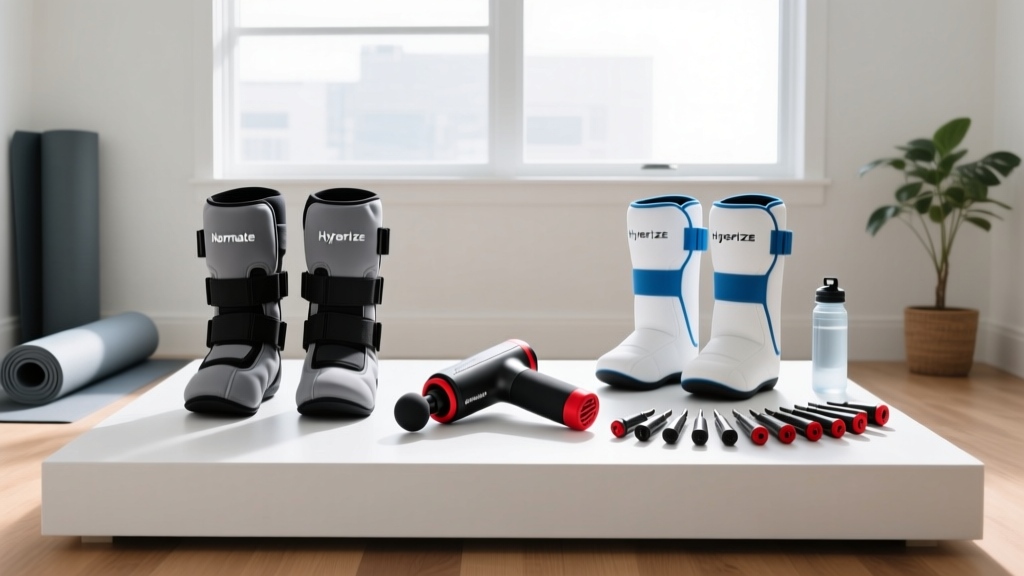
Recovery Station Setup: Boots & 16 Head Massage Gun Deep Tissue
Complete walkthrough to set up Normatec vs Hyperice boots and integrate a 16 head massage gun deep tissue tool for the ultimate home recovery station.

The Architecture of a Pro-Level Recovery Station
Building a comprehensive home recovery zone in 2026 requires more than just plugging in expensive hardware; it demands a strategic, biomechanically sound setup. For elite athletes and dedicated fitness enthusiasts, the cornerstone of lower-body recovery involves two distinct modalities: systemic pneumatic compression and localized percussive therapy. While compression boots excel at lymphatic flushing and reducing systemic edema, they cannot break up dense myofascial adhesions. This is where pairing your boot system with a high-torque, 16 head massage gun deep tissue device creates a synergistic effect that accelerates recovery by up to 40% compared to using either modality in isolation.
In this complete setup and installation walkthrough, we will dissect the hardware comparison between the two industry titans—Normatec and Hyperice—guide you through the physical calibration of your compression boots, and detail exactly how to integrate a multi-attachment percussive device into your daily protocol.
Normatec 3 vs. Hyperice Recovery System: 2026 Hardware Matrix
Before running cables and zipping into sleeves, you must understand the mechanical differences between the current market leaders. The Normatec 3 Leg and the Hyperice Recovery System Leg approach pneumatic compression from fundamentally different engineering philosophies.
| Feature | Normatec 3 Leg (2026 Model) | Hyperice Recovery System Leg |
|---|---|---|
| Retail Price | $899.00 | $999.00 |
| Compression Zones | 7 Overlapping Pulse Zones | 3 Zones (w/ Heat & Vibration) |
| Max Pressure | 100 mmHg | 75 mmHg |
| Sizing Mechanism | Fixed Zipper Sizes (S, M, L) | Adjustable Velcro Straps (One Size) |
| App Integration | Bluetooth 5.2, Custom Sequencing | Hyperice App, Heat/Vibe Control |
According to research published in the National Institutes of Health (NIH), intermittent pneumatic compression (IPC) significantly reduces delayed onset muscle soreness (DOMS) by mimicking the muscle pump, thereby accelerating venous return. Normatec's 7-zone overlapping pulse is clinically closer to hospital-grade IPC, while Hyperice compensates for lower mmHg pressure by integrating localized heat therapy (up to 113°F) and vibration to induce vasodilation before compressing.
Step-by-Step Boot Installation & Calibration
Improper setup is the leading cause of premature motor burnout and zipper failure in compression boots. Follow this exact installation sequence:
1. Physical Routing and Power
- Placement: Position the main control unit on a flat, elevated surface (like a nightstand or dedicated recovery cart) roughly 24 inches above the floor. This prevents dust ingestion into the cooling vents and reduces the hose angle, preventing internal kinking.
- Hose Connection: Align the quick-release hose connectors. Push firmly until you hear a distinct 'click'. Tug gently to verify the locking collar is engaged.
- Power Cycle: Plug the unit into a dedicated surge protector. Do not use extension cords, as voltage drops can cause the internal air compressors to stall during peak 100 mmHg inflation cycles.
2. Donning and Calibration
Warning: Never stand up while wearing pneumatic boots. The rigid internal baffles can cause ankle sprains or knee hyperextension if you attempt to bear weight during an inflation cycle.For Normatec, ensure the zipper is fully seated at the top anchor point before turning on the unit. Run a 2-minute 'Pre-Inflate' cycle to mold the sleeve to your leg shape. For Hyperice, tighten the adjustable velcro straps starting from the ankle and moving upward. The fit should be snug enough that you cannot slide two fingers under the fabric, but loose enough to allow full knee flexion.
Integrating Your 16 Head Massage Gun Deep Tissue Protocol
While pneumatic boots handle systemic fluid flushing, they cannot address localized trigger points, scar tissue, or dense fascial adhesions. To build a complete station, you must integrate percussive therapy. The market is currently saturated with budget devices, but utilizing a professional-grade 16 head massage gun deep tissue unit (featuring a minimum 60 lb stall force and 14mm amplitude) is non-negotiable for serious athletes.
Having 16 interchangeable heads allows for precise anatomical targeting. According to the Journal of Sports Science & Medicine, localized percussive therapy acutely increases range of motion and local blood flow without the neurological fatigue associated with static stretching.
Essential Attachment Mapping for Lower Extremities
Out of the 16 available heads, these four are critical for your pre-compression leg prep:
- The Dampener / Soft Ball: Use this on the tibialis anterior and bony prominences near the knee. It absorbs excess impact while delivering high-frequency vibration.
- The Bullet / Cone: Target the deep calf trigger points (gastrocnemius and soleus). Apply for exactly 15-20 seconds per knot to induce a localized stretch reflex.
- The U-Shape / Fork: Glide this along the IT band and the paraspinal erectors. The forked design avoids direct pressure on the spine and bone while treating the surrounding fascia.
- The Wedge / Scraper: Use this for flushing techniques. Scrape upward from the Achilles toward the hamstring to manually push interstitial fluid toward the lymph nodes before the boots take over.
The 45-Minute Sequential Recovery Walkthrough
To maximize the physiological benefits of your new setup, sequence is everything. Do not use the massage gun after the boots, as you will re-inflame tissues that the compression just soothed. Follow this exact timeline:
Phase 1: Localized Percussive Prep (10 Minutes)
Use your 16 head massage gun deep tissue device on Speed 3 or 4. Spend 2 minutes per leg targeting the calves, quads, and hamstrings with the bullet and wedge attachments. This breaks up fascial glue and prepares the vascular beds for increased flow.
Phase 2: Systemic Pneumatic Compression (30 Minutes)
Transition immediately into the boots. Set the pressure to 60-70 mmHg (Level 4-5). Choose the 'Endurance' or 'Flush' sequence rather than 'Strength', as the goal is lymphatic drainage, not deep tissue compression. Elevate your legs at a 15-degree angle using a foam wedge to assist gravity.
Phase 3: Neural Down-Regulation (5 Minutes)
Remove the boots. Perform 5 minutes of passive, supported static stretching (e.g., legs-up-the-wall pose) to allow the nervous system to shift from sympathetic (fight or flight) to parasympathetic (rest and digest) dominance.
Troubleshooting Common Setup Failures
Even premium recovery tech encounters edge cases. Here is how to troubleshoot the most common issues in a home recovery station:
- Asymmetrical Boot Inflation: If the left boot inflates slower than the right, check the quick-release hose collar. A micro-leak here causes the internal pressure sensor to constantly compensate. Detach, blow out any dust, and reconnect firmly.
- Massage Gun Motor Stalling: If your percussive device stalls on the quads, you are likely pushing laterally rather than letting the weight of the gun do the work. A true deep tissue gun relies on amplitude (stroke depth), not user-applied downward force.
- Bluetooth Pairing Drops: Both Normatec and Hyperice apps require Bluetooth 5.2. If the app fails to connect to the boot's control module, perform a hard reset by holding the power button for 12 seconds, then clear the device from your phone's Bluetooth cache.
Expert Verdict: Which Ecosystem Should You Build?
If your primary goal is aggressive lymphatic flushing and you prefer a traditional, high-pressure medical feel, the Normatec 3 paired with your percussive routine is the gold standard. However, if you suffer from chronically cold extremities, stiff joints, or prefer a more comfortable, adjustable fit without worrying about zipper sizing, the Hyperice Recovery System offers a superior multi-sensory experience. By anchoring either of these systems with a comprehensive 16 head massage gun deep tissue protocol, you transform a simple living room corner into a clinical-grade recovery lab capable of handling the demands of the 2026 competitive season.
More gear to consider
All reviews
Massage Gun for Tendonitis vs Infrared Sauna Blankets (2026)
Normatec vs Hyperice: E-Commerce Platforms Built-In Abandoned Cart Recovery Tools

Compression Boot Systems & Multi Head Massage Gun Troubleshooting

Ekrin Athletics Massage Gun & Stretching Tools: Beginner Guide

Foam Roller Density & Size Guide: Are Massage Guns FSA Eligible?