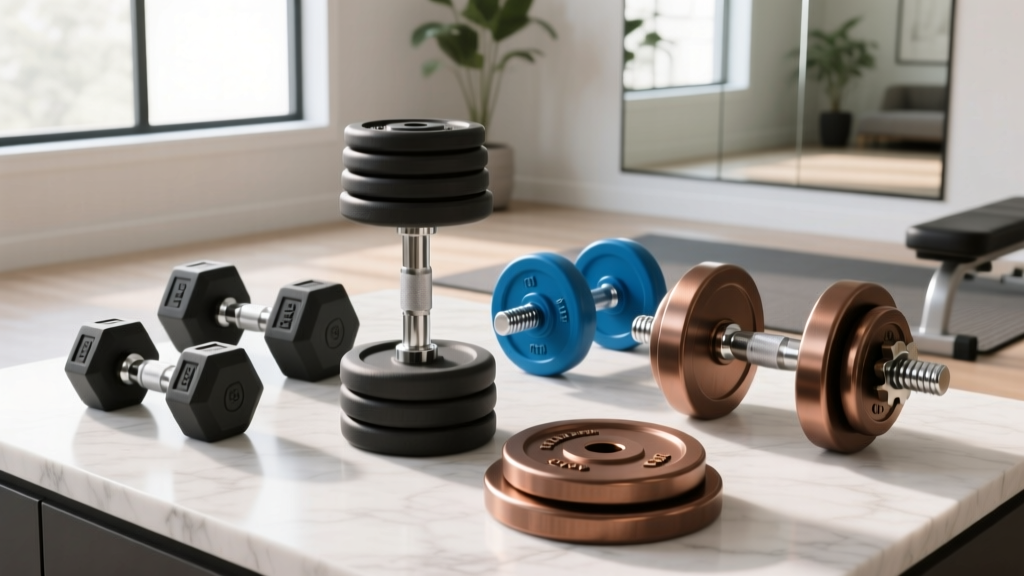
Power Rack vs Squat Stand Setup for Dumbbell Thrusters Exercise
Compare power rack, squat rack, and squat stand installation. Discover the best setup and clearance for the dumbbell thrusters exercise in your home gym.

The Biomechanics and Spatial Footprint of the Thruster
Setting up a home gym requires more than just buying heavy steel; it demands a strategic approach to spatial geometry, especially when incorporating dynamic, full-body movements. If your programming includes the dumbbell thrusters exercise, your choice between a power rack, squat rack, and squat stands will dictate not only your safety but your ability to perform the movement without smashing your ceiling or your knuckles. This complete installation walkthrough breaks down the exact setup protocols for all three configurations.
According to the ACE Exercise Library, the thruster is a compound movement combining a deep front squat with an explosive overhead press. This means your equipment setup must accommodate two distinct phases: the lateral stability required for the squat, and the vertical clearance required for the lockout. A standard 6-foot-tall lifter has an arm length of roughly 25 inches. Add a 12-inch dumbbell, and the total overhead reach exceeds 109 inches. In a standard home with 8-foot (96-inch) ceilings, performing the dumbbell thrusters exercise inside a tall, enclosed cage is a recipe for structural damage and injury.
💡 The 109-Inch Rule: Before unboxing any rack, measure your ceiling height. Subtract 110 inches. If the number is negative, you must either buy a 'short' rack (80-84 inches), opt for a half-rack, or use independent squat stands to safely execute the dumbbell thrusters exercise.Equipment Breakdown & Installation Walkthroughs
Choosing the right steel is only step one. Proper assembly and anchoring are what separate a safe training environment from a hazardous one. Below is the step-by-step installation guide for the three primary rack categories.
1. Power Rack (Full Cage) Installation
Power racks like the REP Fitness PR-4000 or the Rogue R-3 offer maximum safety for heavy barbell squats, but they present unique challenges for overhead dumbbell work. Most standard power racks stand 90 to 93 inches tall. If you have a 9-foot ceiling or higher, a full cage is an excellent, safe investment.
- Step 1: Base Assembly. Lay down 3/4-inch horse stall mats to protect your subfloor. Assemble the base footprint (typically 48x48 inches) loosely. Do not tighten the 11-gauge steel bolts yet.
- Step 2: Upright Erection. With a partner, lift the uprights into the base plates. Insert the primary hardware but leave it finger-tight. This allows the frame to self-square.
- Step 3: Crossmember Installation. Attach the top and bottom crossmembers. Use a carpenter's square to ensure 90-degree angles at all joints.
- Step 4: Torque and Anchor. Tighten all bolts to the manufacturer's specified torque (usually 80-100 ft-lbs for 5/8-inch hardware). Finally, drill through the base plates into your concrete slab using a hammer drill and a 1/2-inch masonry bit.
Thruster Compatibility Note: If you must use a power rack in a low-ceiling garage, purchase an 80-inch 'short' rack. You will lose the ability to do strict pull-ups inside the cage, but you will gain the clearance necessary for the dumbbell thrusters exercise.
2. Squat Rack (Half Rack) Setup
Half racks, such as the Titan T-3 Half Rack, remove the front uprights, creating an open-faced training area. This is often the ideal compromise for lifters who want the safety of spotter arms but need unrestricted overhead space for the dumbbell thrusters exercise.
- Assembly Focus: Half racks are inherently front-heavy. During assembly, you must prioritize the rear stabilizer bar and the integrated weight storage horns.
- Counterbalance Protocol: Before performing any dynamic movements, load at least two 45-pound bumper plates onto the rear storage pegs. This acts as a counterbalance, preventing the rack from tipping forward if you dump a heavy barbell onto the front safety spotter arms.
- J-Cup Alignment: Install the J-cups at a height that allows you to unrack barbells without excessive toe-extension, but keep them low enough that they do not interfere with your elbow path during the bottom phase of a thruster.
3. Squat Stands (Independent) Assembly
For pure overhead freedom, independent squat stands like the Rogue S2 Squat Stands (priced around $325) are unmatched. Because there is no connecting cage, your spatial boundaries are limited only by your walls.
- Spacing Strategy: Set the stands slightly wider than shoulder-width (approx. 48 inches apart). This allows you to step forward or backward out of the rack safely during the dumbbell thrusters exercise without the stands clipping your elbows.
- Safety Spotter Arms: Attach the extended spotter arms facing forward. If you fail a heavy front squat or a thruster, you can simply drop the weight forward onto the catch arms.
- The Tipping Hazard: Independent stands are notorious for 'walking' across the floor during aggressive re-racking. You must either bolt them to a wooden platform or use specialized stand-to-stand stabilizer bars if your floor is concrete and drilling is not an option.
Comparative Matrix: Setup, Footprint, and Thruster Compatibility
| Equipment Type | Avg Footprint | Assembly Time | Anchoring Need | Thruster Overhead Risk |
|---|---|---|---|---|
| Power Rack (90"+) | 48" x 48" | 3-5 Hours | Mandatory | High (Ceiling Strike) |
| Power Rack (80" Short) | 48" x 48" | 3-4 Hours | Mandatory | Low (Safe for 8' Ceilings) |
| Half Squat Rack | 48" x 34" | 2-3 Hours | Mandatory | Low (Open Front) |
| Squat Stands | Variable | 30-45 Mins | Recommended | None (Unrestricted) |
Step-by-Step Floor Protection & Anchoring Protocol
The National Strength and Conditioning Association (NSCA) emphasizes that facility safety begins at the floor level. Dropping heavy dumbbells at the end of a fatiguing set of thrusters generates immense kinetic energy. Your installation must account for this.
Concrete Subfloors (Garages & Basements)
- Layout the Mats: Use 3/4-inch thick vulcanized rubber horse stall mats (typically 4x6 feet). Do not use cheap PVC foam tiles; they will bottom out and crack your concrete under heavy dumbbell drops.
- Mark the Holes: Position your rack over the mats. Use a marker to dot the concrete through the rack's base plate holes.
- Drill and Clean: Move the rack. Use a rotary hammer drill with a 1/2-inch carbide bit. Drill 4 inches deep. Crucial Step: Use a shop-vac to clean the concrete dust out of the hole. If dust remains, the wedge anchor will not grip.
- Set the Anchors: Insert 1/2-inch x 3-3/4-inch steel wedge anchors through the rack base and into the hole. Tighten with a torque wrench to 60 ft-lbs.
Wood Subfloors (Spare Bedrooms & Living Areas)
Never use wedge anchors on wood. Instead, locate the floor joists using a stud finder. Drill a 5/16-inch pilot hole directly through the base plate and into the center of the joist. Drive a 3/8-inch x 4-inch structural lag screw (like a GRK RSS) using an impact driver. If the rack's pre-drilled holes do not align with your 16-inch-on-center joists, you must build a wooden platform using 2x6 pressure-treated lumber to bridge the joists, then bolt the rack to the wood.
Expert Troubleshooting: Wobble, Clearance, and Hardware Failures
Even with meticulous installation, home gym builders frequently encounter specific hardware and spatial issues. Here is how to resolve them:
- The 'Rocking' Rack: Concrete garage floors are rarely perfectly level. If your power rack rocks after bolting, do not overtighten the bolts to force it down; this bends the base plate and weakens the 11-gauge steel. Instead, use stainless steel shims under the low corners before final tightening.
- UHMW Plastic Wear: When performing the dumbbell thrusters exercise, you will frequently rest the dumbbells on the J-cups or spotter arms. Ensure your rack features UHMW (Ultra-High Molecular Weight) plastic linings on the steel cups. Bare steel-on-steel contact will destroy the knurling on your dumbbell handles and create deafening noise.
- Cross-Threading Hardware: Budget racks often feature poorly tapped holes. If a bolt resists, back it out immediately. Forcing it will strip the threads, rendering the upright structurally compromised. Keep a 1/2-13 thread chaser in your toolbox to clean out factory defects before assembly.
"Proper equipment layout must account for the dynamic envelope of the athlete. A static measurement of the equipment is insufficient; you must measure the athlete plus the implement at the point of maximum extension." — Principles of Strength and Conditioning Facility Design.
Frequently Asked Questions
Can I do dumbbell thrusters inside a standard power rack?
Yes, but only if your ceiling is high enough. A standard 90-inch power rack plus a 6-foot lifter holding a dumbbell requires roughly 110 inches of vertical space. If your ceiling is 8 feet (96 inches), you will strike the top crossmember. Opt for an 80-inch short rack or squat stands instead.
Do I need to bolt squat stands to the floor?
While independent squat stands can technically be used freestanding for light exercises, the manufacturers strongly recommend anchoring them. The lateral forces generated when re-racking heavy weights, or the momentum shift during a failed thruster, can easily tip unanchored stands backward.
What is the best dumbbell weight for thrusters?
Because the thruster is a highly technical, full-body movement, start with 15 to 25-pound hex or urethane dumbbells. Hex dumbbells are preferred for home gyms as they will not roll away when you set them down on the floor between sets, protecting your walls and baseboards.
More gear to consider
All reviews
Storing a 200 Pound Dumbbell: Heavy-Duty Rack Reviews 2026
Bumper vs Iron Plates: Gym Layout & Dumbbell Front Shoulder Press

Best Adjustable 50 Pound Dumbbells: 2026 Buying Guide

Incline Dumbbell Curl Bench Angle: Loadable Dumbbell Value Analysis
Oblique Dumbbell Setup: Barbell Collar and Clamp Types Compared