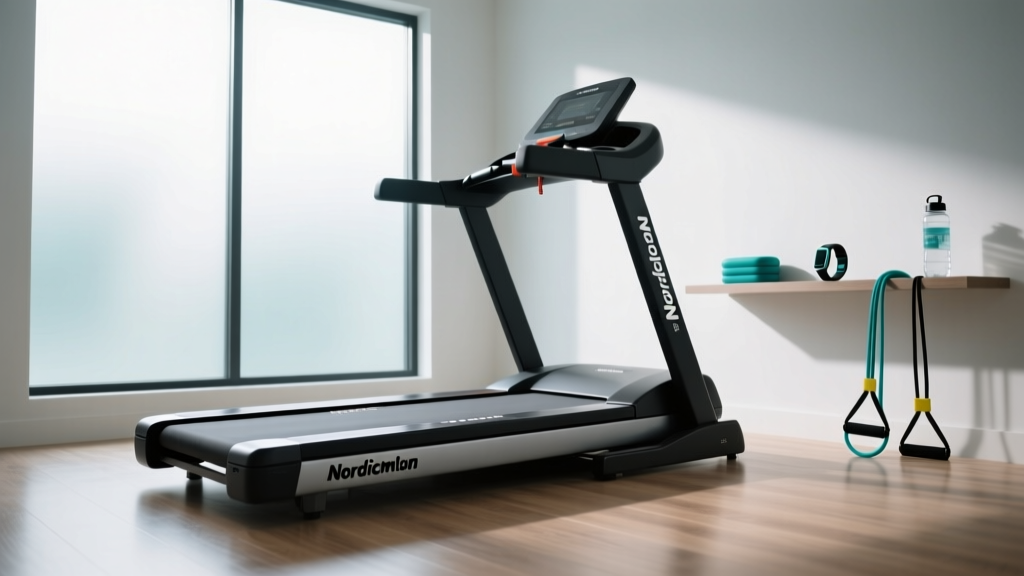
ProForm 500 Treadmill Setup Walkthrough & Feature Comparison
Master the ProForm 500 treadmill setup with our step-by-step installation walkthrough, safety clearances, and feature comparison against top market rivals.

Unboxing the ProForm 500: What You Need Before You Start
Buying a budget-friendly cardio machine often means you are also the assembly crew. The ProForm 500 treadmill (frequently listed under model series PFTL51324 or similar CST variants) remains one of the most popular entry-level choices for home gyms. However, before you evaluate its 2.5 HP motor or 0-10% incline capabilities, you must navigate the physical reality of its setup. In this comprehensive treadmill buying guide and feature comparison, we evaluate the ProForm 500 not just by its spec sheet, but through the lens of its unboxing, assembly footprint, and long-term spatial requirements.
According to the American Heart Association, maintaining consistent cardiovascular health requires accessible, frictionless workout environments. If your treadmill assembly is a nightmare, or if it dominates your room without offering premium features, that friction increases. Let us break down the exact setup process and see how the ProForm 500's features justify the assembly effort compared to its closest competitors.
Pre-Assembly Tool & Space Checklist
- Space Required: Minimum 8' x 10' floor area (accounts for machine footprint plus safety clearances).
- Included Tools: Two Hex keys (Allen wrenches), one combination wrench.
- Required Household Tools: Phillips-head screwdriver (long shaft), adjustable crescent wrench, rubber mallet (pro-tip for seating tight joints).
- Manpower: Two adults required for lifting the 135 lb main frame and stabilizing the upright posts.
- Electrical: Dedicated 120V, 15-amp circuit. Do not use an extension cord.
Step-by-Step Assembly Walkthrough: Avoiding Common Failure Modes
The ProForm 500 arrives in a single, heavily reinforced cardboard box weighing approximately 165 lbs. Cut the straps and open the top, but do not tip the box over. The heavy steel frame can easily crush the plastic console shroud if dropped. Instead, cut the cardboard away from the pallet base.
Phase 1: Base Stabilization and Rear Rollers
Your first task is attaching the front and rear foot rails. The ProForm 500 uses heavy-duty M8x40 bolts here. Failure Mode Alert: Many users attempt to drive these bolts directly with a power drill. The torque can easily strip the threads inside the pre-welded frame nuts. Always thread the bolts by hand for the first five rotations before using your wrench to tighten them down.
Phase 2: Upright Posts and the 'Pinch Point' Warning
This is the most critical phase of the setup. The ProForm 500 features a pre-routed console wire that runs through the left upright post. As you lift the upright into place, you must feed the wire through the base frame's hollow channel.
Critical Warning: The number one cause of dead consoles on budget treadmills is pinching the data wire between the metal upright post and the base frame during bolting. Use a piece of painter's tape to secure the wire to the inside wall of the post, keeping it safely away from the bolt holes before lowering the post into the bracket.
Phase 3: Console and Handrail Attachment
Once the uprights are secured, connect the wire harnesses. They are color-coded and feature locking tabs—ensure you hear a definitive 'click'. Mount the console using the provided Phillips screws. Finally, attach the handrails. The ProForm 500's handrails contain integrated heart rate sensors; ensure the secondary sensor wires are seated properly before tightening the plastic covers.
Treadmill Buying Guide: Feature Comparison in the $500 Tier
Is the 90-minute assembly worth it? To answer this, we must look at the treadmill buying guide features comparison matrix. We have stacked the ProForm 500 CST against the Horizon T101 and the Sunny Health & Fitness SF-T7515 to see how the feature-to-assembly ratio shakes out in the current market.
| Feature / Spec | ProForm 500 CST | Horizon T101 | Sunny Health SF-T7515 |
|---|---|---|---|
| Approximate Price | $499 - $549 | $599 - $649 | $350 - $399 |
| Motor (Continuous Duty) | 2.5 HP | 2.25 HP | 1.5 HP |
| Belt Dimensions | 18" x 55" | 20" x 55" | 16.5" x 49" |
| Incline Capability | 0 - 10% (Motorized) | 0 - 10% (Motorized) | Manual (3 levels) |
| Max User Weight | 250 lbs | 300 lbs | 220 lbs |
| Assembly Time (Est.) | 75 - 90 Minutes | 60 - 75 Minutes | 45 - 60 Minutes |
Analyzing the Data: Where the ProForm 500 Wins and Loses
When consulting ProForm's official support documentation and cross-referencing user experiences, the ProForm 500 occupies a distinct middle ground. Its 2.5 HP motor is a standout in the sub-$600 category, outperforming the Horizon T101's 2.25 HP motor. This extra quarter-horsepower translates to less heat generation and a longer lifespan for the motor controller board during sustained 45-minute jogging sessions.
However, the 18-inch belt width is a limiting factor. If you are over 6 feet tall or have a wide running gait, the 18" x 55" belt will feel restrictive compared to the Horizon's 20-inch width. The ProForm 500 is explicitly engineered for power walkers, light joggers, and users with a narrower stride. If your primary use case is walking while working at a standing desk, the ProForm 500's feature set (including its integrated tablet holder and Bluetooth audio connectivity) easily justifies the slightly longer assembly time compared to the bare-bones Sunny Health model.
Spatial Requirements and Safety Clearances
A common mistake in home gym planning is measuring the machine's folded dimensions and ignoring operational clearances. The ProForm 500 measures roughly 68" L x 28" W x 50" H when assembled. But safety dictates strict perimeter rules.
- Rear Clearance: You must maintain a minimum of 39 inches (1 meter) of clear space directly behind the treadmill. In the event of a slip or emergency stop, this zone prevents the user from being thrown into a wall or furniture.
- Side Clearance: Maintain at least 20 inches on both sides of the belt to allow for safe mounting, dismounting, and emergency bail-outs.
- Ceiling Height: The deck sits about 7 inches off the floor. Add your height plus 7 inches to ensure you won't strike a ceiling fan or low bulkhead when the treadmill is at its maximum 10% incline.
Post-Installation Calibration and Belt Tensioning
Once the physical assembly is complete, do not immediately jump on the machine for a high-speed run. Factory belt tension is rarely perfect after the deck settles under its own weight during shipping.
- The Walk Test: Start the treadmill at 1.0 MPH. Walk on the belt and pay attention to the sensation under your feet. If the belt hesitates or 'stutters' when your foot strikes, it is too loose.
- Tensioning Procedure: Locate the two rear roller adjustment bolts at the back end caps. Using the included Hex key, turn both the left and right bolts exactly one-quarter (1/4) turn clockwise.
- Re-test: Walk again. Repeat the quarter-turn process until the stuttering stops. Never over-tighten, as this will stretch the belt, overwork the 2.5 HP motor, and void your warranty.
- Lubrication Check: The ProForm 500 deck is pre-lubricated at the factory. However, slide your hand under the belt. If it feels completely dry, apply 10ml of 100% silicone treadmill lubricant in a zig-zag pattern across the deck before your first real workout.
Frequently Asked Questions (FAQ)
Can I set up the ProForm 500 treadmill directly on carpet?
Yes, but it is highly discouraged without a protective mat. Thick carpet piles can restrict airflow to the motor compartment located at the front base, leading to thermal shutdowns. Furthermore, carpet fibers and dust will be sucked into the motor housing. Always use a high-density PVC equipment mat (at least 3/16" thick) to distribute the 135 lb static weight and protect your flooring.
Does the ProForm 500 require a dedicated electrical circuit?
Yes. The motorized incline and 2.5 HP drive motor can draw up to 12-15 amps under heavy load (e.g., a 200 lb user starting from a dead stop at a 10% incline). Plugging the treadmill into a shared circuit with a space heater, air conditioner, or microwave will inevitably trip the breaker and can cause voltage drops that damage the treadmill's lower control board.
How difficult is it to fold and move the ProForm 500 after setup?
The ProForm 500 utilizes a hydraulic SoftDrop folding mechanism. Once the locking latch is released, the deck lowers slowly on its own, which is a premium feature rarely seen in the $500 tier. However, because the machine lacks front transport wheels on the base frame (it relies on tilting back onto the rear roller), moving it across hard floors requires significant physical effort or a specialized appliance dolly.
More gear to consider
All reviews
ProForm Pro 4500 Treadmill Setup & Motor Horsepower Guide

Rowing Machine Buying Guide & Setup: Technique vs Freeform Treadmill

True Z500 Treadmill Reviews & Motor HP Buying Guide
Bike Types vs Stairmaster or Incline Treadmill: 2026 Budget
Treadmill Stops While Running? Budget Bike Alternatives