Power Rack vs Squat Rack vs Stand: Setup & Plank Rows with Dumbbells
Compare power rack, squat rack, and squat stand setups. Learn installation steps, spatial planning for plank rows with dumbbells, and 2026 gear specs.

The Home Gym Spatial Dilemma: Heavy Rigs vs. Floor Mobility
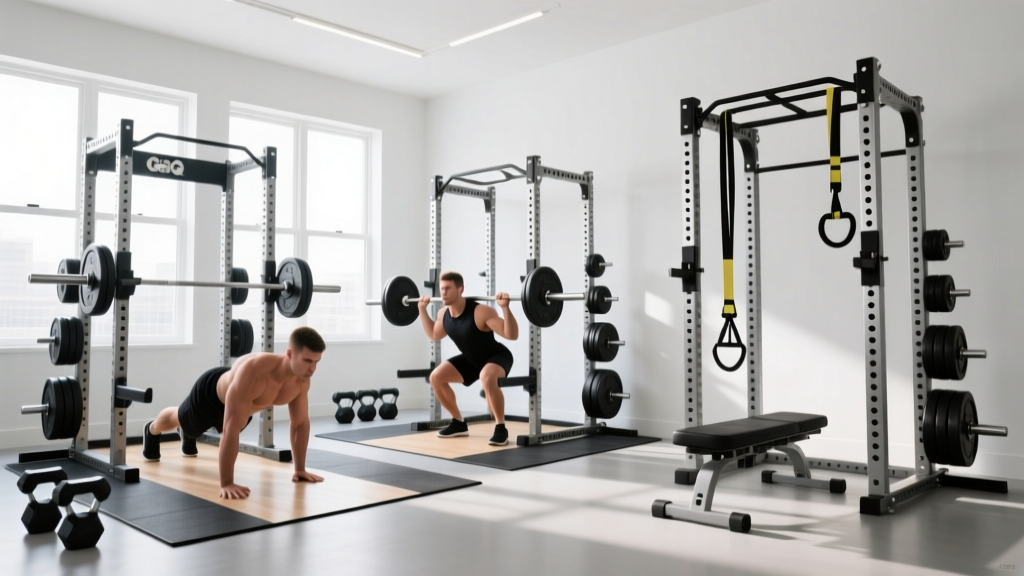
Designing a functional home gym in 2026 requires a delicate balance between heavy barbell infrastructure and open-floor mobility. When deciding between a full power rack, a half squat rack, or minimalist squat stands, most lifters only consider their one-rep max squat. However, the footprint of your racking system directly dictates your available floor space for functional movements, kettlebell flows, and core integration work. Specifically, programming exercises like plank rows with dumbbells (often called renegade rows) requires a stable, unobstructed, and properly matted zone that many full-cage power racks simply swallow up.
This comprehensive installation walkthrough breaks down the spatial realities, subfloor anchoring requirements, and setup nuances of the three primary racking categories. We will explore how to configure your rig to safely transition from heavy barbell compounds to unilateral dumbbell floor work without compromising safety or workflow.
Footprint Showdown: 2026 Rack Specifications & Spatial Impact
Before unboxing any hardware, you must map your floor plan. According to facility design guidelines outlined by ACE Fitness, you need a minimum of 3 feet of clearance on all sides of a rig for safe loading and spotting. Below is a comparison of three industry-standard setups and how they impact your remaining floor space.
| Equipment Type | Model Example (2026) | Base Footprint | Avg. Price | Impact on Floor Exercises |
|---|---|---|---|---|
| Power Rack (Full Cage) | Rogue RML-390F (Flat Foot) | 43" x 43" | $745 - $795 | Consumes central space; forces dumbbell work outside the cage perimeter. |
| Squat Rack (Half Rack) | Titan Fitness T-2 Series | 48" x 24" | $399 - $449 | Opens up the front plane, allowing dumbbell flows directly in front of the uprights. |
| Squat Stands (Minimalist) | Rep Fitness PR-1100 | 23" x 19" (per stand) | $179 - $199 | Maximum spatial flexibility; easily moved aside to create a massive open floor zone. |
Complete Installation Walkthrough: From Unboxing to Loading
Regardless of whether you choose a 4x4 power rack or a pair of squat stands, the structural integrity of your installation is non-negotiable. A poorly anchored rack subjected to dynamic loading can shift, tip, or fail.
Phase 1: Subfloor Assessment and Anchoring
Your anchoring strategy depends entirely on your subfloor material. Never anchor heavy gym equipment solely into floating laminate, vinyl, or drywall.
- Poured Concrete Slabs: Use a hammer drill with a 3/8-inch carbide-tipped masonry bit. Drill exactly 2.5 inches deep to accommodate 3/8-inch x 3-inch wedge anchors. Vacuum the concrete dust from the hole before tapping the anchor in; residual dust prevents the wedge from expanding properly, leading to catastrophic pull-out under load.
- Plywood over Joists (Garage/Basement): You must locate the structural floor joists (typically 16 inches on center). Use 1/2-inch x 3-inch structural lag screws driven directly through the rack base plate, through the subfloor, and at least 1.5 inches into the joist. If your rack's base holes do not align with the joists, you must install a 3/4-inch structural plywood mounting board spanning multiple joists, and bolt the rack to that board.
Phase 2: Upright Squaring and Hardware Torque
As noted in extensive rig testing by Barbend, 11-gauge steel uprights are the gold standard for home gyms, but even thick steel will bind if assembled out of square. During assembly, leave all bolts finger-tight. Use a carpenter's 90-degree angle and a 4-foot level on the front and side planes. Only once the rack is perfectly plumb should you torque the M8 or M10 hardware using a calibrated torque wrench (typically 45-50 ft-lbs for standard rack bolts). Over-tightening can strip the threads on cheaper imported racks or warp the base plates on uneven floors.
⚠️ Shim Warning: If your concrete floor has a slope or divots causing the rack to wobble, do NOT use plastic washers or folded cardboard to level the base plates. Purchase 1/8-inch or 1/4-inch galvanized steel shims. Plastic compresses under heavy barbell drops, altering your rack's geometry over time and causing safety spotter arms to bind.Designing the 'Dumbbell Flow Zone' for Plank Rows
The true test of a home gym layout is how seamlessly you can transition between modalities. When programming plank rows with dumbbells into your hypertrophy or conditioning blocks, spatial planning and equipment selection become critical safety factors.
The Biomechanics of the Setup
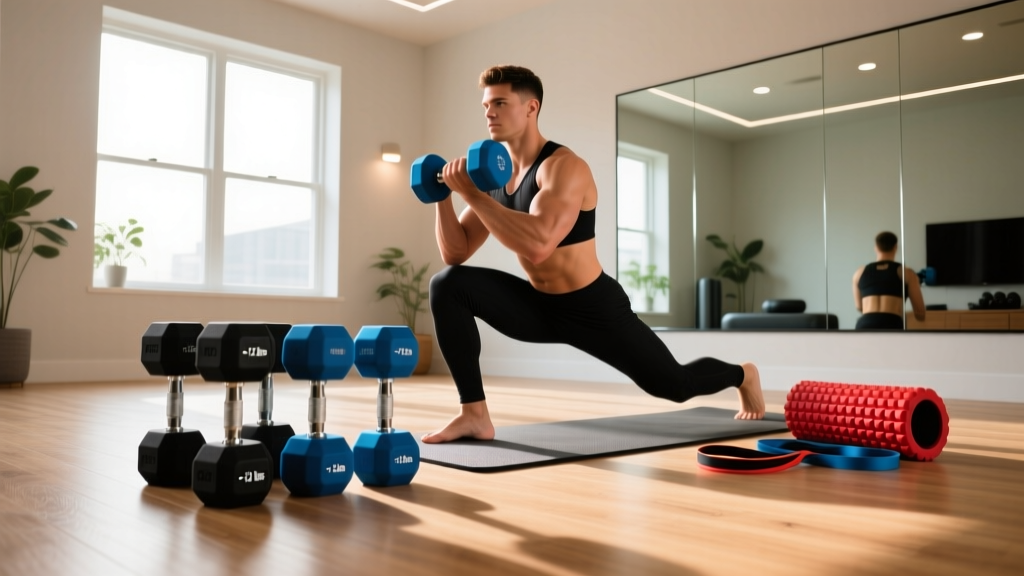
Plank rows with dumbbells require you to assume a high plank position while gripping the handles of two dumbbells resting on the floor, alternating rows while resisting rotational torque. This movement demands a clear, flat, rubber-matted zone measuring at least 7 feet long by 4 feet wide. If you are using a full power rack, this zone must be positioned directly outside the cage. If you use squat stands, you can simply position the stands against the wall, opening up the entire center of the room.
Equipment Selection: Hex vs. Round Dumbbells
This is where equipment selection intersects with installation safety. You must use hex dumbbells for plank rows. Round dumbbells (like standard rubber-coated pro-style or urethane rounds) will inevitably roll when you place your body weight on them in a plank position. This micro-movement forces your wrist into extreme ulnar deviation and can lead to severe rotator cuff strain as your shoulder attempts to stabilize a shifting base.
Invest in a pair of hex dumbbells in the 35 lb to 55 lb range (such as the Rogue Urethane Hex line, running approximately $2.50 per pound in 2026). The flat edges of the hex heads provide a rigid, anti-roll platform for your hands. Store these specific dumbbells on a low-profile horizontal rack adjacent to your flow zone, ensuring you don't have to carry heavy weights across the room while fatigued.
Pro-Tip for Matting: For the plank row zone, use 3/8-inch thick vulcanized rubber mats. Thinner foam tiles will bottom out and cause wrist pain during the rowing phase, while overly thick puzzle mats will create an unstable, squishy surface that compromises your plank alignment.
Common Installation Failure Modes & Edge Cases
Even experienced DIYers make critical errors during rack installation. Watch out for these specific failure modes:
- Safety Spotter Arm Binding: If your uprights are twisted even a fraction of an inch out of parallel, the safety spotter arms (especially pin-and-pipe styles) will scrape against the upright holes. This friction makes them impossible to remove quickly in an emergency. Always test the safeties at every height setting before loading the bar.
- Pulley System Interference: If adding a lat pulldown or low-row attachment to a half-rack, ensure the weight stack does not encroach on your dumbbell flow zone. A protruding weight stack is a major tripping hazard when moving backward during dumbbell lunges or transitions.
- Barbell Clearance Issues: Standard Olympic bars are 7.2 feet long. If your squat stands are placed in a narrow room, ensure you have at least 16 inches of clearance on each side of the bar sleeves to load and unload plates safely without scraping the drywall.
Final Verdict: Which Rig Fits Your Training Style?
If your programming is heavily barbell-centric (powerlifting, heavy Olympic variations) and you rarely perform floor-based dumbbell flows, the Rogue RML-390F Power Rack is the undisputed king of safety and versatility. However, if your training incorporates high-volume functional fitness, unilateral dumbbell work, and exercises like plank rows with dumbbells that require expansive floor space, a pair of Rep Fitness PR-1100 Squat Stands or a Titan T-2 Half Rack will provide the spatial freedom you need. By meticulously planning your subfloor anchoring and dedicating a specific, properly matted zone for your dumbbell work, you can build a 2026 home gym that is as safe as it is versatile.
More gear to consider
All reviews
Home Setup: Seated Dumbbell Concentration Curl With Neoprene Weights
Best Loadable Dumbbells for a Core Workout With Dumbbells

Barbell Collar & Clamp Types for Rows and Dumbbell Lifts for Back
Barbell Collar Types and Dumbbell Front Squats: Safety Mistakes

Power Rack vs Squat Rack vs Stand: Proper Dumbbell Fly Form Setup