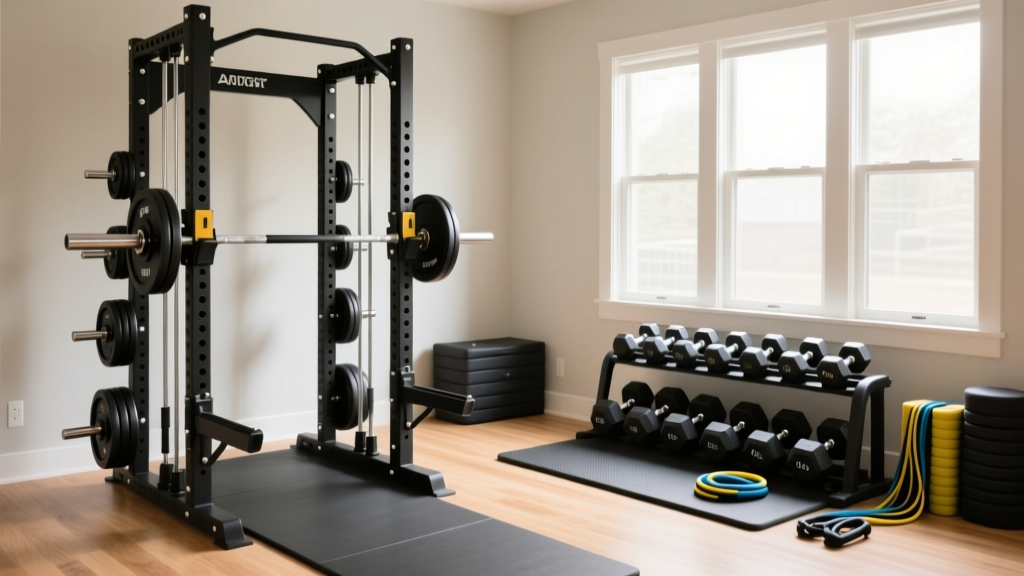
Power Rack vs Squat Rack: Setup & Dumbbells for Teenager
Compare power racks, squat racks, and stands for teen home gyms. Includes a step-by-step installation walkthrough and the best dumbbells for teenager safety.

The Foundation: Choosing the Right Rack for a Teen Home Gym
Building a home gym for a growing adolescent requires a careful balance of safety, spatial efficiency, and long-term scalability. When outfitting a garage or basement gym, the centerpiece is always the barbell enclosure. However, deciding between a power rack, a squat rack, and a squat stand can be overwhelming for parents and teen athletes alike. Each option offers distinct advantages regarding footprint, weight capacity, and fail-safe mechanisms.
According to the Mayo Clinic's guidelines on youth strength training, adolescents should prioritize proper form and controlled movements over maximal lifting. This means your equipment must inherently support safety features like spotter arms and enclosed cages to prevent catastrophic failures during unsupervised or solo sessions. Below, we break down the structural differences to help you make an informed decision for your 2026 home gym build.
Equipment Comparison Matrix
| Feature | Power Rack (4-Post Cage) | Squat Rack (2-Post w/ Spotters) | Squat Stand (Independent Posts) |
|---|---|---|---|
| Footprint | 48" x 48" (Standard) | 48" x 36" (Compact) | 40" x 40" (Minimalist) |
| Weight Capacity | 800 - 1,200+ lbs | 500 - 800 lbs | 500 - 800 lbs |
| Safety Mechanism | Pin-pipe safeties or flip-down straps | Extended spotter arms | Bolt-on spotter arms (often sold separately) |
| Best For | Heavy compound lifts, pull-ups, kipping | Small spaces, moderate lifting | Tight budgets, outdoor/temporary setups |
| 2026 Avg Price | $800 - $1,400 | $450 - $750 | $300 - $550 |
Step-by-Step Rack Installation Walkthrough
A rack is only as safe as its anchor points. A 45-pound barbell loaded with 200 pounds of plates generates immense kinetic energy if dropped. Proper installation is non-negotiable. Here is the professional-grade workflow for securing an 11-gauge steel power rack.
Step 1: Subfloor Assessment and Matting
Before assembling the frame, prepare the floor. Bare concrete will crack under the point-load of dropped weights, and plywood subfloors will splinter. Lay down 3/4-inch thick vulcanized rubber horse stall mats. These absorb kinetic shock and provide a level, high-traction surface. Ensure the mats are cut flush against the wall to prevent the rack from shifting laterally.
Step 2: Frame Assembly and Plumb Alignment
Assemble the uprights and crossmembers on top of the matting. Most modern 3x3-inch racks use 5/8-inch hardware. During this phase, do not fully tighten the bolts. Leave them finger-tight. This allows the frame to self-square. Use a 48-inch spirit level to ensure the uprights are perfectly plumb. Once squared, tighten all structural bolts using a 1/2-inch drive socket and breaker bar.
Step 3: Anchoring to Concrete (The Wedge Anchor Method)
If your gym is on a concrete slab, you must use 1/2-inch x 4-inch steel wedge anchors.
- Mark the Holes: Use the rack's base plates as a template and mark the concrete with a grease pencil.
- Drill: Use a hammer drill with a 1/2-inch masonry bit. Drill exactly 4.5 inches deep to allow for dust displacement.
- Clean: Vacuum out the concrete dust from the holes. Failure to clean the holes will reduce the holding power of the anchor by up to 40%.
- Set: Hammer the wedge anchors through the base plate and into the concrete. Tighten with a torque wrench to 50 ft-lbs, which expands the wedge at the base of the hole, locking it into the slab.
Step 4: Anchoring to Wood Subfloors (The Lag Bolt Method)
If installing over a wood-framed floor, you must anchor directly into the floor joists, never just the plywood or OSB subfloor. Use a stud finder to locate the joists beneath the base plates. Pre-drill a 3/8-inch pilot hole through the matting, subfloor, and into the joist. Drive 1/2-inch x 4-inch structural lag screws using an impact driver. Ensure at least 3 inches of the lag screw embeds into the solid wood joist.
Integrating the Right Dumbbells for Teenager Progression
While the barbell rack is the centerpiece, a comprehensive teen training program requires unilateral work to correct muscle imbalances and build stabilizer muscles. Selecting the appropriate dumbbells for teenager use is critical, as adolescent joints and connective tissues are still developing. Heavy, fixed-weight dumbbells can encourage ego-lifting and compromise form.
The ExRx weight training guidelines emphasize that youth athletes benefit most from incremental loading and high motor-control exercises. Adjustable dumbbells are the gold standard here, as they allow for micro-loading (2.5 lb to 5 lb jumps) which is essential for safe, linear progression.
Top Dumbbell Configurations for Adolescent Lifters
- Bowflex SelectTech 552: Ranging from 5 to 52.5 lbs, these are ideal because they offer 2.5-pound increments up to 25 lbs. This granular progression is perfect for teen lateral raises, curls, and overhead presses where small weight jumps dictate the difference between perfect form and joint strain.
- PowerBlock Elite USA: With a blocky, cage-like design, these are incredibly durable and survive drops better than dial-based adjustable dumbbells. They are excellent for goblet squats and lunges where the dumbbell rests on the floor between sets.
- Rubber Hex Dumbbells (Fixed 5-25 lb Set): If budget permits, a small rack of virgin rubber hex dumbbells is superior for floor work. The hexagonal heads prevent rolling (a major tripping hazard in tight teen garage gyms), and the rubber coating protects your floor mats from impact damage.
"When programming for teens, prioritize unilateral dumbbell movements like Bulgarian split squats and single-arm rows. These reduce spinal compression while maximizing core engagement and athletic carryover."
— National Strength and Conditioning Association (NSCA) Youth Training Principles
Safety Protocols and Maintenance Checklists
Installing the rack and buying the gear is only phase one. Maintaining a safe environment requires ongoing vigilance. Teenagers are notorious for leaving gear scattered or forgetting to secure collars. Implement these strict protocols:
⚠️ The Pre-Lift Safety Checklist
- Spotter Arm Height: Safety pins or straps must be set exactly one inch below the bottom of the lifter's range of motion. If set too high, the bar will bounce off the safeties; if too low, the lifter can be crushed.
- J-Cup Orientation: Ensure the plastic protective liners on the J-cups are facing inward and are free of deep gouges that could damage the barbell knurling.
- Collar Mandate: Spring collars are insufficient for dynamic movements. Mandate the use of clamp-style collars (like Rogue HG 2.0) for all barbell work to prevent plate shifting.
- Monthly Hardware Audit: Vibrations from dropped weights will loosen rack bolts over time. Use a socket wrench to re-torque all structural bolts and anchor nuts on the first Saturday of every month.
Final Thoughts on Building a Future-Proof Gym
Investing in a fully enclosed power rack and pairing it with micro-loadable, ergonomic dumbbells creates an environment where a teenager can safely explore their physical potential. By following precise installation metrics—like drilling 4.5-inch holes for wedge anchors and torquing to 50 ft-lbs—you eliminate structural failure from the equation. Combine this bulletproof setup with the Rogue Monster Lite series accessories, and you have a commercial-grade training facility that will support your athlete from their first 95-pound squat to their eventual 400-pound collegiate max.
More gear to consider
All reviews
Power Rack vs Squat Rack vs Stand: Proper Dumbbell Fly Form Setup
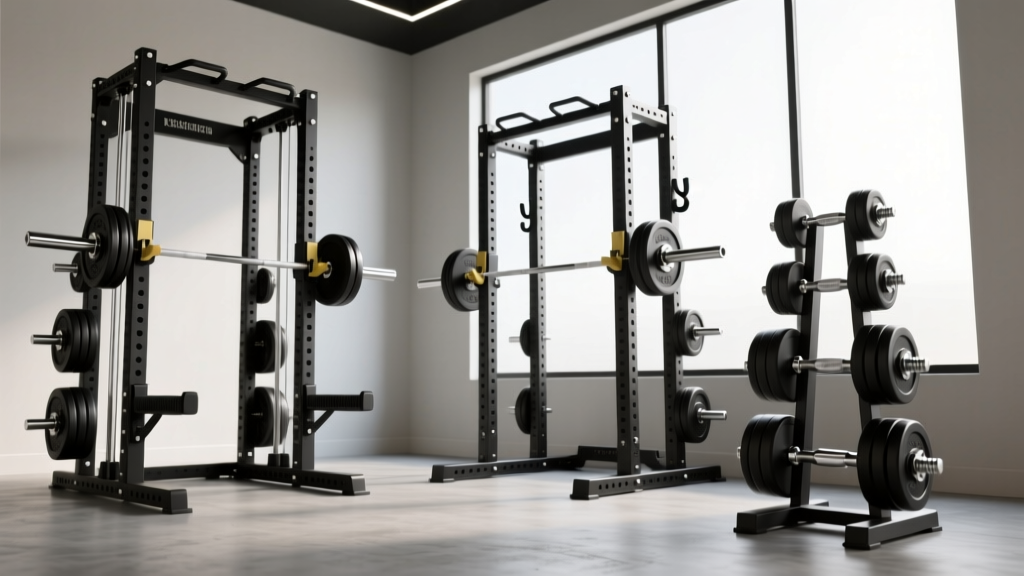
Power Rack vs Squat Rack vs Stand: Dumbbell Farmer Carry Setup

Cast Iron vs Competition Kettlebells: Budget Breakdown & Exercises for Upper Body with Dumbbells

Best Adjustable Dumbbells for Dumbbell Chest Exercises with Bench

What Does the Standing Dumbbell Lateral Raise Primarily Target? Hex vs Urethane
