
Space Optimization: Power Cage vs Lifetime Leg Press Machine
Optimize your gym layout by comparing the spatial footprint of a power cage for legs versus a dedicated lifetime leg press machine. Expert space-saving tips.

The Core Dilemma: Versatility vs. Dedicated Biomechanics
Designing a high-performance leg training zone in a space-constrained environment—whether a 200-square-foot garage gym or a boutique studio—requires ruthless spatial efficiency. As real estate costs and home gym footprints remain a premium concern in 2026, fitness facility designers and home gym owners face a critical layout decision: do you build a comprehensive leg-training ecosystem around a squat rack and power cage, or do you dedicate massive floor space to a commercial-grade, lifetime leg press machine?
While a heavy-duty leg press offers unparalleled quad isolation and spinal unloading, its sheer physical footprint can cripple gym flow. Conversely, a modern power cage equipped with specialized leg attachments offers incredible versatility but requires careful spatial mapping to ensure safe plate loading and spotting. This guide breaks down the exact dimensions, safety perimeters, and layout strategies to help you optimize your lower-body training zone.
Spatial Mapping: The Power Cage Ecosystem for Legs
A power cage is the undisputed anchor of any leg training layout. However, the physical dimensions of the rack are only half the equation; the operational footprint is what truly dictates your floor plan. According to facility design guidelines referenced by the National Strength and Conditioning Association (NSCA), you must account for user movement, barbell travel, and plate-loading clearances.
Standard Dimensions and Clearance Requirements
Take the industry-standard Rogue Monster RM-6 (approximately 43" x 43" base) or the Rep Fitness PR-5000 V2. While the steel footprint is roughly 12.5 square feet, you cannot place this rack flush against a wall and expect to train safely.
- Side Clearance: You need a minimum of 36 inches on both sides to comfortably load and unload 45-pound bumper plates. This expands the width to 115 inches.
- Rear Clearance: If utilizing a lat-row or cable tower attachment for leg extensions and curls, add 24 to 30 inches behind the rack.
- Front Clearance: You need at least 48 inches in front of the rack for barbell racking, spotting, and user entry.
Total Operational Footprint: Approximately 11.5 feet wide by 10 feet deep (115 square feet). Within this zone, you can perform back squats, front squats, and utilize add-ons like a belt squat lever or a hack-squat carriage attachment, effectively mimicking multiple machines.
Space-Saving Pro Tip: Wall-Mounted Folding Racks
If your layout cannot accommodate a 115-square-foot operational zone, consider a wall-mounted folding rack like the Rogue RML-3W Fold Back. When folded, it protrudes only 4 inches from the wall, reclaiming 35 square feet of floor space for sled pushes or dumbbell lunges when the rack is not in use. Just ensure your wall is reinforced with structural studs or a dedicated plywood backing board to handle the sheer force of heavy squats.
The Footprint of a Lifetime Leg Press Machine
When enthusiasts refer to a lifetime leg press machine, they are typically talking about a buy-it-for-life, commercial-grade 45-degree linear bearing sled or a high-end selectorized unit (such as those from Prime Fitness or vintage Nautilus). These machines feature 1,000+ pound capacities, heavy-gauge 11-gauge steel frames, and precision linear bearings that eliminate the friction and binding found in budget pivot-arm models.
The Spatial Penalty of Dedicated Sleds
A standard commercial 45-degree leg press measures roughly 55 inches wide by 90 inches long. However, the spatial penalty comes from the loading zones. Because the weight horns are positioned on the moving sled, you must leave 36 inches of clearance on both sides of the machine to load plates. Furthermore, you need a 48-inch staging area at the front for the user to enter, exit, and adjust the safety stops.
Total Operational Footprint: Approximately 12.5 feet wide by 11.5 feet deep (143 square feet). Unlike a power cage, this 143-square-foot zone is single-purpose. You cannot easily step inside the leg press to perform Romanian deadlifts or overhead presses.
Layout Matrix: Clearance, Flow, and Safety Zones
To visualize the spatial demands of both setups, refer to the comparison matrix below. This data is critical for drafting your gym layout on graph paper or CAD software before purchasing equipment.
| Feature | Power Cage (with Leg Attachments) | Lifetime Leg Press Machine (45-Degree) |
|---|---|---|
| Steel Footprint | ~13 sq ft (43" x 43") | ~34 sq ft (55" x 90") |
| Operational Footprint | ~115 sq ft (11.5' x 10') | ~143 sq ft (12.5' x 11.5') |
| Versatility Index | High (Squats, Rack Pulls, Pull-ups, Cable work) | Low (Strictly Leg Press & Calf Raises) |
| Spotter / Safety Needs | Requires spotter arms or safety straps | Built-in mechanical safety stops |
| Average Cost (2026) | $2,500 - $4,500 (w/ attachments) | $4,000 - $7,500 (Commercial Grade) |
Hybrid Layout Strategies for Space-Constrained Gyms
If you are determined to train legs optimally but are working with a standard two-car garage (typically 20x20 feet, or 400 square feet), you must design for flow. As highlighted by the equipment testing experts at Garage Gym Reviews, poor equipment placement is the number one reason home gyms end up feeling cramped and unusable.
The 'L-Shape' Leg Zone
Instead of placing equipment in the center of the room, push your power cage into a corner, angled slightly or flush against the side wall (leaving the required 36-inch loading gap). Place your weight storage trees outside the cage's footprint to prevent tripping hazards during heavy squats.
If you absolutely must have a dedicated leg press alongside your squat rack, opt for a vertical linear leg press or a plate-loaded hack squat rather than a 45-degree sled. A vertical leg press (like the Sorinex or Prime vertical models) has a drastically reduced horizontal footprint (roughly 4x6 feet), allowing you to tuck it adjacent to the power cage without destroying your gym's walking pathways.
Flooring and Structural Considerations
Space optimization isn't just about square footage; it's about load distribution. The biomechanics of leg training generate immense downward force that can destroy standard residential flooring.
"A 1,000-pound leg press generates concentrated point-loads on the machine's rear feet that can easily exceed 300 PSI. Standard 3/8-inch horse stall mats will compress and bottom out, transferring shock directly to your concrete slab or subfloor."
The Platform Solution
For the power cage zone, construct an 8x8 foot flush-mounted deadlift platform using 3/4-inch plywood layered with 3/4-inch vulcanized rubber. This provides a perfectly level surface for squats and deadlifts while protecting the floor. According to Rogue Fitness installation guidelines, bolting your power cage directly through the platform into the concrete ensures zero rack sway during heavy re-racking.
For the lifetime leg press machine, you do not need a wooden platform. Instead, use high-density, 3/4-inch vulcanized rubber tiles (89 durometer or higher). Ensure the machine's feet are seated on flat tiles, not on the seams between mats, to prevent the machine from rocking under heavy eccentric loads.
Final Verdict: Choosing Your Layout
If your primary goal is overall athletic development and you are limited to under 150 square feet of dedicated training space, the squat rack and power cage is the undisputed winner. By investing in a belt squat attachment and a high-quality cable tower for leg extensions, you can replicate 90% of the leg press's benefits while retaining the ability to perform free-weight squats and pulls.
However, if you are a bodybuilder, a masters athlete managing spinal compression, or designing a commercial facility where square footage is abundant, dedicating 143 square feet to a true lifetime leg press machine is a worthwhile investment. The key to space optimization is not necessarily choosing the smallest equipment, but rather mapping the operational clearances accurately so that every inch of your gym serves a deliberate, safe, and functional purpose.
More gear to consider
All reviews
Squat Rack vs Leg Press Machine for Women: Space Guide

Squat Press Machine vs Leg Press & Calf Raise Errors
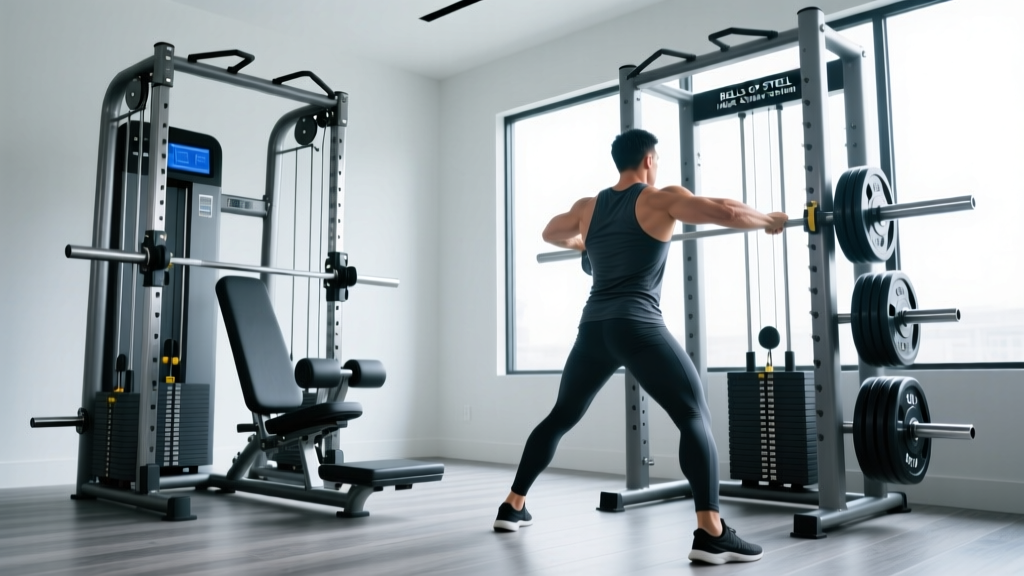
Titan Leg Press Machine vs. Bells of Steel: 2026 Home Gym Showdown
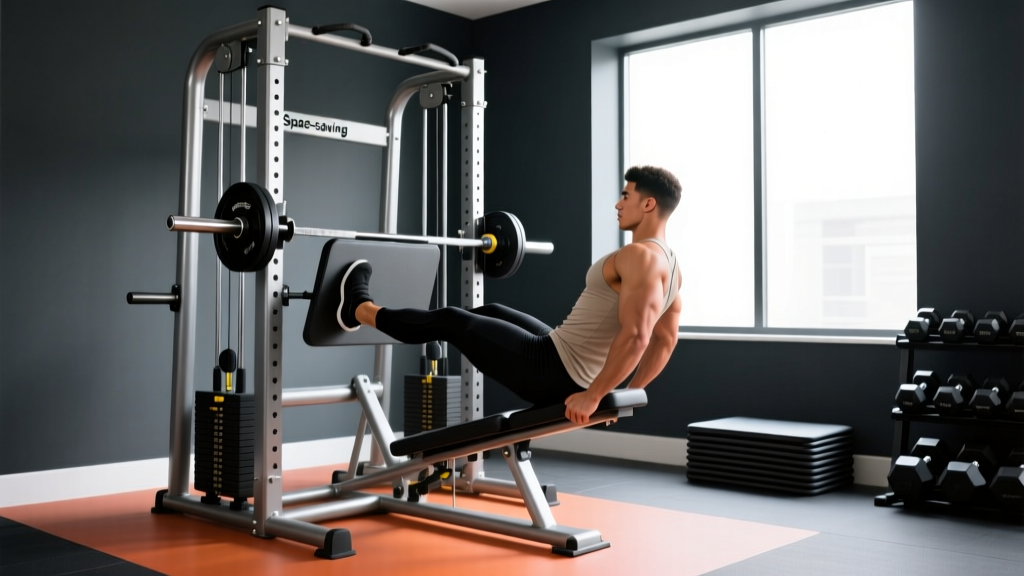
How to Unlock Leg Press Machine Limits: Space-Saving Squat Racks

Leg Press Machines for Home Gyms: 2026 Head-to-Head
