
Hack Squat vs Gym Leg Press Machine: Setup & Install
Compare the hack squat and gym leg press machine through a complete setup and installation walkthrough. Learn space, flooring, and assembly specs.

When outfitting a commercial facility or an elite home gym in 2026, the debate between the hack squat and the gym leg press machine often centers on biomechanics. However, as any seasoned facility manager knows, the decision is equally dictated by spatial footprints, floor loading capacities, and the sheer mechanical complexity of installation. Both machines utilize a 45-degree linear sled track, but their assembly workflows and structural demands differ wildly.
This comprehensive setup and installation walkthrough breaks down exactly what is required to unbox, assemble, align, and calibrate these two lower-body titans, ensuring you avoid catastrophic bearing failures and maximize user safety.
Spatial Footprint & Floor Loading Requirements
Before unboxing, you must verify your facility's structural integrity. Dynamic loading—where a user drops a 1,000-pound sled from the top of the track—generates immense kinetic energy. According to facility guidelines referenced by the International Health, Racquet & Sportsclub Association (IHRSA), heavy linear sled equipment requires a concrete subfloor with a minimum compressive strength of 4,000 PSI, topped with 3/4-inch vulcanized rubber mats to dissipate shock.
| Specification | Commercial Hack Squat (e.g., Prime Fitness) | 45-Degree Gym Leg Press Machine (e.g., Rogue) |
|---|---|---|
| Assembled Footprint (L x W) | 92" x 52" | 108" x 68" |
| Base Machine Weight | ~750 lbs | ~950 lbs |
| Max User + Load Capacity | 1,200 lbs | 1,500+ lbs |
| Overhead Clearance Needed | 84" | 72" |
| Primary Force Vector | Axial (Spinal Compression) | Shear (Lumbar/Pelvic) |
Unboxing & Assembly: Hack Squat Machine Walkthrough
The hack squat is a vertically oriented, axially loaded machine. The primary engineering challenge during installation is ensuring the dual linear guide rods are perfectly parallel. If they are misaligned by even a fraction of a degree, the carriage bearings will bind, leading to premature wear and a jerky, unsafe user experience.
Step 1: Base Frame and Upright Assembly
- Position the heavy-gauge steel base plate on your rubber matting. Use a 4-foot laser level to check for floor variances. If the floor slopes more than 1/8th of an inch over 10 feet, insert high-density steel shims under the base plate before tightening the M16 anchor bolts.
- Erect the main uprights. Use a torque wrench to tighten all M12 structural bolts to exactly 90 ft-lbs. Under-torquing here will cause frame flex during heavy eccentric loads.
Step 2: Linear Bearing Carriage Alignment
This is the most critical step in the hack squat setup. Slide the carriage onto the dual guide rods. Before securing the top caps, measure the distance between the two rods at the top, middle, and bottom of the track using digital calipers. The variance must not exceed 0.5mm. Once verified, secure the top brackets and apply a generous coat of PTFE synthetic grease (like Super Lube) to the rods.
Step 3: Shoulder Pad & Backrest Calibration
Attach the shoulder yoke and backrest. Ensure the pop-pin adjustments engage fully into the detent holes. A partially engaged pop-pin under a 600-pound load will shear off, causing the carriage to free-fall.
Unboxing & Assembly: Gym Leg Press Machine Walkthrough
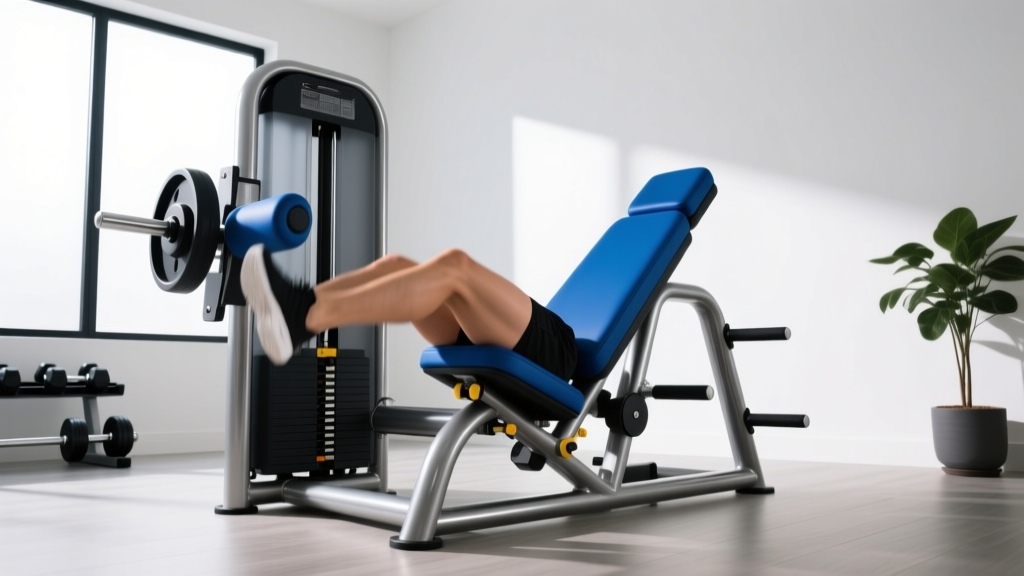
Unlike the hack squat, the gym leg press machine relies on a massive pivot hinge at the base of the sled track. The installation focuses heavily on hinge alignment and safety catch calibration.
Step 1: Main Sled Track & Pivot Base
Assemble the lower pivot base first. Because the entire weight of the loaded sled pivots on this lower hinge, the bolts securing the pivot pin must be torqued to manufacturer specifications (typically 120 ft-lbs for commercial models). Apply anti-seize compound to the pivot pin threads to prevent galvanic corrosion over time.
Step 2: Carriage & Guide Rod Insertion
With the track angled at 45 degrees, slide the sled carriage onto the dual guide rods. This requires two people. One person must support the 300-pound carriage while the other guides the linear bearings onto the rods. Never force the carriage; if it resists, the rods are misaligned. Tap the carriage gently with a rubber mallet to seat the bearings.
Step 3: Safety Catch & Release Handle Calibration
The safety catches on a leg press are mechanical latches that hook onto the side rails. Test the release handles with the carriage empty. The tension on the release cables should be tight enough to prevent accidental disengagement, but loose enough that a user can flip them with one finger while under load. Adjust the barrel nuts on the cable housings until the actuation is smooth and immediate.
Warning: The 'Butt Wink' HazardDuring user setup on the gym leg press machine, the primary failure mode is not mechanical, but biomechanical. As noted in the ExRx Biomechanics Database, allowing the pelvis to tuck under (posterior pelvic tilt) at the bottom of the leg press stroke transfers massive shear forces directly to the lumbar discs. Ensure the machine's backpad angle is adjustable to accommodate users with poor hamstring flexibility.
Biomechanical Setup: Calibrating for the User
Once installed, how you instruct users to set up on these machines dictates their efficacy and safety profile.
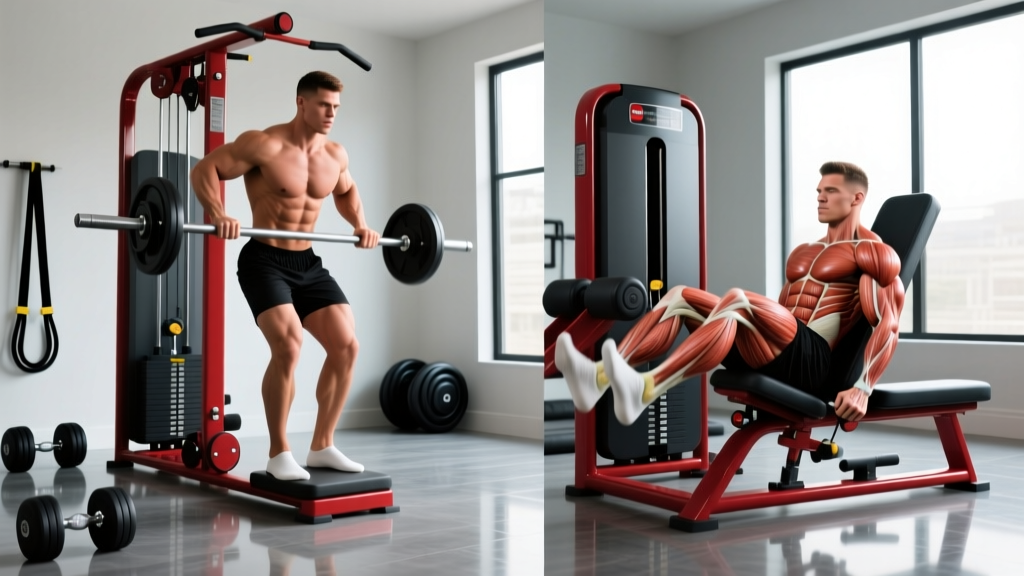
- Hack Squat Setup: The user's feet should be placed shoulder-width apart, directly under the carriage's center of mass. The back must remain flush against the pad. Because the hack squat enforces a fixed, rigid torso angle, it isolates the quadriceps brilliantly but demands high ankle dorsiflexion mobility. Users with stiff ankles will experience heel lift, which compromises knee stability.
- Leg Press Setup: The user sits in a reclined position, removing axial spinal loading. Foot placement dictates muscle recruitment: high and wide targets the glutes and hamstrings, while low and narrow isolates the quads. The ASTM International Fitness Equipment Standards dictate that commercial leg presses must have clearly marked footplate zones to guide users away from placing their toes over the edge, which risks metatarsal fractures if the sled slips.
Maintenance & Failure Mode Prevention
Post-installation, a strict maintenance schedule is required to keep these heavy-duty sleds operational in a high-traffic 2026 gym environment.
Linear Bearing Wear
Both machines use linear bearings that are susceptible to dust and chalk buildup. Chalk acts as an abrasive paste when mixed with lubricant. Protocol: Wipe down the guide rods weekly with a microfiber cloth and isopropyl alcohol. Re-apply PTFE synthetic grease monthly. Never use WD-40, as it strips existing lubrication and attracts particulate matter.
Cable and Pin Fatigue
The safety release cables on the leg press and the pop-pins on the hack squat are subject to high tensile stress. Inspect the steel braiding on the release cables every 90 days. If you notice a single frayed wire, replace the entire cable assembly immediately. A snapped cable under a loaded sled means the user cannot safely re-rack the weight.
Final Verdict: Which Should You Install?
If your facility has limited overhead clearance or a narrow footprint, the hack squat machine is the superior choice, offering a tighter spatial profile and unparalleled quad isolation. However, if you are outfitting a general-population commercial gym where users have varying levels of spinal health and mobility, the gym leg press machine is mandatory. Its reclined geometry removes axial compression, making it a safer, more versatile staple for the masses. Whichever you choose, meticulous installation and alignment are the true determinants of the machine's lifespan.
More gear to consider
All reviews
Standing vs Seated Calf Raises: Linear Leg Press Machine Mistakes

The World Checklist: A Practical, Field-Tested Inventory for Global Equip Body Legs Deployment
Horizontal vs 45° Press: The Compact Leg Press Hack Squat Machine
Calf Raises Standing vs Seated: Horizontal Leg Press Machines

Sled vs Leg Press Machine Muscles Worked: Beginner Guide
