
Dumbbell vs Barbell Overhead Press: Rack Setup & Collar Guide
Master the dumbbell vs barbell overhead press debate with our complete rack setup walkthrough and expert barbell collar and clamp types comparison.

The Overhead Press Station: Framing the Dumbbell vs Barbell Debate
When athletes design a dedicated shoulder day or build a home gym pressing station, the dumbbell vs barbell overhead press debate is usually the first hurdle. Both modalities offer distinct biomechanical advantages. Dumbbells—whether fixed hex pairs or adjustable models like the Nuobell 80lb or PowerBlock Elite—allow for a greater range of motion, unilateral stability training, and a neutral grip option that spares the rotator cuff. Crucially, from a setup perspective, dumbbells feature self-contained retention mechanisms. Fixed dumbbells are welded or bolted, and adjustable dumbbells use internal magnetic pins or dial-locks, meaning zero external collars are required.
The barbell, however, remains the undisputed king of absolute load and central nervous system (CNS) overload. You can micro-load a barbell in 0.5 lb increments and push past the 200 lb mark far more safely than you can with dumbbells. But this massive loading potential introduces a critical safety variable: plate retention. During a heavy barbell overhead press, the violent lockout and the subsequent eccentric lowering generate immense axial force and rotational torque on the Olympic sleeves. If your plates shift, the barbell becomes unbalanced mid-rep, leading to catastrophic shoulder or spinal injuries. This makes the selection and installation of barbell collars and clamps the most vital, yet frequently overlooked, component of your overhead press setup.
Complete Rack Installation Walkthrough for Overhead Pressing
Before we secure the plates, we must configure the rack. Whether you are using a full power rack or a pair of independent squat stands, the geometry of your setup dictates your safety margin.
Step 1: J-Cup and Barbell Height Calibration
Set your J-cups at the height of your upper chest or nipple line. When you unrack the barbell for a strict overhead press, your elbows should be slightly in front of the bar, and your lats fully engaged. Setting the J-cups too high forces you to curl the bar out, wasting energy; setting them too low requires a partial front squat just to unrack.
Step 2: Safety Spotter Arm Placement
This is where most lifters fail. For the barbell overhead press, set your safety spotter arms 2 to 3 inches below your lockout point, roughly at forehead or eye level. If your triceps fail at the sticking point (the hardest part of the press, just above the forehead), you need the bar to rest on the safeties immediately. Do not set them at chest height; a missed rep dropping from lockout to chest height will shatter your clavicles or crush your windpipe.
⚠️ Safety Callout: The Eccentric WhiplashDuring the eccentric (lowering) phase of the overhead press, the barbell sleeves experience a whiplash effect as the weight decelerates. Cheap or improperly installed collars will slide outward during this exact moment, altering the center of gravity while the bar is hovering over your face. This is why clamp selection is non-negotiable.
Comprehensive Barbell Collar and Clamp Types Comparison
Not all collars are created equal. The market is flooded with cheap plastic spring clips that fail under heavy loads. Below is a data-driven comparison matrix of the primary collar types used in modern strength training, based on 2026 market standards and biomechanical testing.
| Collar Type | Model Example | Avg. Price (Pair) | Sleeve Space Used | Clamp Force / Security | Best Application |
|---|---|---|---|---|---|
| Spring Clip | Eleiko Spring Collar | $35 - $45 | ~2.0 inches | High (Radial Tension) | Commercial gyms, Olympic lifting |
| Clamp / Lock-Jaw | Rogue AH-1 / Lock-Jaw Pro | $22 - $30 | 1.5 - 2.25 inches | Very High (Mechanical Lock) | Home gyms, Powerlifting, OHP |
| Lever Collar | Titan Fitness Lever | $40 - $55 | ~2.5 inches | Extreme (Cam Action) | Heavy singles, dropping weights |
| Competition | Eleiko IWF Approved | $80 - $110 | 2.5+ inches | Maximum (Precision Machined) | Sanctioned meets, elite lifters |
1. Spring Clips (The Commercial Standard)
Heavy-duty spring collars, like the Eleiko Spring Collar (50mm), rely on high-carbon spring steel to apply constant radial tension against the Olympic sleeve. According to equipment safety analyses by BarBend, premium spring collars can withstand hundreds of pounds of lateral force before slipping. The Failure Mode: Cheap, imported spring clips lose their tension memory after 6 to 12 months of use. The steel fatigues, and the clip will slide off the sleeve during a heavy overhead press lockout. Always invest in commercial-grade springs if you choose this route.
2. Clamp-Style Collars (The Home Gym Favorite)
Clamp collars use a mechanical locking mechanism rather than tension. The Rogue AH-1 Collars utilize a patented snap-ring design that physically bites into the sleeve, taking up a mere 1.5 inches of sleeve space—leaving more room for plates. Alternatively, the Lock-Jaw Pro uses a reinforced nylon clamp with a push-button release. As noted in testing by Garage Gym Reviews, clamp collars are virtually immune to the 'whiplash' effect of the overhead press because they do not rely on friction alone; they mechanically lock the plates in place. The Failure Mode: Nylon clamp collars can suffer from UV degradation and micro-fractures if left in direct sunlight or unheated garages over multiple winters.
3. Lever and Competition Collars (The Heavy-Duty Option)
Lever collars use a cam-action lever to crush an inner lining (usually high-density rubber or urethane) against the steel sleeve. They offer the highest clamping force available outside of IWF-sanctioned competition collars. However, they are bulky, often taking up 2.5 inches of sleeve space per side, which limits the amount of weight you can load on a standard 7-foot Olympic barbell. For the overhead press, where you might not be loading 500+ lbs, lever collars are often overkill and slow down your setup time.
Step-by-Step: Installing and Securing Your Barbell
Proper installation is just as important as the hardware itself. Follow this exact protocol when setting up for the barbell overhead press to ensure zero plate migration.
- Load the Inner Plates First: Always load your largest diameter plates (45 lb / 20 kg bumpers or cast iron) closest to the barbell shoulder. This creates a stable, flush base against the built-in sleeve lip.
- Push Plates Flush: Before applying the collar, physically kick or push the plates inward so there is zero millimeter gap between the plates and the barbell shoulder.
- Apply the Collar Flush: Slide the collar onto the 50mm sleeve until it makes direct contact with the outermost plate. Do not leave a gap between the plate and the collar.
- Engage the Lock:
- For Clamp Collars (e.g., Rogue AH-1): Squeeze the handles firmly until you hear/feel the internal teeth snap over the retention ring.
- For Spring Collars: Squeeze the handles, slide it completely flush against the plate, and release slowly to ensure the steel lips bite into the sleeve grooves.
- The Shake Test: Grab the outermost plate and violently shake it. If the plate rattles or the collar shifts, remove it and re-install. For the overhead press, there must be absolute rigidity.
Maintenance and Edge Cases: When Collars Fail
Even the best equipment requires maintenance. Manufacturer specifications from Rogue Fitness and other top-tier brands indicate that barbell sleeves accumulate chalk, sweat, and oxidized steel dust over time. This buildup creates a slick surface that reduces the friction coefficient for spring and lever collars.
Maintenance Protocol: Every 30 days, take a nylon bristle brush and a mild degreaser to your barbell sleeves. Scrub out the knurling and the smooth sleeve grooves. Wipe down the inner rubber linings of your lever and clamp collars with a damp cloth to remove chalk dust. If your clamp collars develop a 'sticky' release button, apply a single drop of silicone-based lubricant to the spring mechanism—never use WD-40, as it attracts dust and degrades nylon polymers.
'In the dumbbell vs barbell overhead press debate, dumbbells win on setup speed and joint ergonomics. But if your goal is maximal strength and CNS adaptation, the barbell is mandatory. Just remember: your overhead press is only as safe as the $25 pair of collars holding 300 lbs of iron above your skull.'
Final Verdict for Your Setup
If you are building a dedicated overhead press station in 2026, the barbell remains the ultimate tool for strength development. To bridge the safety gap, equip your gym with a pair of mechanical clamp collars like the Rogue AH-1 or Lock-Jaw Pro. They offer the perfect synthesis of rapid setup time, minimal sleeve footprint, and unyielding mechanical security, ensuring that when you lock out that heavy single, the only thing moving is your musculature—not your plates.
More gear to consider
All reviews
How to Use Dumbbells Correctly: Top Neoprene Sets Compared
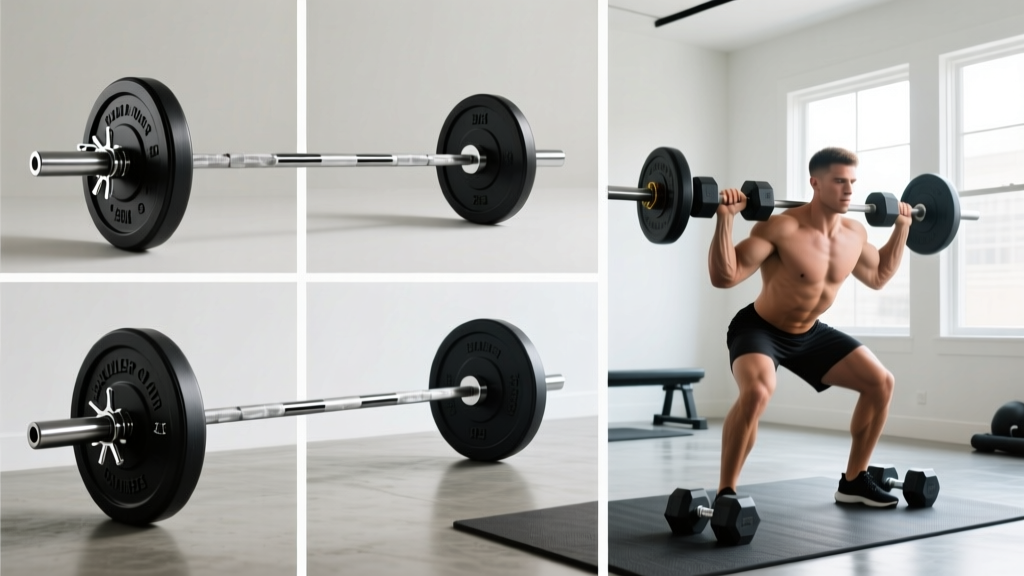
Barbell Collar Clamp Types & Chest Crossover With Dumbbells

EZ Curl vs Straight Bar Care & Close Grip Dumbbell Push Ups

Best Adjustable Dumbbells for the Incline Dumbbell Press (2026 Review)
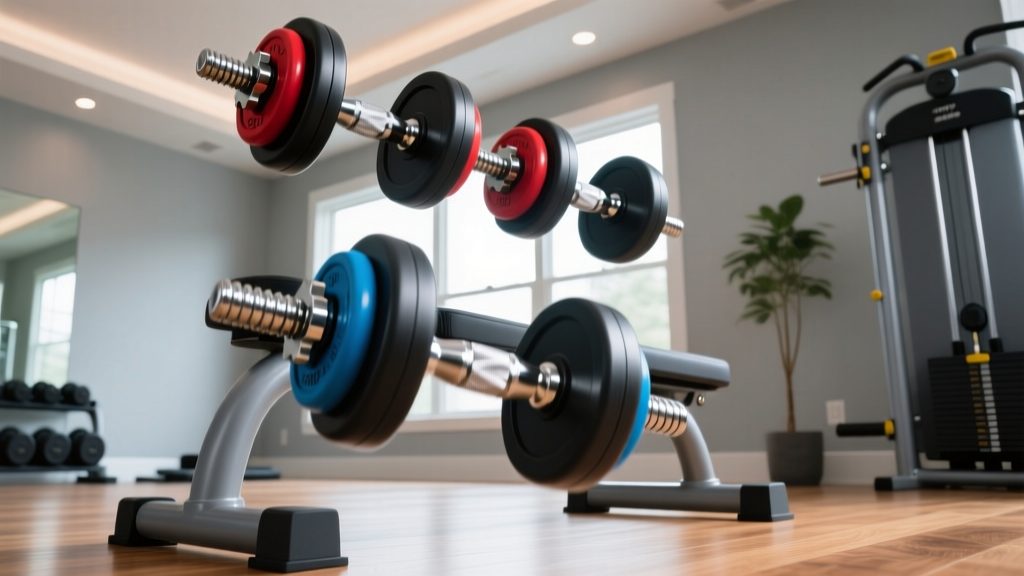
How to Fly With Dumbbells: 2026 Adjustable Set Review
