Olympic vs Standard Plates: Building a 100 lb Dumbbell Set Setup
Master your home gym setup with our walkthrough on Olympic vs standard plates, focusing on assembling and storing a heavy-duty 100 lb dumbbell set.

When outfitting a serious home gym in 2026, the decision between 1-inch standard and 2-inch Olympic weight plates dictates the entire trajectory of your equipment ecosystem. While beginners often gravitate toward standard plates due to lower upfront costs, advanced lifters targeting heavy unilateral work quickly hit a physical ceiling. If your ultimate goal is assembling a heavy-duty 100 lb dumbbell set using loadable handles, understanding the geometric and structural differences between these two plate types is not just academic—it is a matter of safety and functionality.
This complete setup and installation walkthrough will guide you through the biomechanical limitations of standard plates, the precise mathematics of building a 100 lb Olympic loadable dumbbell, and the step-by-step installation of a commercial-grade storage rack to house your new setup.
The Core Divide: 1-Inch Standard vs 2-Inch Olympic
Before unboxing your hardware, you must understand why the 2-inch Olympic standard dominates commercial and elite home gyms. The difference extends far beyond the center hole diameter; it fundamentally alters plate thickness, sleeve length requirements, and weight distribution.
| Feature | Standard Plates (1-inch) | Olympic Plates (2-inch) |
|---|---|---|
| Center Hole | 1 inch (25.4 mm) | 2 inches (50.4 mm) |
| Handle Compatibility | Threaded spin-lock or spring collars | Smooth sleeves with clamp collars |
| Plate Profile (25 lb) | ~1.5 to 2.0 inches (Cast Iron) | ~1.1 to 1.3 inches (Urethane/Rubber) |
| Max Load per Dumbbell | ~60 lbs (Sleeve space limits) | 100+ lbs (Extended sleeve capacity) |
| Cost per Pound (2026) | $1.10 - $1.50 / lb | $1.80 - $3.50 / lb |
Why Standard Plates Fail the 100 lb Dumbbell Test
To build a 100 lb dumbbell using a standard 1-inch threaded handle, you face an insurmountable geometric barrier. A typical standard dumbbell handle offers roughly 4.5 inches of loadable sleeve space. Because standard cast iron plates are exceptionally thick to compensate for lower-density manufacturing processes, you physically run out of sleeve space around 65 to 70 pounds per hand. Attempting to stack more weight results in plates hanging off the edge, creating a dangerous lever-arm effect that can snap the handle or crush your wrists during a heavy floor press.
⚠️ Safety Warning: Never use sleeve adapters (1-inch to 2-inch) on loadable dumbbell handles to compensate for a mismatched plate ecosystem. The added lateral torque during dumbbell movements can shear the adapter, dropping heavy iron directly onto your face or chest.Step-by-Step Walkthrough: Assembling the Olympic 100 lb Dumbbell Set
To achieve a true 100 lb dumbbell set, we are utilizing the Olympic ecosystem. Specifically, we will use the Rogue Loadable Dumbbell Handles, which feature a 10 lb handle weight and a 6.5-inch loadable sleeve, perfectly accommodating high-volume plate stacking.
Step 1: Procuring the Right Plates
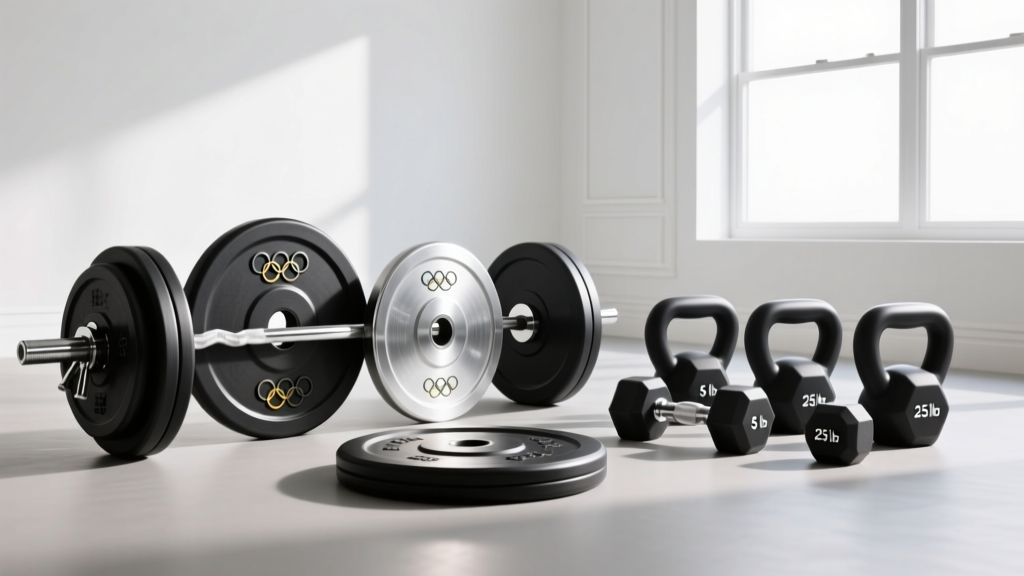
For a home gym, avoid thick crumb-rubber bumper plates for dumbbell loading; their 3-inch width will eat up your sleeve space immediately. Instead, invest in Olympic Urethane plates. As noted in Eleiko's comprehensive guide to choosing weight plates, urethane offers a high-density, thin profile, zero odor, and superior drop resistance compared to traditional rubber.
Step 2: The Loading Mathematics
To hit exactly 100 lbs per dumbbell, you must account for the 10 lb handle. This leaves 90 lbs of plates to be distributed evenly (45 lbs per sleeve). Here is the optimal, space-efficient loading sequence per side using thin-profile urethane plates:
- 1x 25 lb Plate (Thickness: ~1.2 inches)
- 1x 10 lb Plate (Thickness: ~0.8 inches)
- 2x 5 lb Plates (Thickness: ~0.6 inches each)
- Total Plate Thickness: 3.2 inches (Leaves 1.3 inches for a heavy-duty snap collar)
- Total Weight per Side: 45 lbs
Multiply this by two sides, add the 10 lb handle, and you have a perfectly balanced, 100 lb Olympic loadable dumbbell. To build a full set (e.g., 50s, 60s, 70s, 80s, 90s, 100s), you will need to purchase a substantial inventory of 5s, 10s, and 25s, rather than relying solely on 45 lb plates. You can source high-quality, thin-profile options from suppliers like Titan Fitness Olympic Plates to keep costs manageable without sacrificing density.
Rack and Storage Installation Guide
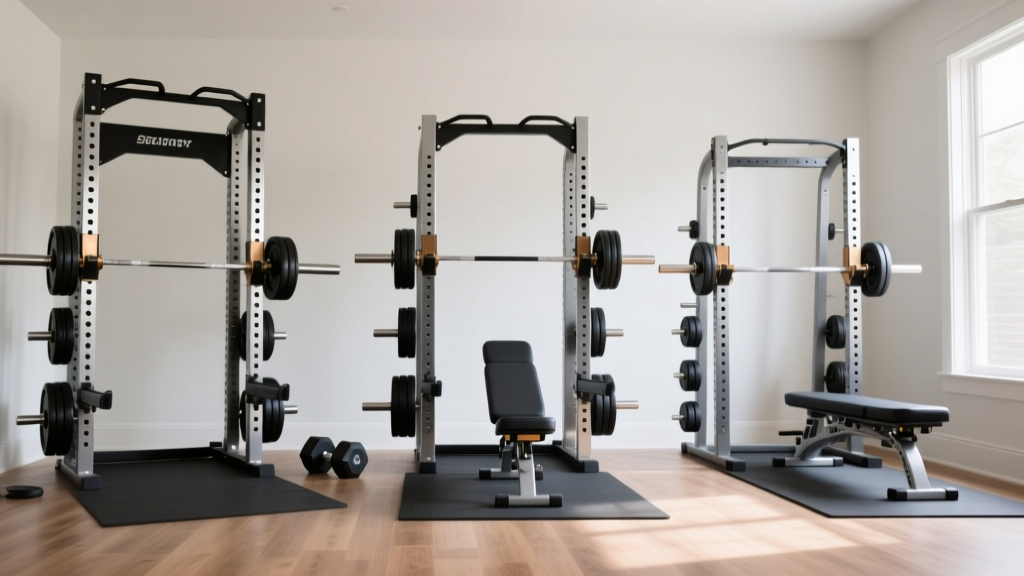
A 100 lb dumbbell set requires a massive amount of iron. A standard pair of 100 lb dumbbells plus the necessary plates to build a 6-pair set (50-100 lbs) easily exceeds 800 lbs of total weight. You cannot lean a standard plate tree against a wall; it must be anchored.
Phase 1: Positioning and Layout
Place your Olympic A-frame plate tree or vertical storage rack at least 18 inches away from drywall to allow for plate clearance and to prevent wall damage during loading. Ensure the rack is positioned directly over a concrete slab, not over wooden subflooring, which will sag under the concentrated point-load of an 800 lb rack.
Phase 2: Drilling and Anchoring
Follow these exact specifications to anchor your storage rack to a concrete floor:
- Mark the Holes: Align the baseplate flanges and mark the concrete with a center punch.
- Drill the Concrete: Use a rotary hammer drill with a 3/8-inch carbide-tipped masonry bit. Drill to a depth of 3.5 inches (allowing 0.5 inches for dust clearance).
- Clean the Holes: Use compressed air or a shop vac to remove concrete dust. Failure to clean the hole will reduce the pull-out strength of the anchor by up to 40%.
- Insert Wedge Anchors: Tap 3/8-inch x 3-inch zinc-plated wedge anchors through the rack flanges into the concrete using a steel hammer.
- Torque Down: Use a calibrated torque wrench to tighten the nuts to 35-45 ft-lbs. The wedge will expand at the base, locking the rack permanently to the slab.
Phase 3: Organizing the 2-Inch Pegs
Load your plates heaviest at the bottom to lower the center of gravity. Place 45 lb and 25 lb plates on the lowest, longest pegs. Reserve the upper, shorter pegs for 10 lb, 5 lb, and fractional plates (2.5 lbs) which are crucial for micro-loading your 100 lb dumbbell set as you progress in your pressing movements.
Cost Breakdown: Outfitting the Ecosystem
Building this specific setup is an investment. Below is a realistic 2026 pricing estimate for constructing a single pair of 100 lb loadable dumbbells, plus the foundational plates required to expand into a full set later.
| Equipment Component | Specification | Estimated Cost |
|---|---|---|
| Loadable Handles (Pair) | Olympic, 6.5" sleeve | $195.00 |
| Urethane Plates (5s, 10s, 25s) | ~300 lbs total inventory | $750.00 |
| Heavy-Duty Snap Collars | Olympic Clamp (Pair) | $45.00 |
| Vertical Plate Tree | 6-Peg, 800lb capacity | $180.00 |
| Hardware & Anchors | 3/8" Wedge Anchors | $15.00 |
| Total Estimated Investment | $1,185.00 |
Final Verdict
If your training regimen demands heavy, high-volume unilateral work, the 1-inch standard plate ecosystem is a dead end. By committing to the 2-inch Olympic standard, you unlock the geometric freedom required to build a safe, balanced, and highly functional 100 lb dumbbell set. While the initial capital outlay for urethane plates and heavy-duty storage anchoring is higher, the longevity, safety, and commercial-grade performance of the setup will serve your home gym for decades to come.
More gear to consider
All reviews
Troubleshooting Light Dumbbell Workouts With Neoprene Coated Sets

EZ Bar vs Straight Bar: 2026 Back and Bis Dumbbell Workout Trends

Bumper vs Iron Plates: 2026 Trends & Dumbbell Cardio Exercises

EZ vs Straight Bar Care: Longevity & Dumbbell Curl Technique Form
Olympic vs Standard Plates: Plus, What Weight Dumbbells Should I Use?