
Olympic Barbell Buying Guide & Dumbbell Zottman Curl Setup
Master your gym setup with our Olympic barbell buying guide on knurling, plus a dedicated dumbbell Zottman curl station installation walkthrough.

The Foundation: Olympic Barbell Buying Guide
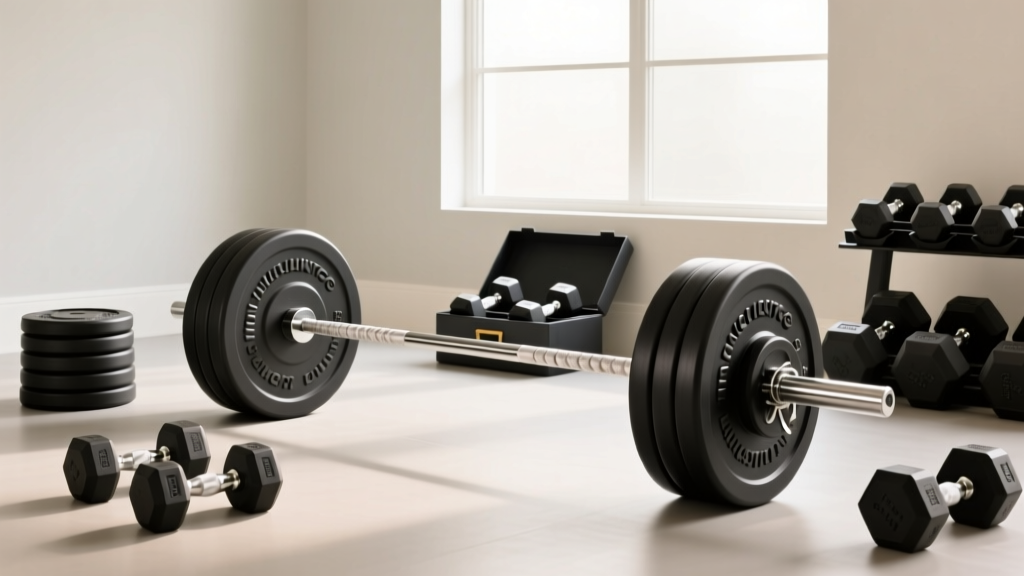
Building a commercial-grade free-weight zone in a home or boutique gym requires more than just dropping equipment onto a floor. It demands a calculated installation walkthrough that begins with selecting the right primary implement. When navigating the Olympic barbell buying guide landscape, understanding weight tolerances, steel tensile strength, and knurling profiles is non-negotiable for safety and performance.
Decoding Barbell Weight and Shaft Dimensions
The standard men's Olympic barbell weighs exactly 20kg (44.09 lbs) with a 28mm shaft diameter, while the women's specification is 15kg (33.07 lbs) with a 25mm shaft. However, multi-purpose bars often feature a 28.5mm shaft, which provides a better grip for heavy deadlifts while remaining comfortable for pressing movements. When evaluating weight capacity, you must look at tensile strength, measured in Pounds per Square Inch (PSI). A quality barbell should boast a minimum of 190,000 PSI to prevent permanent bending under heavy loads. Premium bars push past 215,000 PSI, utilizing high-grade spring steel that ensures the bar 'whips' and returns to center without deforming.
The Knurling Matrix: Hill, Mountain, and Volcano
Knurling is the machined pattern on the shaft that dictates grip security. According to BarBend's comprehensive knurling guide, the geometry of these cuts drastically alters the feel and performance of the bar:
- Hill Knurling: Features rounded, smooth peaks. Ideal for high-rep Olympic lifting where torn calluses are a liability, but it can feel slippery during heavy, chalk-less deadlifts.
- Mountain Knurling: Sharp, aggressive peaks that act like tiny teeth. Excellent for powerlifting, but it will shred your hands during high-volume dynamic movements.
- Volcano Knurling: The gold standard for multi-purpose gyms. The peaks are sharp but feature a small crater at the top, providing maximum surface area for grip without tearing the skin. As noted by Rogue Fitness in their Ohio Bar specifications, volcano knurling offers the perfect balance of aggression and comfort.
2026 Barbell Comparison Matrix
To help you make an informed purchasing decision, we have compiled a comparison of three top-tier barbells dominating the market this year.
| Model | Tensile Strength | Knurl Type | Bushing/Bearing | Approx. 2026 Price |
|---|---|---|---|---|
| Rogue Ohio Bar (Stainless) | 200,000 PSI | Volcano | Bronze Bushings | $395.00 |
| Eleiko Opus PowerLock | 215,000 PSI | Hill (Refined) | Needle Bearings | $840.00 |
| Titan Elite Power Bar | 200,000 PSI | Mountain | Bronze Bushings | $289.99 |
Phase 1: Power Rack and Barbell Storage Installation
Once you have selected your barbell, the next step in our complete setup and installation walkthrough is securing the power rack and adjacent storage. A standard 4-post power rack requires a minimum ceiling height of 84 inches and a footprint of 4x4 feet.
- Subfloor Preparation: If installing on concrete, use a hammer drill with a 3/8-inch masonry bit to drill 3-inch deep holes for wedge anchors. If installing on a wood-framed subfloor, you must use a stud finder to locate the floor joists and secure the rack using 3/8-inch x 3-inch structural lag screws.
- Upright Assembly: Stand the uprights and loosely attach the bottom crossmembers. Do not fully tighten the hardware yet; leave a 1/4-inch of play to allow the steel to settle into its natural alignment.
- Squaring the Rig: Measure diagonally from the front-left upright to the back-right upright. Adjust the frame until both diagonal measurements are exactly equal, ensuring a perfectly square rack.
- Torque and Anchor: Tighten all 5/8-inch carriage bolts to 60 ft-lbs using a torque wrench. Finally, drive your floor anchors home and tighten the nuts securely.
Phase 2: Designing the Accessory Zone
A well-designed gym separates heavy compound movements from isolation accessory work. This prevents bottlenecks in commercial spaces and protects your primary lifting platform from unnecessary wear and tear. This brings us to the specialized accessory zone.
The Dumbbell Zottman Curl Station Setup
The dumbbell zottman curl is a highly effective, yet frequently poorly executed, bicep and forearm isolation exercise. It involves a supinated (palms up) concentric phase and a pronated (palms down) eccentric phase, targeting the biceps brachii, brachialis, and brachioradialis simultaneously. To perform this movement safely and effectively, a dedicated station setup is required.
Equipment Specifications
- Adjustable Dumbbells: Opt for a rapid-adjust system like the Nuobell 80lb set (retailing around $449 in 2026). Traditional dial-adjust dumbbells are often too bulky and can interfere with the wrist rotation required at the top of the Zottman curl.
- Incline Bench: A commercial-grade adjustable bench capable of locking securely at a 45-degree incline. This angle places the shoulder in extension, stretching the long head of the bicep and maximizing hypertrophy during the curl.
Spatial Geometry and Flooring
Allocate a 5x5 foot footprint for this station. Lay down a 3/4-inch thick vulcanized rubber horse-stall mat to absorb the impact of dropped dumbbells and protect the subfloor. Position the bench so that the user's head faces the main gym area, allowing for proper spatial awareness. Ensure there is a minimum of 36 inches of lateral clearance on both sides of the bench to allow the elbows to track naturally without hitting adjacent equipment racks.
"The biomechanical brilliance of the Zottman curl lies in its ability to overload the eccentric portion of the movement using the stronger supinated muscles, while forcing the weaker pronated forearm extensors to control the descent. A dedicated, distraction-free setup ensures the lifter can focus entirely on this complex wrist transition." — Dr. Stuart McGill, Biomechanics Research
Phase 3: Long-Term Maintenance Protocols
Installation is only day one. Maintaining your free weights and racks ensures longevity and safety.
Barbell Care
Even stainless steel and cerakote-coated barbells require maintenance. Chalk and dead skin accumulate in the knurling valleys, reducing grip friction and promoting oxidation on the inner sleeve. Once a week, use a stiff nylon brush (never wire, as it will scratch the finish) to scrub the knurling. Follow up by wiping the shaft with a microfiber cloth lightly dampened with 3-in-One oil or a specialized barbell cleaner.
Dumbbell and Bench Upkeep
For your dumbbell Zottman curl station, the primary wear point is the adjustable dumbbell handle and the bench upholstery. Wipe down the dumbbell handles with a mild, non-corrosive antibacterial wipe after every session to prevent the breakdown of the handle's chrome or zinc plating. Inspect the bench's adjustment pins monthly; if the spring-loaded pop-pins show signs of grinding or sticking, apply a dry PTFE lubricant to ensure smooth angle transitions.
Final Walkthrough Checklist
Before loading your first plate, run through this final verification checklist:
- [ ] All rack carriage bolts torqued to 60 ft-lbs.
- [ ] Floor anchors secured with zero lateral play.
- [ ] Barbell sleeves spin freely with no grinding noise.
- [ ] Dumbbell adjustment dials click securely into weight plates.
- [ ] 36-inch clearance verified around the Zottman curl station.
By meticulously following this Olympic barbell buying guide and executing a precise installation walkthrough, you guarantee a training environment that is as safe as it is effective, perfectly bridging the gap between heavy compound lifts and targeted isolation work.
More gear to consider
All reviews
Barbell Collar Types Compared: Squats to Dumbbell Shrugs Form

Power Rack vs Squat Rack vs Squat Stand: Are CAP Dumbbells Good Too?

Olympic Barbell Knurling vs Standing Biceps Curl Dumbbell Grips
Olympic Barbell Knurling & Weight Guide: Dumbbell Box Setups

Crunch Fitness Dumbbells to Olympic Barbells: Knurling Guide
