Olympic Barbell Setup & Plank Dumbbell Drag Muscles Worked Guide
Master your home gym setup with our Olympic barbell knurling guide, installation walkthrough, and breakdown of plank dumbbell drag muscles worked.

The Foundation: Selecting Your Olympic Barbell
Building a resilient home gym in 2026 requires more than just buying the heaviest iron you can find; it demands an understanding of metallurgy, biomechanics, and precise equipment setup. Whether you are outfitting a garage gym or upgrading a commercial facility, the Olympic barbell remains the undisputed centerpiece of free-weight training. However, pairing your primary compound lifting tool with the right stabilizing accessories—like hex or urethane dumbbells for anti-rotational core work—is what separates a basic setup from an elite training environment.
Before we unbox and install your new bar, we must address the two most critical purchasing factors: tensile strength (weight tolerance) and knurling geometry. A barbell's tensile strength, measured in PSI (pounds per square inch), dictates how much weight it can hold before permanently bending. For a multi-purpose home gym bar, look for a minimum of 190,000 PSI. If you plan on heavy powerlifting (squats and deadlifts exceeding 400 lbs), you need a bar rated at 215,000 PSI or higher to prevent 'bar whip' and permanent deformation.
Data Highlight: Shaft Diameter Standards- 28mm: Standard for Olympic Weightlifting (snatch, clean & jerk). Maximizes bar whip and elastic energy.
- 28.5mm: The multi-purpose sweet spot. Balances whip for dynamic lifts with rigidity for heavy squats.
- 29mm: Powerlifting standard. Extremely rigid, minimizing oscillation during heavy bench presses and squats.
Decoding Knurling: Volcano, Mountain, and Hill
Knurling is the crosshatched pattern machined into the steel shaft. It is not merely for grip; it is a tactile interface that dictates your central nervous system's confidence under heavy loads. According to comprehensive equipment analyses by BarBend, understanding knurl geometry is vital for matching the bar to your training style.
| Knurl Type | Geometry Profile | Best Application |
|---|---|---|
| Volcano | Diamond peaks with the very tip machined off, creating a small ring. | Multi-purpose, hypertrophy, Olympic lifting. Grippy without tearing calluses. |
| Mountain | Sharp, unflattened diamond peaks. | Heavy powerlifting, deadlifts. Aggressive bite for chalked hands. |
| Hill | Rounded, shallow peaks with wide valleys. | Beginner bars, high-rep conditioning, bare-hand training. |
Step-by-Step Barbell Setup and Installation Walkthrough
Once you have selected the correct bar (e.g., a 29mm volcano-knurled power bar with bronze bushings), the setup and installation process begins. Improper unboxing and initial racking can damage the knurl or the sleeve finish before you even load your first plate.
- Safe Unboxing: Olympic bars ship in heavy cardboard tubes. Never stand the tube upright and pull the bar out; the 45-lb shaft can drop and damage your flooring or your toes. Lay the tube horizontally on the floor, cut the end cap, and slide the bar out smoothly.
- Factory Oil Removal: Bars are coated in a thick, anti-rust mineral oil for overseas shipping. This oil will make the knurl slick and stain your rack. Use a microfiber cloth and a light degreaser or isopropyl alcohol to wipe down the shaft. Follow up with a light coat of 3-in-One oil to protect the bare steel or black oxide finish.
- Sleeve Inspection: Spin the sleeves by hand. If your bar uses bronze bushings (common in power bars), the spin will be smooth but deliberate. If it uses needle bearings (Olympic bars), the spin should be rapid and nearly frictionless. Warning: Never use WD-40 on barbell sleeves; it strips existing lubricants and attracts dust.
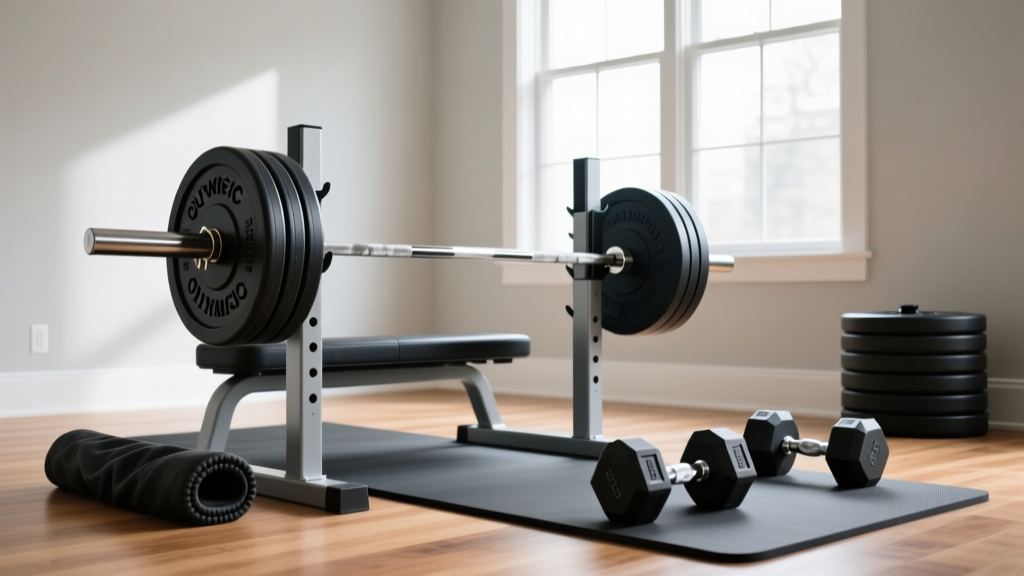
- Rack Integration: Place the bar onto your power rack or squat stand J-cups. Ensure your J-cups are lined with UHMW (Ultra-High-Molecular-Weight) plastic. Bare metal J-cups will instantly grind away the knurl and the bar's protective coating. The bar should sit centered, with the sleeve extending at least 2 inches past the J-cup to allow for collar placement.
Accessory Integration: Core Stabilization and Anti-Rotation
A complete free-weight setup doesn't end with the barbell. Heavy compound movements like squats and deadlifts build immense sagittal-plane strength, but they often neglect the transverse and frontal planes. This is where integrating dumbbell accessories into your rack-and-bench footprint becomes critical.
Plank Dumbbell Drag: Muscles Worked and Execution
The plank dumbbell drag is a premier anti-rotation and anti-extension exercise. It requires you to maintain a rigid torso while unilaterally pulling a weight, forcing the core to resist twisting. When analyzing the plank dumbbell drag muscles worked, we are looking at a complex kinetic chain that stabilizes the spine while the extremities move. According to exercise databases like Muscle & Strength, this movement is highly effective for translating static core strength into dynamic athletic performance.
Biomechanical Breakdown: Muscles Targeted- Rectus Abdominis: Works isometrically to prevent lumbar hyperextension (sagging hips).
- Transverse Abdominis (TVA): Acts as the body's natural weight belt, increasing intra-abdominal pressure to protect the spine.
- Internal & External Obliques: Fire aggressively to resist the rotational torque caused by lifting the dumbbell with one arm.
- Serratus Anterior: Keeps the scapula flush against the ribcage, preventing 'winging' during the plank hold.
- Latissimus Dorsi & Rhomboids: Engage dynamically to execute the pulling (dragging) motion of the dumbbell toward the hip.
Setup and Execution Protocol
To integrate this into your home gym routine, place two rubber hex dumbbells (start with 15 to 25 lbs) just outside your shoulders. Assume a high plank position on the floor or on a low plyo box. Keep your feet wider than shoulder-width; this widens your base of support and reduces the sheer anti-rotation torque on the lumbar spine. Brace your core as if anticipating a heavy barbell squat, then drag the right dumbbell up to your right hip, lowering it back down with absolute control. The failure mode to watch for is 'hip hiking'—if your pelvis rotates toward the ceiling, the weight is too heavy, and you are leaking kinetic energy.
Maintenance and Storage Protocols
Protecting your investment requires a strict maintenance schedule. Stainless steel bars require minimal upkeep, but black oxide or bare steel bars must be brushed weekly. Use a nylon or brass bristle brush to clear chalk and dead skin from the knurl valleys. Never use a steel wire brush, as it will strip the protective coating and accelerate rust.
Expert Insight: Store your barbell horizontally on the rack or in a dedicated vertical barbell storage tower. Leaving a loaded barbell on the floor or in the J-cups for weeks on end can cause micro-bending in lower-PSI bars and compress the bronze bushings unevenly, leading to premature sleeve wear.
By meticulously selecting your barbell's knurl and tensile strength, executing a careful installation walkthrough, and pairing your heavy lifts with targeted anti-rotation dumbbell work, you create a 2026-ready training ecosystem that builds both absolute strength and unbreakable core stability.
More gear to consider
All reviews
Rubber Hex vs Urethane: Best Gear for Different Arm Workouts with Dumbbells

Cast Iron vs Competition Kettlebells & Seated Dumbbell Row Pairings

Olympic vs Standard Plates & Standing Dumbbell Fly Muscles Worked

Troubleshooting Dumbbell Flyes: Olympic vs Standard Plates

Market Trends: EZ Bar vs Straight Bar & Alternating Dumbbell Press