
Olympic Barbell Weight, Knurling & Dumbbell Pec Fly Bench Setup
Master your home gym installation with our guide to Olympic barbell weight, knurling types, and the perfect bench setup for the dumbbell pec fly.

Phase 1: Foundation and Rack Installation Walkthrough
Building a comprehensive home gym requires more than just dropping equipment onto a rubber mat; it demands precise structural integration. When configuring a multi-use power rack and bench system, the anchor of your setup is the Olympic barbell, while the versatility of the station is often defined by isolation movements. A prime example is setting up the bench geometry for the dumbbell pec fly, an exercise that requires exact pad dimensions and spotter arm placements to ensure shoulder safety and optimal pectoral stretch.
Securing the Rack and Leveling the Base
Before selecting your free weights, the rack must be immovable. Begin by positioning your 3x3-inch 11-gauge steel power rack over a 3/4-inch thick horse stall mat. Using a digital level, check the crossmembers. If your concrete floor has a variance greater than 1/8th of an inch, use galvanized steel shims under the base plates. Anchor the rack using 3/8-inch wedge anchors driven at least 3 inches into the concrete. This prevents any lateral shifting when racking heavy Olympic barbells or when dropping heavy dumbbells during a failed pec fly set.
Configuring the Bench Pad for Isolation Movements
The industry standard for competition bench pads is 12 inches wide. However, for optimal execution of the dumbbell pec fly, a 12-inch pad can impinge the medial border of the scapula, preventing full retraction and limiting the stretch across the sternal pectoralis. When assembling your adjustable bench, opt for a 10-inch narrow pad. Set the bench incline to a 15-degree angle rather than perfectly flat; this slight decline-to-flat transition better aligns the clavicular and sternal heads of the pecs during the fly arc. Position the bench inside the rack so that the safety spotter straps sit exactly 2 inches below your maximum bottom-range stretch point.
Phase 2: The Olympic Barbell Buying Guide (Weight & Tolerances)
While dumbbells are the primary tool for the pec fly, the Olympic barbell is the structural centerpiece of your rack. A high-quality barbell acts as the baseline for your gym's calibration. Understanding weight tolerances and shaft construction is critical when investing in premium free weights in 2026.
Decoding Weight Specifications and Tolerances
Not all 20-kilogram bars are created equal. The manufacturing process dictates how close the bar is to its stated weight. According to the Rogue Fitness Barbell Guide and international federation standards, weight variance separates budget commercial bars from elite competition equipment.
| Barbell Category | Stated Weight | Allowable Tolerance | Typical Use Case |
|---|---|---|---|
| IWF Competition | 20 kg (44.09 lbs) | +/- 10 grams | Olympic Weightlifting, Elite Meets |
| IPF Powerlifting | 20 kg (44.09 lbs) | +/- 50 grams | Squat, Bench Press, Deadlift |
| Commercial Gym | 45 lbs (20.41 kg) | +/- 1% (approx. 7 oz) | General Fitness, Bodybuilding |
| Budget / Economy | 45 lbs | +/- 3% to 5% | Light Home Gyms, Garage setups |
When buying a barbell to anchor your rack, always look for a manufacturer-stated tolerance of +/- 100 grams or less. Budget bars that are simply marked '45 lbs' without a stated tolerance can sometimes weigh as little as 43 lbs, which ruins progressive overload tracking over a 12-week mesocycle.
Shaft Tensile Strength and Whip
The tensile strength of the steel shaft, measured in PSI (pounds per square inch), determines the bar's 'whip' and its resistance to permanent deformation. For a versatile home gym that will host both heavy squats and dynamic Olympic lifts, aim for a tensile strength between 190,000 PSI and 205,000 PSI. Bars exceeding 215,000 PSI are incredibly stiff (ideal for powerlifting) but lack the elastic whip needed for the clean and jerk. Furthermore, ensure the bar utilizes bronze bushings for heavy, slow lifts or needle bearings for high-velocity rotational movements.
Phase 3: Deep Dive into Barbell Knurling
Knurling is the cross-hatched pattern machined into the steel shaft to increase friction and grip security. In 2026, CNC machining advancements have allowed manufacturers to create highly specific knurl profiles. Choosing the right knurl is arguably the most subjective yet vital part of the Olympic barbell buying guide.
The Three Primary Knurl Profiles
- Volcano Knurl: The gold standard for serious lifters. The machine cuts a diamond pattern and then shaves off the very tip, leaving a jagged, crater-like rim. It provides immense grip without tearing the calluses on your hands. Ideal for heavy deadlifts and high-volume benching.
- Mountain Knurl: The diamond is left with a sharp, pointed peak. This is highly aggressive and bites deeply into the skin. It is preferred by strongman competitors and elite deadlifters who use chalk heavily, but it will tear your hands during high-rep hypertrophy work.
- Hill Knurl: The peaks are flattened significantly, resulting in a smooth, almost polished feel. Often found on budget bars or specialized squat bars, it is comfortable but lacks the bite needed for heavy pulling movements without straps.
Pro-Tip: Center Knurling Considerations
If your setup involves heavy back squats, a 5-inch center knurl is essential to prevent the bar from sliding on your back during the ascent. However, if your primary focus is upper-body bodybuilding and movements like the dumbbell pec fly, a bar without a center knurl will be much more comfortable during front rack positions and floor-based core exercises.
Coating and Oxidation Resistance
The knurl's longevity depends on its protective coating. Bare steel offers the best grip but will rust within weeks in a humid garage. Black oxide provides a matte finish and moderate rust resistance but requires frequent oiling. Hard chrome is highly durable but can slightly fill in the knurl valleys, reducing aggressiveness. For the ultimate 2026 home gym setup, Ceramic Coating (Cerakote) or Stainless Steel shafts offer the perfect synthesis of elite corrosion resistance and unadulterated knurl feel, as the coating is thin enough (often less than 2 microns) to preserve the exact CNC-cut profile.
Phase 4: Final Assembly and Safety Execution
With the rack bolted, the bench configured, and the Olympic barbell selected, the final phase is integrating the equipment for safe execution.
Protecting the Knurl and the Rack
Never rest a bare steel or knurled Olympic barbell directly on metal J-cups. This will strip the knurling and ruin the bar's finish. Install UHMW (Ultra-High Molecular Weight) plastic liners on your J-cups and spotter arms. UHMW plastic is dense enough to support 1,000+ lbs but soft enough to absorb the impact of reracking without damaging the bar's zinc or Cerakote coating.
Executing the Setup for the Dumbbell Pec Fly
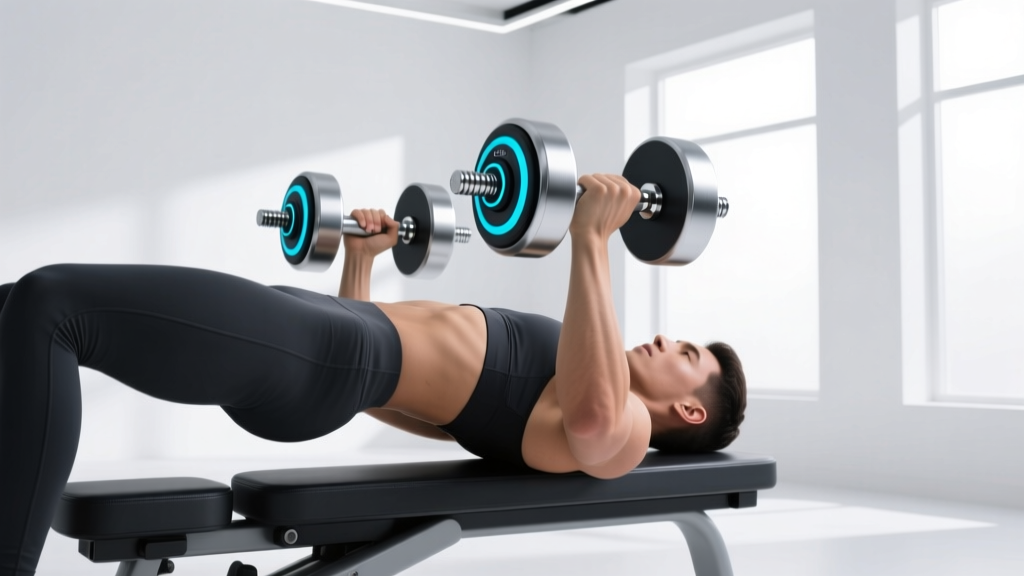
When transitioning from barbell work to the dumbbell pec fly, the rack becomes your safety net. Load the dumbbells on the floor beside the bench, not on the rack's pegs, to avoid altering the rack's center of gravity. Sit on the 10-inch bench pad, kick the dumbbells up to your shoulders using your knees, and lean back. Your scapulae should pinch together, sinking into the narrow pad. As you lower the weights in a wide arc, your elbows should drop just below the plane of the bench. If you fail the rep, simply open your hands and drop the dumbbells to the floor—never attempt to curl them back to your shoulders when fatigued, as this is the leading cause of bicep tendon tears during isolation movements.
Summary Checklist for Your 2026 Gym Build
- Anchor the Rack: Use 3/8-inch wedge anchors on a leveled base.
- Optimize the Bench: Select a 10-inch pad for unhindered scapular retraction during flys.
- Verify Barbell Weight: Demand a +/- 100g tolerance or better.
- Select the Knurl: Choose Volcano knurl with a Stainless or Cerakote finish for longevity and grip.
- Install UHMW Plastics: Protect your investment from metal-on-metal degradation.
By meticulously planning the structural installation and understanding the nuanced specifications of Olympic barbell weight and knurling, you create a training environment that is both exceptionally safe and optimized for high-level hypertrophy and strength gains.
More gear to consider
All reviews
Olympic vs Standard Plates for the Single Hand Dumbbell Row

Rubber Hex vs Urethane: Dumbbell Workouts Without a Bench
Fix Your Dumbbell Bridge: 2026 Adjustable Dumbbell Guide
Smith Machine Squat vs Leg Press vs Neoprene Dumbbells for Home Use

Step-by-Step Dumbbell Exercises for Strength Using Neoprene Sets
