
Olympic Barbell Buying Guide & Dumbbell Exercises for Building Muscle
Master your home gym setup with our Olympic barbell buying guide on weight and knurling, plus rack integration for dumbbell exercises for building muscle.

The Ultimate Home Gym Installation: Barbell Foundations and Accessory Integration
Building a commercial-grade home gym in 2026 requires more than just dropping a rack and a bar into your garage. It demands a meticulous setup protocol, starting with the anchor of your entire training ecosystem: the Olympic barbell. Understanding the nuances of barbell weight calibration, shaft metallurgy, and knurling profiles is the difference between a lifetime investment and a rusted, bent piece of steel. Furthermore, a complete installation walkthrough must account for hybrid programming—seamlessly transitioning from heavy barbell compounds to targeted dumbbell exercises for building muscle to ensure comprehensive hypertrophy and joint health.
This guide walks you through the unboxing, inspection, rack integration, and programming setup for your free weight station, ensuring your equipment meets elite standards from day one.
Phase 1: Unboxing and Dimensional Verification
When your Olympic barbell arrives, do not simply throw it on the rack. Elite manufacturers like Rogue Fitness and Eleiko machine their bars to strict tolerances, but shipping and handling can occasionally cause cosmetic or structural anomalies. Follow this inspection protocol before loading plates.
Step-by-Step Shaft Inspection
- Verify the Weight: A standard men's Olympic bar must weigh exactly 20kg (44.09 lbs). Use a calibrated digital floor scale. Competition bars have a tolerance of +/- 10 grams, while high-end commercial bars sit within +/- 50 grams.
- Check the Whip and Spin: Secure one sleeve in a rack J-cup and apply downward pressure to the center of the shaft. A powerlifting bar (205,000+ PSI tensile strength) should exhibit minimal whip, whereas a weightlifting bar (190,000 PSI) will flex noticeably.
- Sleeve Rotation Test: Spin the sleeve by hand. Bronze bushing bars will have a smooth, controlled rotation ideal for heavy squats and presses. Needle bearing bars will spin rapidly and freely, which is mandatory for Olympic cleans and snatches to prevent wrist torque.
- Measure the Hash Marks: Use a tape measure to verify the knurling rings. According to International Weightlifting Federation (IWF) standards, weightlifting rings must be exactly 910mm (35.8 inches) apart. IPF powerlifting rings are 810mm (31.9 inches) apart. Dual-marked bars feature both.
Wipe the shaft down with a dry paper towel. If it comes away black or overly greasy, the factory anti-rust coating hasn't been properly stripped. Clean the shaft with a nylon brush and a light application of 3-in-One oil before your first session to ensure optimal grip.
Phase 2: Decoding Knurling Profiles and Metallurgy
The knurling pattern is the most critical interface between your hands and the load. In 2026, manufacturers utilize CNC lathes to cut specific geometric profiles into the steel shaft. Choosing the wrong knurl can tear your calluses during high-volume deadlifts or cause the bar to slip during heavy front squats.
The Three Primary Knurling Geometries
- Volcano Knurling: The gold standard for premium bars. The CNC machine cuts a diamond shape and then shaves off the sharp peak, leaving a crater-like rim with four distinct gripping edges. It provides aggressive grip without tearing the skin.
- Mountain Knurling: Sharp, pointed peaks that dig deeply into the hand. Excellent for maximal single-rep deadlifts, but notorious for shredding hands during high-volume hypertrophy work.
- Hill Knurling: Rounded, passive peaks. Common on budget bars or dedicated squat bars. It feels comfortable but can become slippery during heavy pulling movements when chalk is applied.
2026 Premium Barbell Specification Matrix
| Barbell Model | Knurl Profile | Tensile Strength | Finish & Price (Approx.) |
|---|---|---|---|
| Rogue Ohio Power Bar | Aggressive Volcano | 205,000 PSI | Stainless Steel / $395 |
| REP Fitness EX Power Bar | Deep Mountain | 200,000 PSI | Hard Chrome / $299 |
| Eleiko IWF Weightlifting Bar | Refined Volcano | 215,000 PSI | Polished Chrome / $950+ |
Phase 3: Rack Integration and Safety Spotter Setup
With the barbell verified, the next step in the installation walkthrough is integrating it into your power rack or squat stand. Proper J-cup and spotter arm placement is non-negotiable for safety, especially when training alone.
Optimal J-Cup and Spotter Arm Placement
Modern racks utilize either 1-inch Westside hole spacing in the bench press zone or standard 2-inch spacing. Follow these measurements for a safe setup:
- Squat J-Cup Height: Set the J-cups exactly 2 inches below your loaded barbell height at the top of your squat stance. This prevents you from having to calf-raise to unrack the weight.
- Squat Spotter Arms: Place the safety straps or pin-pipe arms one hole (1 to 2 inches) below your lowest squat depth. Test this with an empty bar first. You must be able to collapse safely without the bar crushing your cervical spine, but high enough to catch the bar if you fail a rep.
- Bench Press Setup: When setting up for the bench press, the spotter arms should sit roughly 1 inch above your chest. This allows your ribcage to expand fully during the eccentric phase while ensuring the bar cannot pin you to the bench.
Phase 4: Hybrid Programming — Barbell Foundations and Accessory Work
A complete home gym setup is not just about hardware; it is about how the hardware facilitates your training methodology. While the Olympic barbell is unmatched for systemic central nervous system overload and maximal strength development, it has limitations regarding unilateral symmetry and joint-friendly isolation. This is where your rack's accessory attachments and adjustable bench come into play.
Bridging the Gap with Unilateral Hypertrophy
Once your heavy barbell compounds (Squats, Deadlifts, Bench Press) are completed, the most effective way to address muscular imbalances and drive localized hypertrophy is by integrating targeted dumbbell exercises for building muscle. Transitioning from the barbell to dumbbells allows for a greater range of motion, reduces spinal compression, and forces each limb to stabilize the load independently.
"The barbell builds the foundation of absolute strength, but dumbbells sculpt the details. You cannot fix a left-to-right bench press imbalance with more barbell benching; you fix it with heavy, unilateral dumbbell work." — Biomechanics and Hypertrophy Consensus, 2025
The Hybrid Rack Workflow
To maximize efficiency in your home gym, structure your equipment layout to allow seamless transitions. Here is an optimal workflow for a single training session:
- Primary Compound (Barbell): Barbell Back Squat (5 sets of 5 reps). Utilizes the rack's J-cups and safety spotters.
- Secondary Compound (Barbell/Dumbbell): Incline Press. Set the adjustable bench to 30 degrees inside the rack. Use the barbell for heavy sets of 6-8, then immediately drop the weight and switch to dumbbells for a burnout set of 12-15 reps to maximize muscle fiber recruitment.
- Unilateral Accessory (Dumbbell): Bulgarian Split Squats. Anchor your rear foot on the rack's pull-up bar or a dedicated attachment, utilizing heavy dumbbells to target the quads and glutes without loading the lumbar spine.
- Isolation (Dumbbell): Chest-Supported Dumbbell Rows. Set the bench to a 45-degree incline inside the rack to eliminate lower back momentum, focusing purely on lat and rhomboid contraction.
Phase 5: Maintenance and Long-Term Care
Your installation walkthrough concludes with establishing a maintenance routine. The longevity of your barbell's knurling and sleeve rotation depends on environmental control and regular upkeep.
- Chalk Removal: Gym chalk (magnesium carbonate) packs into the volcano knurling peaks and holds moisture against the steel, accelerating oxidation. After every session, use a stiff nylon brush to scrub the knurling, followed by a microfiber cloth.
- Sleeve Lubrication: Every 3 to 6 months, remove the barbell end-caps (if your model features serviceable sleeves) and apply a few drops of synthetic bearing oil to the bushings or needle bearings. Wipe away excess oil to prevent dust accumulation.
- Storage Protocol: Never store the barbell on the J-cups with loaded plates. The constant downward pressure can warp the shaft over time and degrade the UHMW plastic liners on your J-cups. Store the bare bar horizontally on dedicated vertical barbell holsters or wall-mounted racks.
Final Thoughts on Your 2026 Setup
Installing a premium Olympic barbell and configuring your rack for hybrid training is an investment in your long-term physical development. By rigorously inspecting the weight calibration, understanding the metallurgy of your knurling, and strategically programming dumbbell exercises for building muscle alongside your heavy barbell lifts, you create a commercial-grade training environment in your own home. Respect the equipment, maintain it meticulously, and let the iron do the work.
More gear to consider
All reviews
What Does Dumbbell Fly Work? Barbell Collars & Clamps Compared
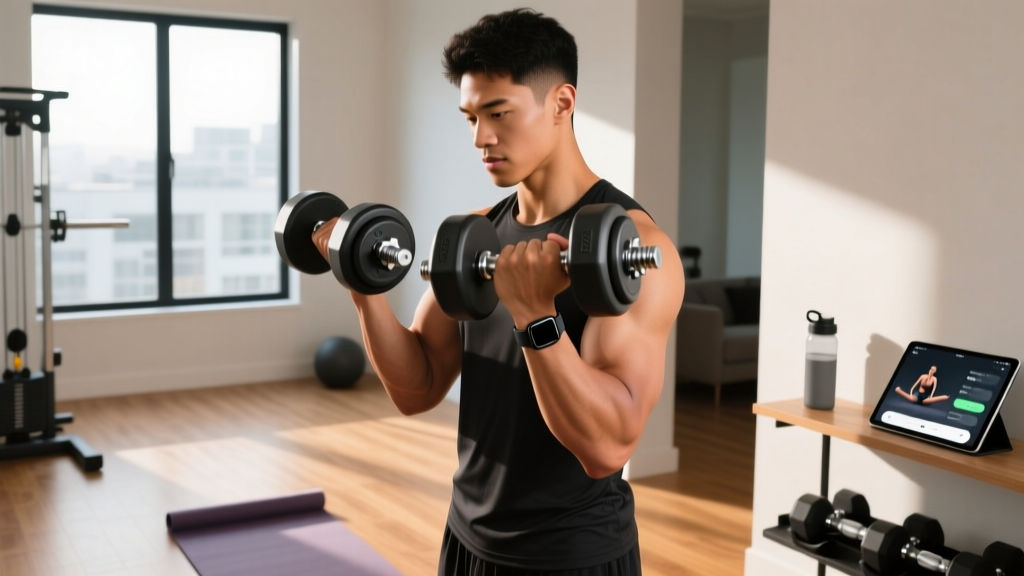
Best Adjustable Dumbbells for Routines with Dumbbells (2026)
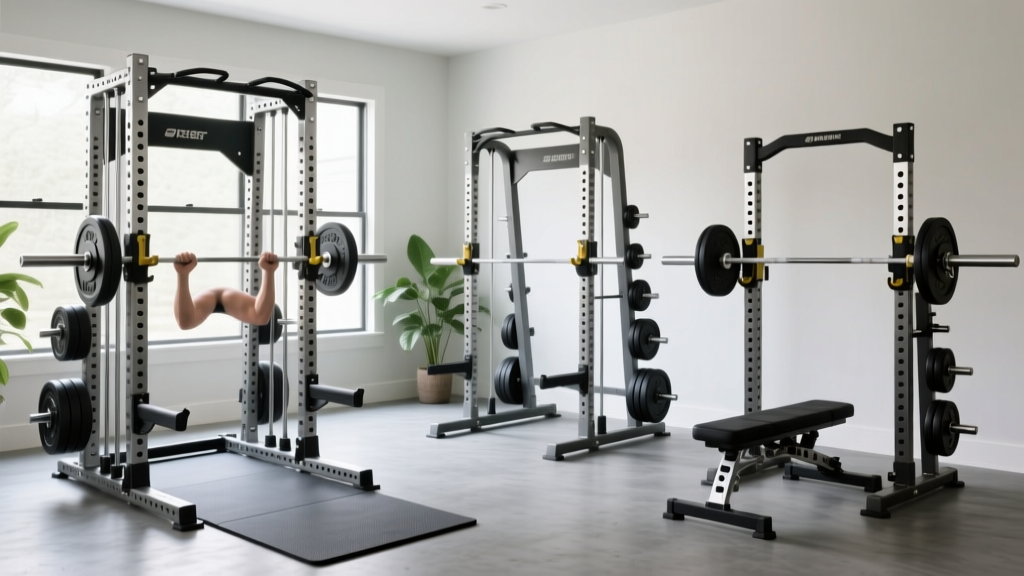
Power Rack vs Squat Rack vs Stand: Beyond the Bar Dumbbell Phase
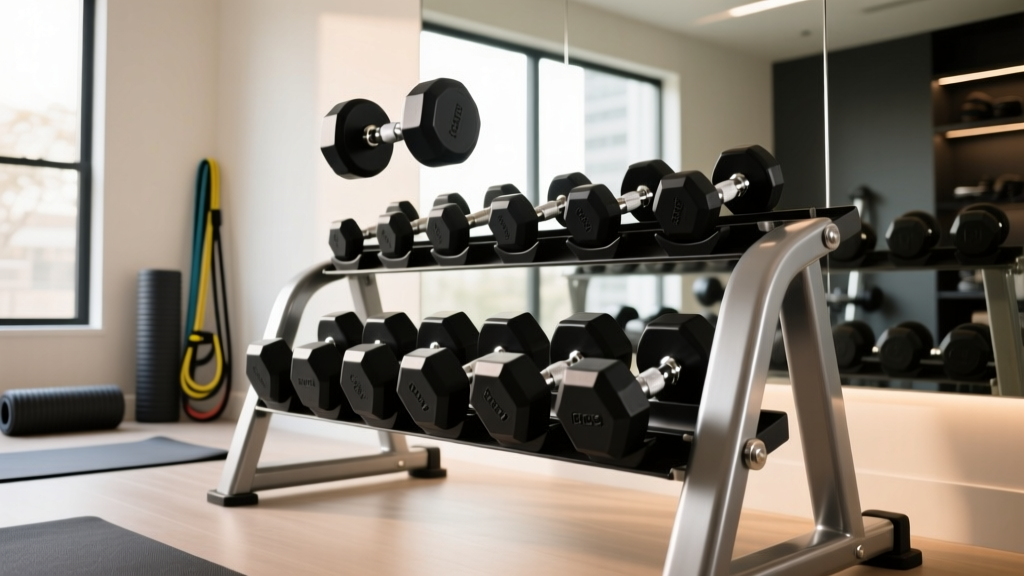
Top 2026 Dumbbell Racks to Support Dumbbell Row Muscles Workouts

T Bar Row with Dumbbells: Beginner Guide for Home Gyms
