
Zone Setup: Neoprene Gear for HIIT Dumbbell Exercises
Master your home gym layout with our complete setup walkthrough for neoprene weights, optimizing your space for safe, effective HIIT dumbbell exercises.

The Biomechanical Case for Neoprene in High-Intensity Zones
When engineering a dedicated home space for high-intensity interval training, equipment selection dictates both safety and performance ceiling. While urethane and cast iron dominate traditional strength zones, neoprene coated dumbbells have emerged as the undisputed standard for HIIT dumbbell exercises in 2026. The reason lies in the material science of polychloroprene (synthetic rubber) and its interaction with human physiology under cardiovascular duress.
During a standard 45-minute HIIT session, core body temperature spikes, resulting in palmar hyperhidrosis (excessive hand sweating). Bare steel or lightly knurled iron becomes a slip hazard during dynamic movements like dumbbell snatches or renegade rows. Neoprene provides a micro-textured, moisture-wicking grip that maintains a high coefficient of friction even when saturated. Furthermore, the slightly softer durometer of neoprene dampens acoustic impact when dropping weights onto rubber flooring between intervals—a critical factor for home gym environments.
Material Breakdown: Polychloroprene vs. Traditional Rubber
It is a common industry misconception to group neoprene with standard virgin rubber. True neoprene dumbbells feature a solid cast-iron core encased in a 3mm to 5mm layer of chloroprene rubber. This specific polymer resists the oxidative breakdown caused by UV exposure and the acidic pH of human sweat far better than standard recycled rubber, which tends to dry-rot, flake, and emit volatile organic compounds (VOCs) over time.
Weight Tiering and 2026 Market Pricing
Setting up a functional HIIT zone requires a strategic spread of weights. According to the American Council on Exercise (ACE), HIIT protocols require rapid transitions between upper-body isolation, lower-body compound, and full-body ballistic movements. A single pair of dumbbells is insufficient. You must install a tiered system.
| Weight Tier | Primary HIIT Application | Example Movements | 2026 Avg. Price / lb |
|---|---|---|---|
| Light (5 - 12 lbs) | High-Cadence Isolation / Cardio | Shadow Boxing, Lateral Raises, Speed Thrusters | $2.10 - $2.50 |
| Medium (15 - 25 lbs) | Metabolic Conditioning / Core | Renegade Rows, Woodchoppers, Devil Presses | $1.70 - $1.95 |
| Heavy (30 - 50 lbs) | Power Output / Lower Body | Goblet Squats, Weighted Skaters, Lunges | $1.40 - $1.65 |
Note: Premium brands like CAP Barbell and Yes4All dominate the neoprene market. Avoid ultra-cheap, unbranded imports, as they often use off-gassing PVC blends disguised as neoprene, which become dangerously slick when wet.
Spatial Installation: Engineering the HIIT Perimeter
The physical installation of your HIIT zone requires precise spatial planning. Unlike powerlifting, which operates on a fixed sagittal plane, HIIT dumbbell exercises demand multi-planar clearance. The Cleveland Clinic notes that lateral and rotational movements are key to maximizing the cardiovascular and neuromuscular benefits of interval training.
Flooring Substrate and Shock Absorption
Do not install HIIT zones directly over hardwood or laminate. The repetitive dropping of neoprene dumbbells during fatigue-induced transitions will dent and fracture wood subfloors.
- Optimal Substrate: 3/8-inch (8mm) thick vulcanized rubber horse stall mats or interlocking high-density EVA foam tiles (minimum 40 Shore A hardness).
- Zone Dimensions: Measure out a minimum 8x8 foot perimeter. This allows for a 6-foot wingspan clearance for lateral lunges and dumbbell swings, plus a 2-foot buffer zone to prevent drywall impact.
- Installation Step: Lay a 6-mil polyethylene vapor barrier beneath the rubber mats to prevent moisture trapping and subfloor mold, especially in basement gyms.
Step-by-Step Rack Assembly and Anchoring
Leaving neoprene dumbbells scattered on the floor creates a severe trip hazard during fast-paced interval transitions. A 3-tier A-frame or horizontal rack is mandatory. Here is the professional installation sequence to eliminate the 'wobble' common in budget dumbbell racks:
- Base Alignment: Assemble the U-shaped base feet on a level surface. Do not fully tighten the bolts yet. Leave them at 50% torque to allow the frame to settle into its natural geometry.
- Vertical Upright Installation: Insert the vertical supports. Ensure the welded gussets face inward for maximum load-bearing support.
- Tiered Tray Mounting: Slide the angled trays onto the crossbars. The 5-degree backward slope is engineered to prevent cylindrical neoprene handles from rolling forward when placed aggressively.
- The Cross-Torque Sequence: Using a socket wrench, tighten all base bolts first, followed by the uprights, and finally the tray brackets. Tighten in a star pattern (similar to a car tire) to distribute tension evenly.
- Anti-Tip Anchoring (Critical): If your rack exceeds 36 inches in height, use a drywall stud finder to locate a wall stud behind the rack. Secure the top crossbar to the stud using a 3-inch lag screw and a steel L-bracket. A fully loaded neoprene rack can exceed 300 lbs; dynamic loading during a rushed HIIT transition can easily tip an unanchored unit.
Position your dumbbell rack at least 18 inches away from your primary flooring mat. During HIIT, sweat drips continuously from the neoprene handles. If the rack sits on the edge of your workout mat, this sweat will pool on the smooth rubber edge, creating a severe slip hazard when you step backward to grab the next weight tier.
Maintenance Protocol: Preventing Neoprene Degradation
While neoprene is highly durable, it is not invincible. The most common failure mode for home gym neoprene dumbbells is 'surface glazing'—a phenomenon where body oils, dead skin cells, and acidic sweat build up in the micro-pores of the coating, eventually hardening into a slick, glossy shell that ruins the grip.
"To maintain the tactile friction of polychloroprene, avoid bleach-based or ammonia-based cleaners. These harsh chemicals break down the polymer chains, causing the neoprene to chalk and flake within 6 to 8 months."
— FitGearPulse Material Testing Lab, 2025 Report
The 15-Second Post-HIIT Wipe Down
Keep a spray bottle filled with a 50/50 mixture of distilled white vinegar and water, plus three drops of mild dish soap, near your rack. Immediately after your HIIT session concludes, spray the handles and wipe them with a microfiber cloth. The mild acidity of the vinegar neutralizes the alkaline salts left behind by dried sweat, preserving the matte, high-grip finish of the neoprene for years of high-intensity use.
Frequently Asked Questions
Can I use neoprene dumbbells for heavy strength training outside of HIIT?
Yes, but with caveats. Neoprene dumbbells typically max out at 50 lbs per hand in most commercial sets. While excellent for goblet squats and lunges during a HIIT circuit, they lack the knurling required for heavy, low-rep strength work like dumbbell bench presses. For heavy hypertrophy, urethane or knurled steel is preferred.
Will the neoprene coating damage my rubber flooring?
No. Neoprene has a similar durometer to high-density rubber flooring. Dropping them from waist height during a fatigued HIIT set will not dent or tear 3/8-inch vulcanized rubber mats, making them the safest free-weight option for multi-use home spaces.
How do I fix a neoprene dumbbell that has started to smell?
Odors are caused by bacteria trapped in the microscopic texture of the coating. Create a paste using baking soda and water, coat the handles, and let them sit in a cool, dry room (out of direct sunlight) for 12 hours. Wipe the paste off with a damp cloth to extract the odor-causing bacteria from the polymer pores.
More gear to consider
All reviews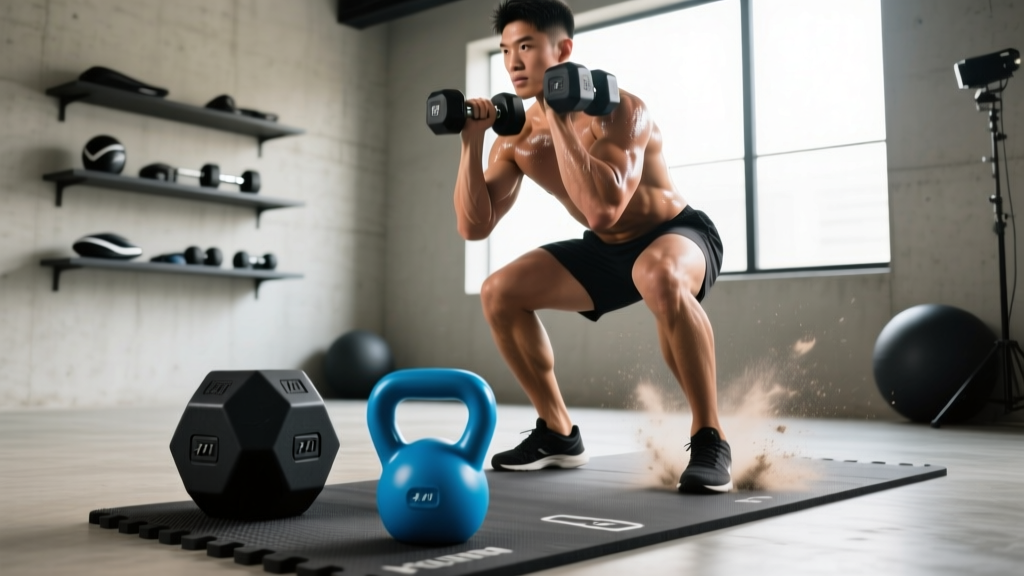
Rubber Hex vs Urethane for Dumbbell Jumping Squats: Expert Review

Bumper Plate vs Iron Plate & Dumbbell Chest Fly Muscles Worked
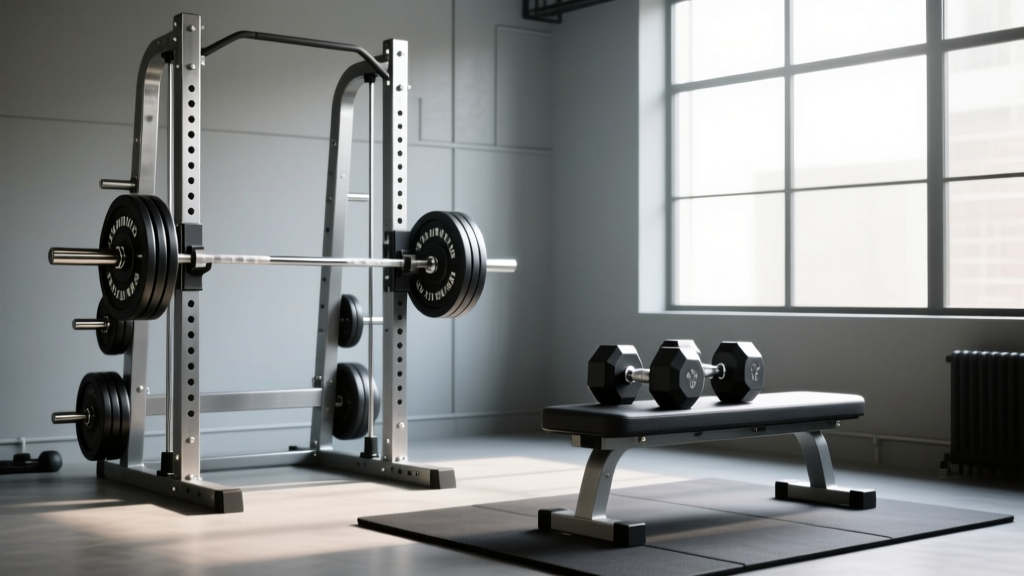
Dumbbell Press vs Bench Press: Olympic vs Standard Plate Setup

Barbell Collar Types: Upgrading From Alternating Dumbbell Curls

Collar Comparison: Dumbbell Skull Crusher Beginner Weight & Barbell Safety
