Neoprene Dumbbells Shoulder Zone: Complete Home Gym Setup
Master your home gym layout with our complete setup guide for neoprene dumbbells, optimizing space, rack installation, and dumbbells shoulder routines.

The Architecture of a Neoprene Home Gym Zone
Transitioning from a scattered collection of fitness gear to a highly functional home gym requires spatial engineering, not just unboxing. Neoprene-coated dumbbells—encased in a synthetic polychloroprene rubber shell over a cast-iron or steel core—are a staple for residential setups. They offer a tactile, sweat-resistant grip and protect hardwood or laminate flooring from catastrophic dings. However, 'installation' in the context of free weights refers to the strategic assembly of your storage infrastructure, environmental preparation, and biomechanical zoning.
In 2026, the home fitness market has seen a stabilization in neoprene pricing, averaging between $1.15 and $1.60 per pound depending on the brand. Budget lines like Amazon Basics hover around $1.15/lb, while premium hex-profile options from CAP Barbell or Yes4All push toward $1.60/lb. But purchasing the weights is only step one. To truly optimize your space—especially when dedicating a specific zone for overhead pressing and lateral movements—you must calculate clearances, assemble tiered racks to exact torque specifications, and manage the initial off-gassing of the rubber coating.
Spatial Engineering: Clearance for Dumbbells Shoulder Routines
When programming dumbbells shoulder routines, the biomechanical leverage of the deltoid complex requires a wider wingspan than most lifters anticipate. According to layout guidelines referenced by the EXRX Weight Room Testing Directory, inadequate lateral clearance forces lifters to alter their scapular plane, increasing the risk of subacromial impingement during lateral raises or Arnold presses.
Below is the minimum required clearance matrix for a dedicated shoulder and upper-body zone. These dimensions assume a standard 6-foot-tall lifter and account for the full arc of motion plus a 12-inch safety buffer.
| Exercise Movement | Width Clearance | Depth Clearance | Vertical Clearance |
|---|---|---|---|
| Standing Lateral Raises | 72 inches (6 ft) | 36 inches (3 ft) | 84 inches (7 ft) |
| Seated Overhead Press | 48 inches (4 ft) | 48 inches (4 ft) | 96 inches (8 ft) |
| Bent-Over Rear Delt Flyes | 60 inches (5 ft) | 60 inches (5 ft) | 72 inches (6 ft) |
| Upright Rows | 36 inches (3 ft) | 36 inches (3 ft) | 84 inches (7 ft) |
Never perform lateral raises directly in the frontal or coronal plane. Angle your arms roughly 30 degrees forward (the scapular plane). This requires slightly more depth clearance but significantly reduces rotator cuff strain, a critical consideration when using fixed-weight neoprene dumbbells where micro-adjustments in form are your only injury-prevention variable.
Step-by-Step Storage Rack Installation
Neoprene dumbbells are typically stored on 3-tier A-frame or horizontal steel racks. A poorly assembled rack will sway under the asymmetric load of a 5-to-50 lb set, posing a severe tipping hazard. Follow this precise installation sequence to ensure structural rigidity.
- Baseplate Alignment: Position the rack base on a level surface. If your floor has a variance greater than 1/8th of an inch over 6 feet, use composite shims under the rear feet before tightening. An unlevel base will cause the neoprene hex heads to roll off the tier rails.
- Upright Insertion & Carriage Bolts: Insert the M10x30mm carriage bolts through the baseplate and uprights. Do not fully tighten yet. Leave approximately 3 threads exposed to allow the frame to self-square.
- Crossbar Installation: Attach the diagonal stabilizing crossbars. These are the primary anti-sway components. Hand-tighten the nylock nuts.
- The Torque Sequence: Using a calibrated torque wrench, tighten all base and crossbar hardware to 35 Nm (Newton-meters). Follow a star pattern—similar to changing a car tire—to distribute tension evenly across the steel joints.
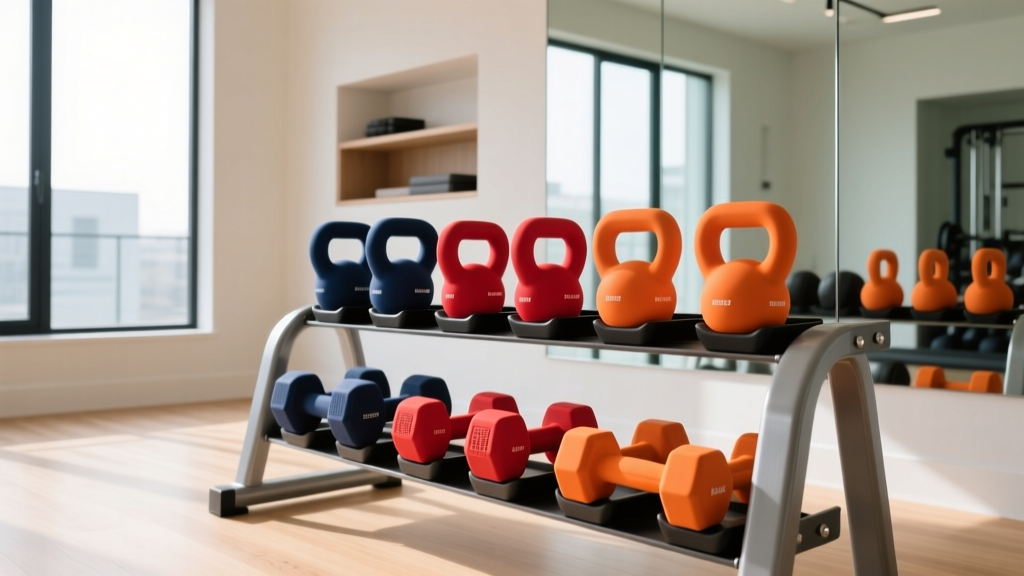
- Tier Rail Loading: Load the heaviest dumbbells (35+ lbs) on the bottom tier, medium weights (15-30 lbs) in the middle, and light weights (5-10 lbs) on the top. This lowers the center of gravity and prevents top-heavy tipping during extraction.
Weight Increment Strategy: The Deltoid Dilemma
The shoulder muscles (anterior, lateral, and posterior deltoids) are relatively small compared to the pectorals or latissimus dorsi. Consequently, they fatigue rapidly and require precise micro-loading. A standard neoprene set jumps in 5-pound increments (e.g., 10 lbs to 15 lbs). For lateral raises, a 50% increase in load is neurologically and mechanically jarring.
Solving the Increment Gap
To build a comprehensive dumbbells shoulder zone, you must supplement your primary neoprene set with micro-weights. In 2026, the most cost-effective method is purchasing 1 lb, 2 lb, and 3 lb neoprene pairs (often sold as 'rehab' or 'aerobic' weights) alongside your main set. Alternatively, you can use magnetic micro-plates (like PlateMates) that adhere to the cast-iron core of the neoprene dumbbells, though you must ensure the magnetic grip is rated for the knurled or smooth steel beneath the rubber coating.
'The lateral deltoid responds best to higher volume and strict time-under-tension rather than maximal load. Forcing a 5-pound jump when your form breaks down on a 12-pound lateral raise is a primary catalyst for supraspinatus tendinopathy in home-gym lifters.' — Biomechanics Insights, National Strength and Conditioning Association (NSCA)
Flooring, Acoustics, and Environmental Control
Neoprene is highly durable, but it is not invincible. Dropping a 40 lb neoprene dumbbell from shoulder height onto bare concrete will fracture the cast-iron core, causing the rubber shell to split. You must install proper flooring in your drop zone.
- Thickness: Minimum 8mm (approx. 5/16-inch) vulcanized rubber matting. Standard 1/4-inch foam puzzle mats are entirely insufficient for free-weight impact and will bottom out, transferring shock back into the dumbbell.
- Acoustic Dampening: Rubber matting reduces impact noise by up to 60%, a necessary courtesy if your home gym is located on an upper floor or in a shared residential building.
- Off-Gassing Management: New polychloroprene products emit Volatile Organic Compounds (VOCs). The EPA notes that VOCs can cause acute respiratory irritation. Unbox your neoprene dumbbells in a garage or well-ventilated patio for 72 hours before bringing them into your primary living space. Wipe them down with a damp microfiber cloth to remove factory release agents.
Maintenance: Preserving the Chloroprene Coating
Unlike urethane, which is virtually impervious to chemicals, neoprene is a porous synthetic rubber that degrades when exposed to harsh alkalines, UV radiation, and excessive human sebum (skin oils). To ensure your setup lasts a decade or more, adhere to this maintenance protocol:
- Cleaning Agents: Never use bleach, ammonia, or alcohol-based sanitizers. These strip the plasticizers from the neoprene, leading to dry rot and flaking. Use a pH-neutral dish soap diluted in warm water.
- UV Protection: If your home gym zone is near a south-facing window, the UV rays will bleach and brittle the neoprene coating within 18 months. Apply a UV-blocking window film or use blackout curtains during peak sunlight hours.
- Grip Preservation: Wash your hands before use. The acidic nature of sweat combined with dead skin cells creates a grime layer that fills the micro-texture of the neoprene, making the handles slick during heavy overhead presses.
Final Walkthrough Checklist
Before executing your first workout, verify the following: Rack bolts are torqued to 35 Nm, the heaviest weights are on the bottom tier, the drop zone is covered by 8mm vulcanized rubber, and the room is ventilated. By treating your free-weight setup as an engineered environment rather than an afterthought, you create a safe, biomechanically sound space that supports long-term hypertrophy and joint health.
More gear to consider
All reviews
EZ vs Straight Bar: Space Layouts and Dumbbell Press Form

EZ Curl vs Straight Bar: Budget & Dumbbell Arnold Arm Day Value
Barbell Collar Clamp Types & Dumbbell Skull Crusher Workout Safety

Russian Twist with Dumbbells vs Kettlebells: Cast Iron Care Guide

Incline Dumbbell Curl Bench Angle: Loadable Dumbbell Value Analysis