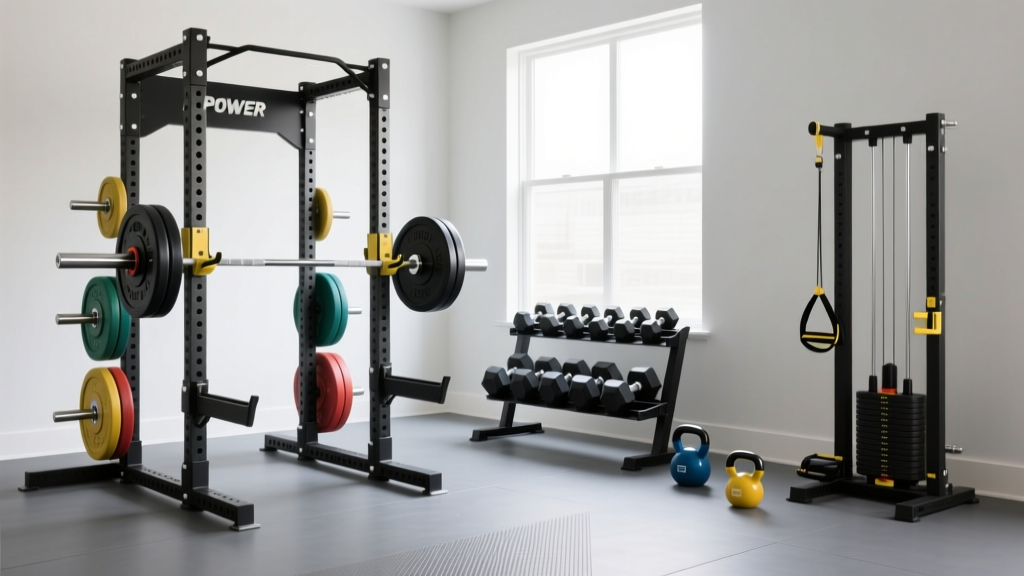
Home Gym Setup: Dumbbell and Bench Full Body Workout Guide
Master your home gym layout with our complete setup walkthrough for neoprene dumbbells and an adjustable bench to optimize your full body workout space.

The Foundation: Why Neoprene Dumbbells Dominate Home Gyms
When designing a dedicated space for a dumbbell and bench full body workout, the choice of weight coating dictates your flooring requirements, acoustic footprint, and long-term maintenance. Neoprene (polychloroprene) is a synthetic rubber that has become the gold standard for light-to-medium home gym setups in 2026. Unlike cast iron, which chips and rusts, or urethane, which costs upwards of $4.00 per pound, neoprene offers a middle ground. It typically costs between $1.25 and $1.75 per pound, providing a soft, grippy exterior that protects hardwood floors and dampens sound.
However, neoprene is not indestructible. Its tensile strength is lower than virgin urethane, meaning repeated overhead drops will eventually cause the coating to split at the handle seam. Therefore, your setup and installation must prioritize controlled movement zones and proper shock-absorbing flooring to maximize the lifespan of your equipment.
Step 1: Unboxing, Off-Gassing, and Initial Inspection
Before assembling your bench or laying down mats, you must address the chemical reality of synthetic rubber. Neoprene dumbbells undergo a manufacturing process that traps volatile organic compounds (VOCs) within the coating.
⚠️ Critical Installation Warning: Off-Gassing
Do not immediately place newly unboxed neoprene dumbbells in a poorly ventilated basement or bedroom. Unbox the weights in a garage or well-ventilated area and let them off-gas for 48 to 72 hours. Wipe them down with a mild dish soap and water solution to remove factory mold-release agents, which can make the grip dangerously slippery during your first workout.
Inspect the hex heads for molding defects. A common failure mode in budget neoprene sets (such as those priced under $1.00/lb) is uneven weight distribution or excess rubber flashing on the bottom edges, which will cause the dumbbells to roll on an incline bench.
Step 2: Bench Selection and Assembly Calibration
A successful dumbbell and bench full body workout hinges on the compatibility between your dumbbell heads and your bench pad. Neoprene dumbbells are inherently bulkier than their iron counterparts. A standard 35lb neoprene dumbbell can have a head width of up to 4.5 inches.
If you select a bench with a narrow pad (under 10 inches), the inner edges of the dumbbells will strike the metal frame during chest presses, tearing the neoprene and damaging the bench's vinyl. We recommend the Flybird Adjustable Weight Bench (Model FB-139), currently retailing around $139.99. It features an 11.5-inch wide, high-density foam pad and a 1,000 lb weight capacity.
Bench Assembly Checklist:
- Fastener Torque: Use a socket wrench rather than the included Allen key for the main pivot bolts. Tighten to approximately 35 ft-lbs to eliminate lateral wobble during unilateral movements like single-arm rows.
- Decline Pin Check: Ensure the pop-pins engage fully into the ladder. A partially engaged pin under load can shear off, leading to catastrophic bench collapse.
- Vinyl Treatment: Apply a UV-protectant vinyl cleaner to the pad to prevent cracking from sweat acidity over time.
Step 3: Spatial Walkthrough and Clearance Matrix
According to the American Council on Exercise (ACE), inadequate spatial planning is the leading cause of home gym injuries and equipment damage. To execute a comprehensive routine safely, you must map out your clearance zones based on human biomechanics and equipment dimensions.
The average adult male wingspan is roughly equal to their height. Add 24 inches for dumbbell length and safe clearance, and you quickly realize that a standard 6x6 foot bedroom corner is insufficient for lateral movements.
| Exercise | Minimum Width | Minimum Depth | Ceiling Height |
|---|---|---|---|
| Incline DB Chest Press | 8 ft | 5 ft | 7 ft |
| Standing DB Lateral Raise | 9 ft | 4 ft | 7 ft |
| DB Goblet Squat | 4 ft | 4 ft | 8 ft |
| Renegade Rows (Floor) | 6 ft | 7 ft | 7 ft |
Step 4: Flooring and Storage Installation
While neoprene is softer than iron, a 50 lb dumbbell dropped from a standing height generates enough kinetic energy to dent hardwood flooring or crack ceramic tile. Thin 3/8" EVA foam puzzle mats are entirely insufficient for a serious dumbbell and bench full body workout. They compress too easily, creating an unstable base for heavy bench presses.
Pro Setup Tip: Invest in 1/2" thick vulcanized rubber mats (often sold as horse stall mats). At approximately $50 per 4x6 foot sheet, they provide the necessary shock absorption to protect both your subfloor and the neoprene coating on your dumbbells.
For storage, avoid horizontal wall-mounted racks, which can scrape the neoprene coating off the handle ends over time. Instead, install a vertical A-frame rack (like the Tone Fitness 10-Tier Neoprene Rack, ~$75). Place the rack at least 18 inches away from your workout zone to prevent tripping hazards during transitions between floor and bench exercises.
Executing the Dumbbell and Bench Full Body Workout
With your space calibrated and gear assembled, you can now leverage your setup for an efficient, high-yield routine. The Mayo Clinic's Strength Training Guidelines emphasize the importance of hitting all major muscle groups at least twice a week for optimal metabolic and musculoskeletal health. Your spatial layout allows for seamless transitions between the following circuit:
- DB Goblet Squats (Floor Zone): 4 sets of 12 reps. Utilizes the open 4x4 floor space.
- Incline DB Chest Press (Bench Zone): 4 sets of 10 reps. Bench set to 30 degrees. The 11.5" pad ensures your elbows clear the frame.
- Single-Arm DB Row (Bench Zone): 3 sets of 12 reps per arm. Hand and knee on the flat bench.
- DB Romanian Deadlifts (Floor Zone): 4 sets of 10 reps. Step back from the bench to utilize the rubber matting for barefoot or flat-soled stability.
- Seated DB Overhead Press (Bench Zone): 3 sets of 10 reps. Bench set to 90 degrees (fully upright).
Troubleshooting and Neoprene Maintenance
Even with a perfect setup, neoprene requires specific maintenance to survive years of use. The most common failure mode is the separation of the rubber coating from the inner cast-iron core near the handle collar. This occurs when sweat seeps into micro-abrasions, oxidizing the iron and expanding the rust, which pushes the neoprene outward until it splits.
Preventative Maintenance Protocol:
- Post-Workout Wipe: Never leave neoprene dumbbells sweaty. Use an antibacterial wipe or a cloth dampened with a 50/50 water and white vinegar solution immediately after your workout.
- UV Protection: Keep your gym setup away from direct sunlight. Prolonged UV exposure breaks down the polymers in polychloroprene, causing it to become brittle and chalky within 12 to 18 months.
- Repairing Tears: If a seam begins to peel, clean the area with rubbing alcohol and apply a flexible polyurethane-based adhesive (like Shoe Goo). Clamp it for 24 hours. Do not use superglue, as it cures rigid and will crack the moment the dumbbell is dropped.
By meticulously planning your spatial footprint, selecting a bench with appropriate pad dimensions, and committing to the specific maintenance needs of synthetic rubber, your home gym will remain a safe, highly functional environment for years of effective training.
More gear to consider
All reviews
Barbell Collar & Clamp Comparison: Past Different Dumbbell Workouts

Bumper vs Iron Plates: Best for Dumbbell Diagonal Lift?
Dumbbell Front Foot Elevated Split Squat: Beginner Home Guide

Bumper Plate vs Iron Plate: Layouts for Dumbbell Bulgarian Split

How Low Should the Bench Be for Incline Dumbbell Press? (Barbell Guide)