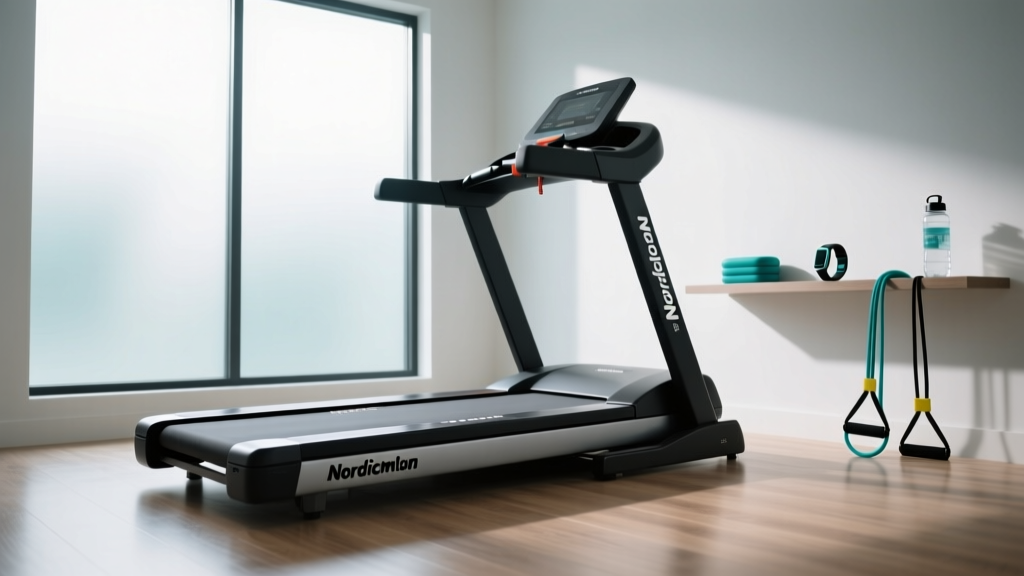
Setup Guide: LifeSpan Treadmill TR4000i vs Curved Manual Installation
Master your home gym installation. Compare the setup, clearance, and assembly of the LifeSpan TR4000i motorized treadmill against curved manual models.

Installing a high-performance cardio machine in your home gym is an exercise in precision engineering. Whether you are unboxing a motorized folding unit or assembling a heavy-duty non-motorized runner, the setup process dictates the machine's longevity, safety, and operational smoothness. In this comprehensive installation walkthrough, we will use the highly popular LifeSpan treadmill TR4000i (a premium 2.75 HP motorized folding model typically priced around $1,399) as our baseline for motorized assembly. We will contrast this step-by-step with the setup requirements of a curved manual treadmill (such as the AssaultRunner Elite or Technogym Skillmill, which retail between $3,299 and $4,500).
By comparing the curved manual treadmill vs motorized treadmill installation paradigms, you will understand the distinct spatial, electrical, and mechanical demands of each platform. Let's get to work.
Phase 1: Spatial Mapping and Clearance Requirements
Before cutting any zip ties, you must map your floor space. The physical footprint of a motorized folding treadmill differs drastically from a curved manual model. According to the U.S. Consumer Product Safety Commission (CPSC), proper clearance is the single most critical factor in preventing severe friction-burn injuries and impact trauma during falls.
| Specification | LifeSpan TR4000i (Motorized) | Premium Curved Manual Treadmill |
|---|---|---|
| Assembled Footprint | 70' L x 33' W x 55' H | 68' L x 33' W x 64' H |
| Rear Safety Clearance | Minimum 36 inches (78' folded) | Zero (No motorized ejection risk) |
| Lateral Clearance | 24 inches on both sides | 30 inches on both sides |
| Ceiling Height Req. | Standard 8 ft (User + 10') | Standard 8 ft (User + 12') |
| Unit Weight | 185 lbs (84 kg) | 330 - 350 lbs (150 - 158 kg) |
Phase 2: Unboxing and Base Maneuvering
Motorized Base (LifeSpan TR4000i)
The TR4000i arrives with the main deck and motor housing pre-assembled. Weighing 185 lbs, the base can be tilted onto its transport wheels by a single person. Remove the cardboard chassis shell, slice the steel banding straps (wear gloves to prevent lacerations), and carefully roll the base to your designated installation zone. Ensure the hydraulic folding latch clicks securely into the 'up' position before proceeding.
Curved Manual Base
Curved treadmills arrive as a single, massive welded steel chassis. At over 330 lbs, moving the base requires two people and a heavy-duty appliance dolly. The curved running surface is highly susceptible to cosmetic scratching; leave the protective foam wrap on the side rails until the unit is in its final resting position. Because curved treadmills lack front transport wheels, you must tilt the unit backward onto the rear stabilizer bar to roll it into place.
Phase 3: The LifeSpan TR4000i Motorized Assembly Protocol
Assembling the uprights and console of a motorized treadmill involves managing delicate data cables alongside heavy steel components.
- Upright Installation: With a helper holding the left and right upright masts, align the base plates with the deck hinges. Insert the four 90mm hex bolts. Pro-Tip: Do not fully tighten these yet; leave them at 80% torque to allow for console alignment.
- Data Cable Routing: Feed the console ribbon cable through the right upright. This is the most common failure point in home assembly. If the cable pinches against the steel tube, the console will short out within weeks. Use the included fish-tape to pull the wire through smoothly.
- Console Mounting: Connect the 9-pin data connector and the 4-pin power connector. Secure the console bracket using the six 15mm Phillips screws.
- Final Torque: Go back to the upright base bolts and tighten them to 45 Nm using a 6mm Allen wrench. Attach the safety handrails and tighten the side-carriage bolts.
Phase 4: Curved Manual Treadmill Slat Belt Tensioning
Curved treadmills do not have uprights to assemble; the frame is a single welded piece. The installation focus here is entirely on the slat belt and magnetic resistance system.
- Slat Belt Inspection: Remove the shipping pins that lock the flywheel. Manually walk the belt forward to inspect the vulcanized rubber slats for any transit damage.
- Guide Rail Lubrication: Unlike motorized treadmills that use liquid silicone under the belt, curved treadmills run on UHMWPE (Ultra-High-Molecular-Weight Polyethylene) guide rails. Apply a light coat of PTFE (Teflon) dry spray to the left and right guide tracks. Never use wet silicone on a curved runner, as it will attract dust and cause the slats to stick.
- Leveling the Rear Stabilizer: Curved belts are highly sensitive to lateral drift. Use a 24-inch spirit level across the rear stabilizer bar. Adjust the threaded rubber feet until the bubble is perfectly centered. If the unit leans even 2 degrees to the right, the slat belt will track rightward and grind against the side panel during high-speed sprints.
Phase 5: Power Delivery and Calibration
Motorized Electrical Requirements
The LifeSpan TR4000i features a 2.75 HP continuous-duty motor. The Electrical Safety Foundation International (ESFI) strongly advises against plugging heavy-draw fitness equipment into shared circuits or extension cords. Plug the TR4000i directly into a dedicated 120V, 15-amp grounded wall outlet. Using an extension cord will cause voltage drops, leading to motor hesitation and eventual control board failure.
Belt Tracking Calibration (Motorized)
Once powered on, run the TR4000i at 3.0 MPH without stepping on it. Observe the rear roller. If the belt drifts to the left, insert the provided T-handle Allen wrench into the left rear adjustment bolt. Turn it exactly one-quarter turn clockwise. Wait 15 seconds for the belt to shift. Repeat on the right side if it drifts right. Never turn the bolts more than a half-turn, or you will over-tension the belt and destroy the motor bearings.
Curved Magnetic Resistance Calibration
Curved treadmills require no wall power, but they do require console battery installation (usually 4x AA batteries) or a low-voltage DC adapter. Boot the console and run through the magnetic resistance calibration mode (usually accessed by holding the 'Mode' and 'Up' arrows simultaneously for 5 seconds). This ensures the eddy-current magnets properly disengage from the flywheel when set to Level 0.
Troubleshooting Initial Startup Edge Cases
LifeSpan TR4000i Error Codes on First Boot
- Error E1 (Motor Open/Short): This almost always occurs if the main motor harness was not pushed in completely during the unboxing phase. Unplug the unit, tilt the deck, and firmly seat the 4-pin motor connector on the lower control board.
- Error E2 (Speed Sensor): The optical sensor near the flywheel is misaligned. Ensure the sensor bracket is exactly 2mm away from the magnetic target wheel. If it's too far, the console won't register belt movement and will shut down to protect the motor.
Curved Treadmill Slat Slippage
If the slat belt 'stutters' under heavy foot strikes during the first week, the drive belt (connecting the front roller to the magnetic flywheel) needs tensioning. Remove the lower front shroud and loosen the flywheel mounting bolts. Slide the flywheel housing down exactly 3mm to increase tension on the Kevlar drive belt, then re-torque the mounting bolts to 30 Nm.
Frequently Asked Setup Questions
Do I need a specialized floor mat for the LifeSpan TR4000i?
Yes. A 3/16-inch thick, high-density PVC equipment mat is mandatory. The TR4000i generates harmonic vibrations that can transfer through hardwood floors. Furthermore, the mat prevents static electricity buildup, which can arc and fry the console's EEPROM chip during dry winter months.
Can I assemble a curved manual treadmill by myself?
While the assembly (attaching the console mast and handlebars) is a one-person job taking about 30 minutes, moving the 330 lb base into position strictly requires two people. Attempting to pivot a curved treadmill on a single corner will bend the rear stabilizer tube and permanently misalign the running track.
How long does the break-in period last for these machines?
The LifeSpan TR4000i motor and belt require a 10-hour break-in period. During this time, avoid sustained speeds over 8 MPH. Curved treadmills require a similar break-in to allow the UHMWPE guide rails to polish against the slat belt nubs; expect the belt to feel slightly 'gritty' for the first 5 miles of use before it becomes glass-smooth.
More gear to consider
All reviews
Avoid Treadmill Fails: 2026 Walking Pad vs Treadmill Guide

NordicTrack 1750 Treadmill Setup & Walking Pad Comparison

Elliptical vs Treadmill Upkeep: Body Weight Supported Treadmill Care

Stair Climber Errors vs 1 Hour on Treadmill Everyday Results 1 Month

Air Bike vs Assault Bike Guide & Ancheer Treadmill Manual Tips