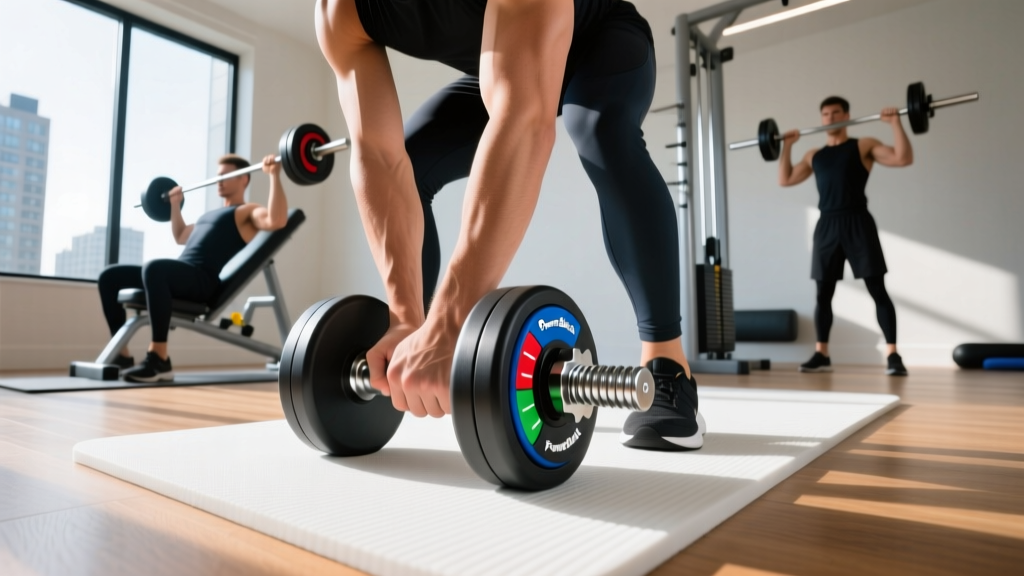
How to Use PowerBlock Dumbbells: Setup, Safety & Comparison Guide
Learn exactly how to use PowerBlock dumbbells, from initial adder-weight setup to daily mechanics, plus a 2026 comparison against dial-based alternatives.

The Complete Walkthrough: Mastering Your PowerBlock Setup
As home gyms continue to evolve in 2026, space-efficient equipment has transitioned from a niche convenience to a primary training standard. Among the most iconic and polarizing pieces of equipment in this space are PowerBlock adjustable dumbbells. With their distinctive rectangular, cage-like design, they offer unparalleled durability but require a unique approach to setup, handling, and maintenance. If you are transitioning from traditional hex dumbbells or dial-based systems, understanding how to use PowerBlock dumbbells correctly is critical for both safety and optimal biomechanics.
This comprehensive guide walks you through the complete setup, installation into your rack, daily usage mechanics, and a detailed comparison against competing adjustable systems to help you maximize your training.
Phase 1: Unboxing and Initial Setup Walkthrough
Unlike traditional dumbbells that are ready out of the box, PowerBlocks require a brief but essential setup process, particularly regarding their micro-loading capabilities. Whether you own the Sport 24, Elite 50/70/90, or the commercial-grade Pro series, the initial preparation is similar.
Step-by-Step Adder Weight Installation
One of the most significant advantages of the PowerBlock ecosystem is the ability to micro-load in 1 lb and 2.5 lb increments. Dial-based systems typically force 5 lb jumps, which can stall progress on isolation movements like lateral raises. Here is how to set up the internal adder weights:
- Locate the End Cap: Look at the interior face of the dumbbell handle. You will see a small, circular cap (usually secured by a clip or a friction fit, depending on your model year).
- Remove the Cap: Use a flathead screwdriver or your thumb to gently pry the cap outward. Set it aside safely.
- Insert the Cylindrical Weights: Slide the included 1 lb or 2.5 lb steel adder cylinders into the hollow tube of the handle. Note: You can mix and match, but ensure they sit flush.
- Secure the Cap: Press the end cap back into place until you hear or feel a definitive click. Tug it gently to ensure it is locked.
Never attempt to adjust the selector pin while the dumbbell is lifted off the cradle. The pin relies on gravity and magnetic detents (or a spring-loaded pull-pin on Elite models) to seat properly. Adjusting mid-air can result in the weight stack disengaging mid-rep, posing a severe crush hazard to your feet.
Phase 2: Biomechanics and Handling Mechanics
Knowing how to use PowerBlock dumbbells extends beyond just changing the weight; it requires adapting to their unique physical geometry. The enclosed, rectangular handle fundamentally changes your grip mechanics compared to a traditional round-handled dumbbell.
Grip Width and Wrist Supination
Because your hand is enclosed within a steel or urethane cage, your wrists are locked into a neutral or semi-pronated position. This is highly beneficial for pressing movements (like the Arnold press or floor press) as it reduces wrist extension and joint strain. However, for exercises requiring extreme supination (like concentration curls) or wide-grip movements (like dumbbell snatches), the cage can feel restrictive. According to exercise biomechanics data cataloged by ExRx, maintaining a neutral wrist alignment during heavy pressing reduces the risk of carpal tunnel impingement, making the PowerBlock design surprisingly ergonomic for heavy compound lifts.
Phase 3: Adjustable Dumbbell Comparison Matrix
To truly understand the value and operational differences of PowerBlocks, we must compare their setup, usage, and failure modes against the other titans of the 2026 adjustable dumbbell market: the Bowflex SelectTech and the Nuobell.
| Feature | PowerBlock Elite 50 | Bowflex SelectTech 552 | Nuobell 80 |
|---|---|---|---|
| Adjustment Mechanism | Pull-Pin / Magnetic Detent | Dual Dial (Plastic Gears) | Handle Twist (Steel Shaft) |
| Weight Increments | 2.5 lbs (up to 25 lbs), then 5 lbs | 2.5 lbs (up to 25 lbs), then 5 lbs | 5 lbs strict |
| Handle Geometry | Enclosed Rectangular Cage | Standard Round (Wide Profile) | Standard Round (Knurled Steel) |
| Drop Tolerance | High (Urethane/Steel) | Very Low (Plastic internals) | Moderate (Steel plates, plastic base) |
| Approx. 2026 Price | $329 - $359 / pair | $399 - $429 / pair | $450 - $499 / pair |
As highlighted in extensive durability testing by Garage Gym Reviews, the PowerBlock's lack of complex internal plastic gears makes it the undisputed king of longevity. If you regularly perform drop sets, heavy dumbbell snatches, or train in a garage where accidental drops are inevitable, the PowerBlock is the only logical choice.
Phase 4: Rack Installation and Storage Dimensions
Integrating adjustable dumbbells into a standard power rack or wall-mounted storage system requires careful spatial planning. PowerBlocks do not fit into standard saddle hooks or vertical dumbbell racks designed for hex-head rubber dumbbells.
Shelf Installation Specs
If you are installing a shelf on your squat rack to house your PowerBlocks, you must account for their unique footprint:
- Length: 12 inches (Standard across Sport, Elite, and Pro models)
- Width: 6 inches (Base) to 6.5 inches
- Height: 6 inches (Base) to 8 inches (depending on max weight tier)
Pro-Tip: Purchase or weld a flat, 14-gauge steel shelf with a minimum depth of 14 inches. While the official PowerBlock branded cradles are excellent for floor storage, rack-mounted shelves allow for faster transitions during supersets. Ensure the shelf has a 1-inch lip to prevent the blocks from vibrating off during heavy barbell rack pulls.
Phase 5: Troubleshooting and Edge Cases
Even the most robust equipment has edge cases. Here is how to troubleshoot common PowerBlock anomalies:
The 'Rattle' Factor
The Issue: At lower weights (e.g., 5 to 15 lbs), the unused weight plates inside the cage can rattle during dynamic movements like lunges or step-ups.
The Fix: This is a byproduct of the open-cage design. To mitigate this, ensure your selector pin is fully seated. Some advanced users wrap a thin layer of athletic tape around the inner guide rods to dampen the vibration, though this requires periodic replacement as the tape degrades from sweat and friction.
Stuck Selector Pins
The Issue: The pull-pin refuses to slide back into the weight stack.
The Fix: This usually occurs if the dumbbell is not sitting perfectly level in the cradle, causing the internal steel plates to bind against the guide rods. Lift the dumbbell slightly, tap the base gently on the floor to align the plates, and re-insert the pin. Never force the pin with pliers, as bending the shaft will ruin the magnetic detent alignment.
Expert Verdict: Are PowerBlocks Right for Your Setup?
Learning how to use PowerBlock dumbbells requires a minor adjustment period, particularly regarding grip mechanics and the manual pin-selection process. However, the trade-off is a virtually indestructible piece of equipment that supports micro-loading and heavy, dynamic movements that would shatter a dial-based competitor. For powerlifters, CrossFit athletes, and garage gym owners who prioritize function and durability over aesthetics, the PowerBlock Elite and Pro series remain the gold standard in 2026.
More gear to consider
All reviews
Bumper Plate vs Iron Plate Guide & Top Pec Workouts With Dumbbells

EZ Curl Bar vs Straight Bar or Dumbbell Sets for Beginners?

EZ Curl vs Straight Bar Care: Longevity for Arm Days & Exercises for Pectoral Muscles with Dumbbells
Are Dumbbells HSA Eligible? Budget Rack & Storage Value Guide

Rubber Hex vs Urethane: Space Layouts for Dumbbell Curls on Bench
