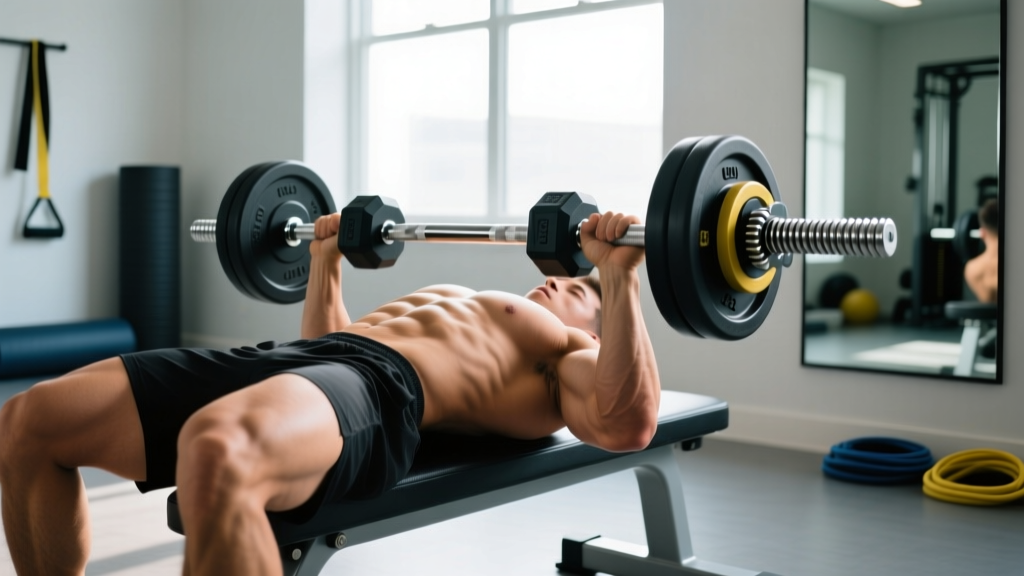
Troubleshooting the Hip Thrust With Dumbbell & Barbell Collars
Master the hip thrust with dumbbell form, avoid common mistakes, and compare barbell collar clamp types for safe, heavy glute training progressions.

The Biomechanics and Troubleshooting of the Hip Thrust With Dumbbell
The glute bridge and hip thrust have become foundational movements in modern strength and conditioning. While the barbell variation is the gold standard for absolute load, the hip thrust with dumbbell resistance remains a critical tool for hypertrophy, unilateral work, and home gym athletes. However, as lifters progress, they frequently encounter biomechanical bottlenecks and safety hazards. According to biomechanical analyses documented by EXRX, the hip thrust isolates the gluteus maximus at the shortened muscle position, demanding precise joint alignment and stabilization.
Before we discuss the transition to heavy barbell loads—and the vital role of barbell collar and clamp types in keeping you safe—we must troubleshoot the common mistakes lifters make when performing the hip thrust with dumbbell variations.
Mistake 1: Using Round Dumbbells on an Incline
When executing a hip thrust with dumbbell weight placed across the pelvis, using a traditional round-headed dumbbell is a primary failure point. As you lower into the eccentric phase, gravity and the slope of your thighs cause the dumbbell to roll toward your knees. This forces you to engage your forearms and lats to stabilize the load, detracting from glute output.
- The Fix: Exclusively use hex-head rubber or urethane dumbbells. The flat edges create a stable shelf on the hip crease. If your gym only has round dumbbells, use a folded yoga mat or a specialized sandbag to create friction and a flat surface.
Mistake 2: Incorrect Bench Height and Lumbar Hyperextension
Standard commercial gym benches are typically 17 to 18 inches high. For the average lifter, this is too high for a hip thrust. When your shoulders are elevated 18 inches off the floor, reaching full hip extension often requires compensatory lumbar hyperextension rather than pure glute contraction.
- The Fix: Aim for a bench or plyo box height between 14 and 16 inches. This aligns the scapulae perfectly, allowing the pelvis to reach a neutral, fully extended position without crunching the lower back. If you only have access to an 18-inch bench, place a 2-inch bumper plate or aerobic step under your feet to artificially alter the relative height differential.
Mistake 3: Grip Fatigue Limiting Glute Overload
The hip thrust with dumbbell is often limited not by glute strength, but by grip endurance. Holding a 100 lb+ dumbbell steady on your hips for a set of 15 reps requires immense isometric forearm strength.
- The Fix: Utilize figure-8 lifting straps looped around your wrists and the dumbbell handle, or transition to a barbell. Once you cross the 120 lb threshold for working sets, the barbell becomes a necessity for continued progressive overload.
The Danger Zone: Transitioning to Barbell Hip Thrusts
When you graduate from the hip thrust with dumbbell to the barbell hip thrust, the physics of the lift change dramatically. A study published in the National Center for Biotechnology Information (NCBI) demonstrated that the barbell hip thrust elicits significantly greater gluteus maximus electromyographic (EMG) activity compared to the back squat, largely due to the horizontal force vector. However, this horizontal-to-vertical force vector shift introduces a massive safety risk: plate migration.
During the concentric phase of a heavy hip thrust, the barbell travels upward and slightly backward toward the lifter's face. If your barbell collars are inadequate, the inertia can cause weight plates to slide outward. If one side slides further than the other, the barbell tilts, instantly dumping hundreds of pounds of asymmetric force onto your pelvis, sternum, or neck. This is why understanding barbell collar and clamp types is non-negotiable for heavy glute training.
Barbell Collar and Clamp Types Comparison Matrix
Not all clamps are created equal. The market in 2026 offers four primary categories of barbell collars, each with distinct materials, price points, and failure modes. Below is a comprehensive comparison to help you choose the right safety equipment for your training environment.
| Collar Type | Popular Model (2026) | Avg. Price | Material | Best For | Primary Failure Mode |
|---|---|---|---|---|---|
| Spring Clip | Standard Chrome Spring | $10 - $15 | Spring Steel | Light accessories, rehab | Metal fatigue; slipping on chalky sleeves |
| Clamp Collar | Rogue HG 2.0 Aluminum | $35 - $45 | 6061 Aircraft Aluminum | Heavy hip thrusts, squats | TPU O-ring stretching/degradation over time |
| Locking Collar | Lock-Jaw Pro V2 | $30 - $40 | Glass-Reinforced Nylon | CrossFit, dynamic movements | Plastic latch cracking in cold environments |
| Lever / Weightlifting | Eleiko Olympic Collar | $85 - $110 | Machined Aluminum/Steel | Olympic lifting, precision | Over-tightening can warp cheap barbell sleeves |
Deep Dive: Real-World Failure Modes in Garage Gyms
When evaluating equipment, we look beyond the manufacturer's claims to real-world edge cases. According to extensive durability testing by BarBend, environmental factors play a massive role in collar longevity.
Expert Insight: If you train in an unheated garage gym during winter, avoid glass-reinforced nylon locking collars (like the Lock-Jaw). When temperatures drop below 40°F (4°C), the plastic becomes brittle. Dropping the barbell after a heavy hip thrust set can shatter the locking mechanism, rendering the collar useless and creating a severe safety hazard on your next set.
Conversely, aluminum clamp collars like the Rogue HG 2.0 rely on a polyurethane O-ring to create friction against the steel barbell sleeve. Over 2 to 3 years of heavy use, this O-ring will stretch and compress. If you notice your clamps sliding during the eccentric phase of a hip thrust, you do not need to buy new collars; simply purchase a $5 pack of replacement 50mm O-rings and restore the clamping force to factory specifications.
Step-by-Step Safety Protocol for Heavy Hip Thrusts
To ensure maximum safety when moving heavy loads in the horizontal plane, follow this exact loading and clamping protocol:
- Load Symmetrically: Always load the barbell while it is resting on the floor or in a squat rack. Never attempt to slide plates onto a barbell that is already resting on your hips.
- Wipe the Sleeves: Use a microfiber towel to wipe excess chalk and sweat off the barbell sleeves. Chalk acts as a dry lubricant and will drastically reduce the friction of aluminum clamp collars.
- Push Plates Flush: Ensure all bumper plates or cast iron plates are pushed completely flush against the barbell's inner sleeve shoulder.
- Apply Collars at a 45-Degree Angle: When using clamp-style collars, apply them at a 45-degree angle relative to the floor, then push down. This ensures the cam mechanism bites evenly into the steel sleeve without leaving a gap.
- The 'Shake' Test: Before getting under the bar, stand it up on one end (if using bumpers) or lift one side slightly and give it a controlled shake. If you hear the plates clinking against each other, the collar is too loose.
Troubleshooting Quick-Reference Card
- Issue: Barbell rolls up the thighs during dumbbell hip thrusts.
Solution: Switch to hex dumbbells; place weight directly in the hip crease, not the lower abdomen. - Issue: Lower back pain at the top of the movement.
Solution: Lower your bench height to 14-16 inches; focus on posterior pelvic tilt at lockout. - Issue: Barbell plates shift outward during barbell hip thrusts.
Solution: Upgrade from spring clips to aluminum clamp collars; clean barbell sleeves of chalk before clamping.
Final Thoughts on Equipment and Progression
The journey from a basic glute bridge to a heavy, loaded hip thrust requires a meticulous approach to both biomechanics and equipment safety. Mastering the hip thrust with dumbbell variations will build the foundational mind-muscle connection and unilateral stability required for advanced training. However, once the loads demand a barbell, your safety relies entirely on the friction and mechanical advantage of your barbell collars. Invest in high-quality aluminum clamp collars, maintain their O-rings, and respect the physics of the horizontal force vector. Your glutes—and your pelvis—will thank you.
More gear to consider
All reviews
What Do Dumbbell Bench Presses Work? Troubleshooting & Olympic Bar Guide
2026 Trends: EZ Curl Bar vs Straight Bar & Dumbbell Fly Exercise

Dumbbell Chest Press Safety: Rack Storage & Maintenance Guide
Olympic vs Standard Plates: 5kg Dumbbells & Bar Mistakes

Best Adjustable Dumbbells for Reverse Flys: 2026 Comparison
