Home Gym Setup: Plate Types and Dumbbell Exercises for Beginners
Master your home gym installation with our walkthrough on Olympic vs standard plates, plus essential dumbbell exercises for beginners to test your space.

Phase 1: The Core Decision - Olympic vs. Standard Weight Plates
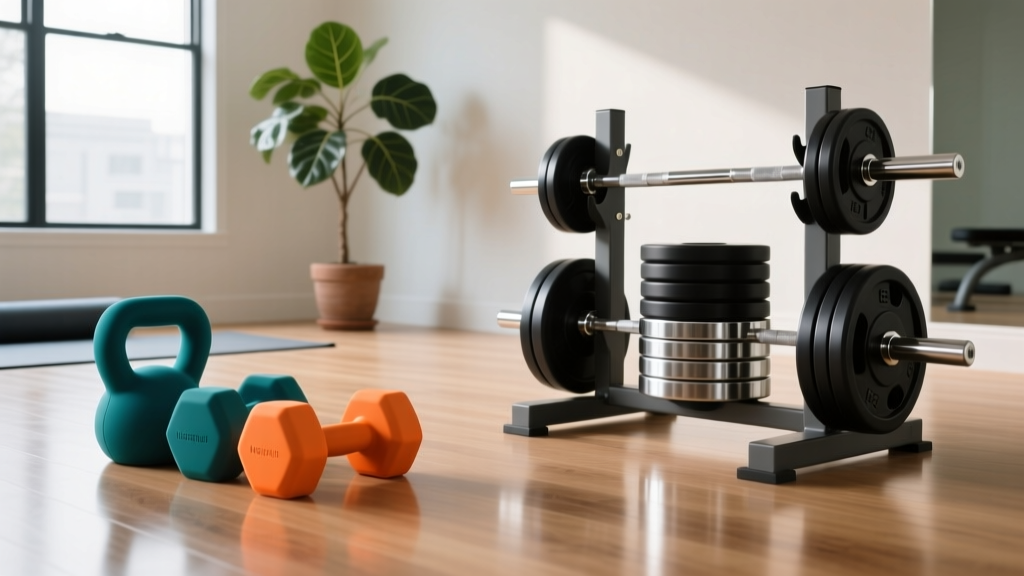
Building a functional, safe home gym in 2026 requires more than just ordering equipment; it demands a strategic approach to spatial planning, structural installation, and biomechanical testing. The most critical foundational decision you will make during your equipment procurement phase is choosing between Olympic and standard weight plate ecosystems. This choice dictates not only the type of barbells you can use but also the footprint and load-bearing requirements of your storage racks.
Standard weight plates feature a 1-inch (25.4mm) center bore. They are typically paired with budget-friendly, solid-steel or hollow-core barbells. While adequate for light isolation work, standard bars and plates suffer from severe structural limitations. A standard barbell sleeve will often begin to bend or warp under loads exceeding 200 pounds, and the 1-inch bore limits the plate's outer diameter, altering the starting height of your deadlifts and presses.
Olympic weight plates, conversely, utilize a 2-inch (50mm) center bore. Designed for high-capacity lifting, Olympic plates are paired with barbells featuring rotating steel or chrome sleeves equipped with needle or bushing bearings. When reviewing the Rogue Fitness weight plate catalog, you will notice that Olympic ecosystems are the undisputed industry standard for serious lifters, offering superior drop-durability, precise weight calibration, and compatibility with commercial-grade power racks.
Ecosystem Comparison Matrix
| Feature | Standard Plates (1-Inch Bore) | Olympic Plates (2-Inch Bore) |
|---|---|---|
| Center Hole Diameter | 25.4mm (1 Inch) | 50mm (2 Inches) |
| Barbell Sleeve Compatibility | Solid/Hollow Steel (Low Capacity) | Rotating Steel/Chrome (High Capacity) |
| Max Safe Load (Typical Bar) | 150 - 250 lbs | 500 - 1,500+ lbs |
| Material Options | Basic Cast Iron, Vinyl-Filled Cement | Cast Iron, Urethane, Virgin Rubber Bumpers |
| Average Cost Per Pound (2026) | $1.00 - $1.50 / lb | $2.50 - $5.00 / lb |
Phase 2: Equipment Installation & Storage Walkthrough
Once you have committed to an Olympic plate ecosystem, the next phase of your setup walkthrough involves safely installing your storage solutions. Olympic plates are incredibly dense; a standard 45-pound cast iron plate is roughly 1.3 inches thick, while a 45-pound competition bumper plate is 1.7 inches thick. Storing 500 pounds of plates requires a heavy-duty, floor-anchored plate tree or integrated rack storage.
Step-by-Step: Anchoring a 10-Peg Plate Tree
For this walkthrough, we are installing a freestanding 10-Peg Olympic Plate Tree (such as the Titan Fitness model) onto a standard residential concrete garage floor. Freestanding trees present a severe tipping hazard if loaded asymmetrically and left unanchored.
- Positioning and Clearances: Place the tree at least 24 inches away from your power rack to allow for safe plate loading. Ensure the floor is level; use a 48-inch spirit level across the 24x24-inch base.
- Marking and Drilling: Mark the four pre-drilled holes on the base plate. Using a hammer drill and a 1/2-inch masonry bit, drill down to a depth of 3.5 inches for 3/8-inch x 3-inch wedge anchors.
- Dust Extraction: Use a shop vac to clear concrete dust from the holes. Residual dust will prevent the wedge anchor from expanding properly, reducing pull-out strength by up to 40%.
- Setting the Anchors: Insert the wedge anchors through the tree base and into the concrete. Hand-tighten the nuts to pull the anchor sleeve into the hole.
- Torquing: Using a calibrated torque wrench, tighten each nut to exactly 45 ft-lbs. This expands the wedge inside the concrete, securing the tree against lateral tipping forces.
Phase 3: Spatial Calibration via Dumbbell Exercises for Beginners
With your heavy plate storage bolted down and your Olympic barbell racked, you must test your gym's spatial flow, flooring integrity, and your own baseline mechanics. Before attempting heavy barbell compounds, the most effective way to calibrate your new environment is through foundational dumbbell exercises for beginners. Using a pair of adjustable dumbbells (like the Nuobell 552 or Bowflex SelectTech, which save massive amounts of floor space compared to fixed dumbbell racks), you can map out your gym's functional footprint.
1. The Goblet Squat (Testing Vertical Clearance)
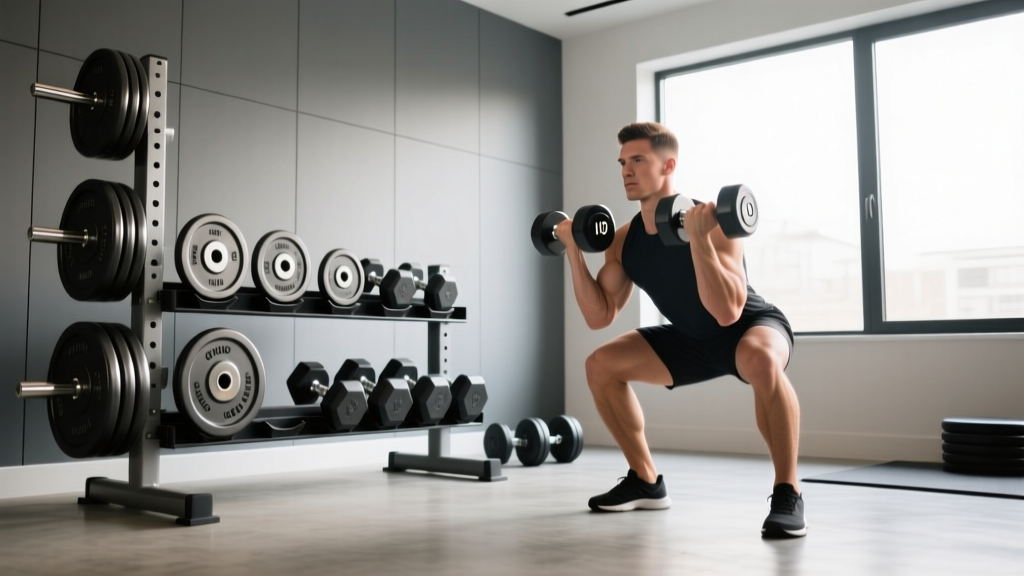
The goblet squat is a premier lower-body movement that tests your overhead clearance and rack proximity. Holding a 30-pound adjustable dumbbell vertically against your chest, descend into a deep squat. This movement forces you to navigate around your newly installed plate tree and rack uprights. According to biomechanics standards outlined by ExRx.net, maintaining an upright torso during the goblet squat requires adequate spatial awareness, ensuring you won't clip your elbows on nearby equipment during heavier barbell front squats later.
2. Dumbbell Romanian Deadlift (Testing Floor Protection)
The Dumbbell Romanian Deadlift (RDL) targets the posterior chain and tests the durability of your flooring setup. Holding a 40-pound dumbbell in each hand, hinge at the hips and lower the weights to mid-shin. As a beginner, your grip may fail before your hamstrings do, resulting in an accidental drop. If you have installed 3/4-inch vulcanized rubber stall mats over your concrete, the RDL serves as a practical drop-test. For proper hinge mechanics and spinal alignment cues, always refer to the ACE Fitness Exercise Library before progressing to heavy Olympic barbell deadlifts.
3. Dumbbell Floor Press (Testing Horizontal Footprint)
Lying flat on the floor between your rack and plate tree, perform a dumbbell floor press. This exercise tests the lateral space required for your elbows to sweep outward without striking your equipment. It also allows you to verify that your lighting is properly positioned and not glaring directly into your eyes when you are in a supine position—a common oversight in garage gym installations.
Phase 4: Maintenance and Long-Term Upkeep
A complete setup walkthrough is incomplete without a maintenance protocol. Olympic cast iron plates are prone to oxidation, especially in unclimate-controlled garages. After your initial setup and first workout, wipe down all bare cast iron plates with a microfiber cloth lightly dampened with mineral oil or a dedicated rust-inhibitor like 3-IN-ONE.
Furthermore, the vibration from dropping Olympic bumper plates during deadlifts or cleans will slowly loosen the hardware on your plate tree and power rack. Set a recurring calendar reminder every 90 days to re-torque all structural bolts, particularly the wedge anchors on your plate storage and the Grade-8 carriage bolts on your rack uprights. By meticulously managing both your hardware installation and your foundational movement patterns, your home gym will remain a safe, high-performance environment for years to come.
More gear to consider
All reviews
EZ Bar vs Straight Bar & Lower Back Exercises with Dumbbells
EZ Curl Bar vs Straight Bar: Curls & Dumbbell Chest Press Good Weight

What Do Dumbbell Lunges Work? Adjustable Dumbbell Reviews & Form Troubleshooting
Long Head Bicep Exercises Dumbbell Guide Using Neoprene Weights
Bumper vs Iron Plates 2026: Trends & Tricep Kickback with Dumbbells