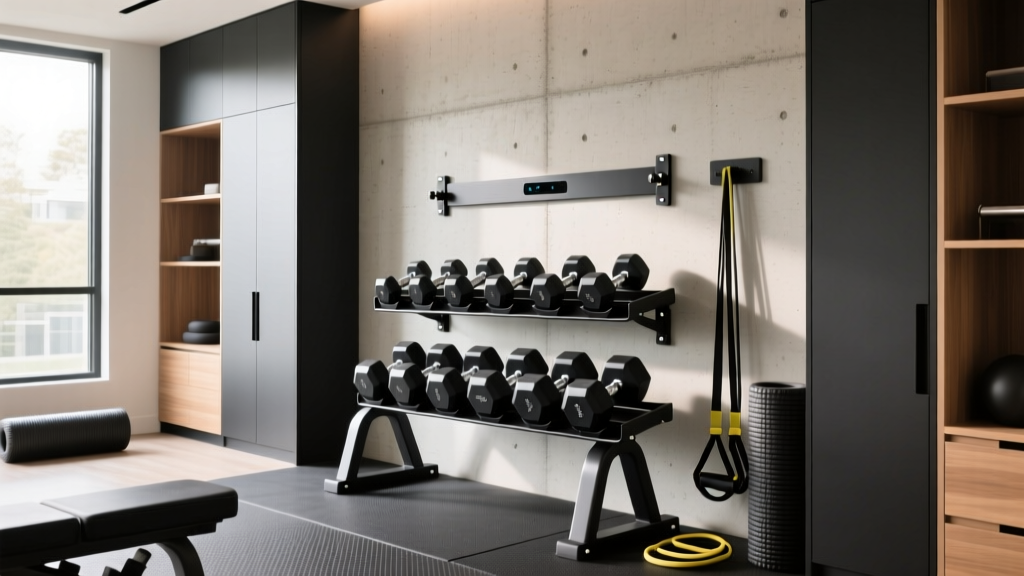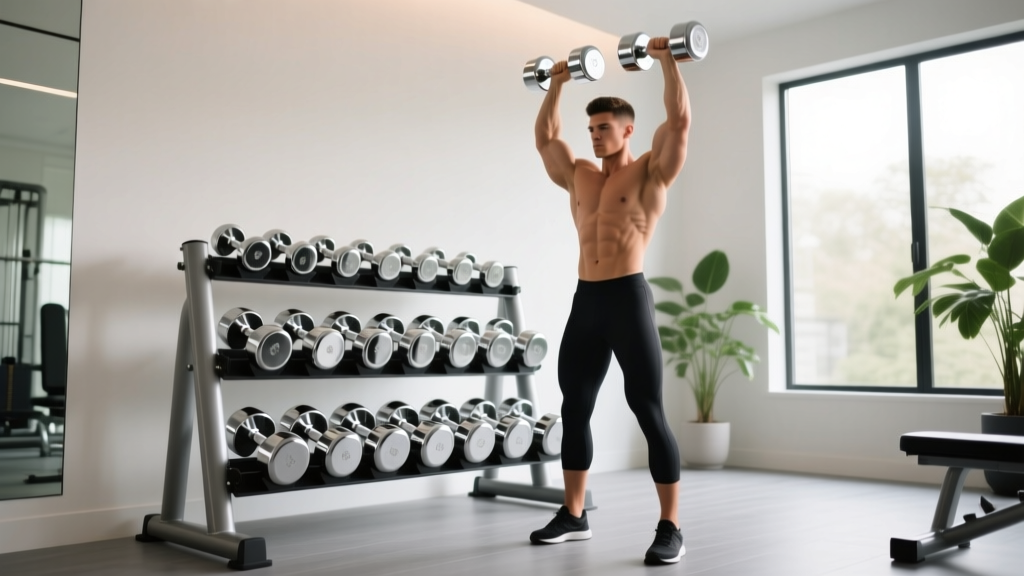
Dumbbell Rack Storage: Optimizing the Dumbbell Forward Raise
Analyze 2026 dumbbell rack storage budgets and tiers. Learn how proper rack ergonomics and spacing optimize your dumbbell forward raise and drop sets.

The Hidden Biomechanics of Dumbbell Storage
When building a home gym, most lifters view dumbbell rack storage as a mere organizational tool—a way to keep rubber and iron off the floor. However, from a performance and longevity standpoint, your rack is a critical piece of ergonomic equipment. This is especially true when programming strict isolation movements like the dumbbell forward raise.
The anterior deltoid is a relatively small muscle group. According to biomechanical analyses by ExRx.net, the dumbbell forward raise requires strict spinal neutrality to prevent momentum from taking over the lift. If your dumbbells are stored on the floor or on a poorly designed A-frame rack, you are forced into repetitive lumbar flexion to retrieve your working weights. Over a 12-week hypertrophy block, this repetitive bending fatigues your erector spinae before your anterior delts even reach failure.
In this 2026 budget breakdown and value analysis, we will evaluate dumbbell rack storage solutions not just by their steel gauge and price tag, but by how effectively they support isolation mechanics, drop-set accessibility, and long-term joint health.
Expert Callout: The Drop-Set Lateral Step
For the dumbbell forward raise, mechanical tension is best achieved through drop sets (e.g., 25 lbs → 20 lbs → 15 lbs). A horizontal 3-tier rack allows you to step laterally to grab the next weight down while maintaining an upright posture. A-frame racks force you to twist your torso while holding heavy loads, introducing unnecessary shear force to the lumbar spine.
2026 Budget Tier Breakdown: Value vs. Ergonomics
The market for free weight storage has bifurcated into three distinct tiers. Below, we break down the exact costs, dimensions, and use-cases for each, helping you allocate your budget where it actually impacts your training.
Tier 1: The Budget A-Frames ($80 - $140)
A-frame racks, such as the CAP Barbell A-Frame Dumbbell Rack, are the default choice for beginners. Priced around $99, they feature a small footprint (roughly 24 x 24 inches) and hold up to 200 lbs per tier.
- Pros: Extremely budget-friendly; minimal floor space required.
- Cons: Tier spacing is often narrow (5 inches), making it difficult to lift hex dumbbells out without scraping your knuckles. The twisting motion required to grab weights compromises spinal neutrality.
- Verdict for Isolation Work: Poor. If your primary goal is heavy compounds, an A-frame suffices. But for meticulous isolation work like the dumbbell forward raise, the ergonomic penalty is not worth the $150 savings.
Tier 2: Mid-Range 3-Tier Horizontal Racks ($250 - $390)
This is the sweet spot for 85% of home gym owners. The Rogue 3-Tier Dumbbell Rack (approx. $295) and the Rep Fitness 3-Tier Rack (approx. $279) dominate this space. These racks are typically 36 to 48 inches wide, constructed from 11-gauge or 1010 steel, and feature a flat, horizontal retrieval path.
- Pros: Waist-height top tier allows for neutral-spine pick-ups. Excellent lateral visibility for rapid weight changes during drop sets.
- Cons: Requires a dedicated 4-foot wall space or floor footprint.
- Verdict for Isolation Work: Excellent. You can line up your 10, 15, 20, and 25 lb pairs on the top tier, executing a seamless forward raise drop-set without ever compromising your lower back.
Tier 3: Premium 5-Tier & Custom Spacing Racks ($450 - $800+)
For advanced lifters with full 5-50 lb or 5-100 lb sets, premium racks like the Rep Fitness 5-Tier Dumbbell Rack ($449) or custom Eleiko Olympic Racks ($750+) are mandatory. These units feature reinforced gussets, laser-cut numbering, and crucially, adjustable tier spacing.
'The most overlooked spec in dumbbell storage is tier spacing. Standard rubber hex dumbbells require 5.5 inches of vertical clearance. However, if you upgrade to premium urethane dumbbells with larger, rounded heads, you need a minimum of 7 inches between tiers to avoid knuckle abrasion.' — Equipment Testing Notes, Garage Gym Reviews (Source)
Comparative Value Matrix: Which Rack Fits Your Budget?
| Rack Category | 2026 Avg. Price | Footprint | Tier Spacing | Forward Raise Ergonomics |
|---|---|---|---|---|
| Budget A-Frame | $80 - $140 | 4 sq. ft. | 5.0 inches | Low (Requires twisting) |
| Mid-Range 3-Tier | $250 - $390 | 12 - 16 sq. ft. | 5.5 - 6.0 inches | High (Lateral step, neutral spine) |
| Premium 5-Tier | $450 - $800+ | 18 - 24 sq. ft. | 7.0+ inches | Optimal (Accommodates Urethane) |
Hidden Costs: Floor Protection and Spatial Planning
When budgeting for dumbbell rack storage, the rack itself is only 70% of the total financial outlay. Failing to account for the remaining 30% leads to damaged equipment and compromised safety.
1. High-Density Rubber Matting ($60 - $120)
A fully loaded 3-tier rack holding 500 lbs of iron concentrates immense point-load weight onto your garage floor or basement concrete. According to guidelines on home gym construction from the American Council on Exercise (ACE), protecting your subfloor is non-negotiable. You must budget for 3/4-inch thick vulcanized rubber mats under the rack. Standard EVA foam puzzle mats will compress and degrade within six months under a concentrated 600 lb load.
2. The 'Retrieval Radius' (Spatial Cost)
Do not push your horizontal dumbbell rack flush against a wall. You need a minimum of 18 inches of clearance behind and to the sides of the rack. When executing a heavy set of dumbbell forward raises, you will naturally step backward after completing your reps to safely drop or rack the weights. If your rack is wedged into a tight corner, you risk tripping or dropping a 35 lb dumbbell onto your foot because you lacked the spatial radius to retreat safely.
Step-by-Step: Organizing Your Rack for Anterior Delt Hypertrophy
How you arrange your dumbbells on the rack directly impacts the fluidity of your workout. Follow this expert loading protocol to optimize your rack for isolation movements:
- Bottom Tier (Heavy Compounds): Store your 40 lb to 100+ lb pairs here. These are used for movements like heavy goblet squats, Romanian deadlifts, and chest presses where you can utilize a hip-hinge to safely lift the weight from a lower starting point.
- Middle Tier (Transitional Weights): Store your 25 lb to 35 lb pairs. This tier is ideal for heavy rows and lunges.
- Top Tier (Isolation & The Forward Raise): Dedicate the top, waist-high tier exclusively to your 5 lb through 20 lb pairs. Because the dumbbell forward raise requires strict isolation, having these lighter weights at waist height allows you to pick them up with a neutral spine, immediately assume your stance, and begin your set without pre-fatiguing your lower back or grip.
Final Verdict: Where Should You Allocate Your Budget?
If your training philosophy relies heavily on precise isolation work, drop sets, and joint longevity, skip the budget A-frames entirely. The Mid-Range 3-Tier Horizontal Rack ($250 - $390) offers the highest return on investment for the home gym enthusiast in 2026. It provides the ergonomic waist-height retrieval necessary to protect your spine during the dumbbell forward raise, while offering enough footprint stability to safely handle 500+ lbs of stored iron.
Allocate your remaining budget toward 3/4-inch vulcanized rubber flooring and high-quality urethane dumbbells. By treating your dumbbell rack storage as an integral component of your biomechanical setup rather than an afterthought, you will train safer, transition faster, and ultimately force more adaptive growth in stubborn muscle groups like the anterior deltoids.
More gear to consider
All reviews
Cast Iron vs Competition: Kettlebell vs Dumbbell Exercise Cost
Kettlebell Versus Dumbbell Storage: Top Rack Picks 2026
Dumbbell Squats for Glutes: Top Adjustable Dumbbell Reviews
Olympic Barbell Knurling Guide: Bench vs. Incline Pec Fly Dumbbell

Troubleshooting a Full Dumbbell Workout With Neoprene Weights