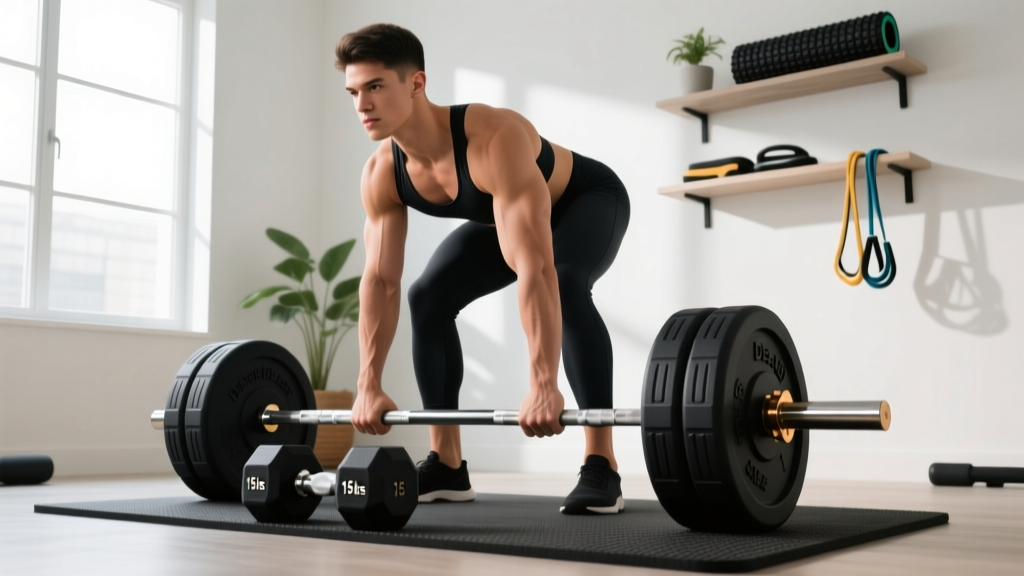
Dumbbell Deadlift Stiff Leg: Neoprene Home Gym Setup
Master the dumbbell deadlift stiff leg at home. This setup walkthrough covers neoprene weight selection, floor prep, and biomechanical execution.

Building a resilient posterior chain at home requires more than just picking up weights; it requires a systematic approach to your environment, your equipment, and your biomechanics. When programming the dumbbell deadlift stiff leg variation, the setup phase is critical. Unlike barbell variations that require specialized platforms and bumper plates, the dumbbell stiff-leg deadlift is highly accessible but demands precise 'installation' of both your physical space and your motor patterns.
In this 2026 walkthrough, we will treat your home gym preparation like a system installation. We will cover the environmental setup for neoprene-coated dumbbells, the equipment specifications you need to look for, and the step-by-step biomechanical installation of the stiff-leg hinge pattern.
Phase 1: Environmental Installation (Floor & Space Prep)
Neoprene-coated dumbbells are the gold standard for home gyms because the synthetic rubber (chloroprene) dampens acoustic vibrations and prevents the rust associated with bare cast iron. However, 'floor-safe' does not mean 'indestructible.' Repeated eccentric drops of 50+ lb dumbbells will eventually crack standard luxury vinyl plank (LVP) or laminate flooring.
Subfloor Protection Specifications
- Matting Thickness: Install 3/8-inch (8mm) vulcanized rubber matting. Thinner foam puzzle mats will compress entirely under the point-load of a dropped hex dumbbell, transferring the shock directly to your subfloor.
- Clearance Zone: Map out a 6-foot by 4-foot footprint. The stiff-leg deadlift requires a vertical bar path, but fatigue-induced forward drift means you need at least 18 inches of clearance in front of your toes to safely bail out if your grip fails.
- Neoprene Care: Neoprene degrades when exposed to high UV light and the acidic pH of heavy sweat. Wipe your dumbbells down with a damp microfiber cloth and mild dish soap post-workout to prevent the coating from becoming slick and compromising your grip.
Phase 2: Equipment Selection (Choosing Your Neoprene Tools)
Not all neoprene dumbbells are engineered equally. The handle diameter and the hex-head geometry directly impact your ability to hold the weights securely during a high-tension hamstring stretch. Below is a comparison of the top neoprene dumbbell lines available for home use.
| Brand / Model | Handle Diameter | Head Geometry | Avg. Cost per Lb (2026) | Best For |
|---|---|---|---|---|
| Yes4All Neoprene Hex | 35mm | True Hex (Flat edges) | $1.45 | Budget setups, smaller hands |
| CAP Barbell Comfort Grip | 38mm (Ergonomic) | Rounded Hex | $1.85 | Heavy loads, grip fatigue mitigation |
| Amazon Basics Neoprene | 34mm | Slight Hex (Can roll) | $1.25 | Light rehab / high-rep endurance |
Expert Insight: For the stiff-leg deadlift, grip is often the limiting factor before the hamstrings reach mechanical failure. Opt for a 35mm to 38mm handle. If you are lifting above 50 lbs per hand, consider using lifting straps to bypass grip limitations and fully tax the posterior chain.
Phase 3: Movement Installation (Biomechanics & Execution)
Installing a new motor pattern requires deliberate, slow-twitch focus before adding velocity or load. According to biomechanical analyses of the hip hinge, the stiff-leg deadlift isolates the hamstrings and glutes by minimizing knee flexion, thereby increasing the moment arm at the hip joint (ExRx, Hip Hinge Mechanics).
Crucial Distinction: Stiff-Leg vs. Romanian Deadlift (RDL)
Do not confuse the two. In an RDL, the knees bend to about 20-30 degrees, and the dumbbells stay in contact with the thighs. In the Stiff-Leg Deadlift, the knees are locked or have a micro-bend (less than 10 degrees), the hips push aggressively backward, and the dumbbells travel vertically down the shins, often reaching below the knee cap. The stiff-leg variation places significantly more shear force on the hamstrings and requires greater mobility.
Step-by-Step Execution Walkthrough
- The Stance Setup: Place your feet hip-width apart (approximately 10-12 inches between heels). Point your toes dead ahead or slightly outward (5 degrees). Position the neoprene dumbbells directly over your mid-foot.
- The Grip & Brace: Hinge down and grab the dumbbells with a neutral grip (palms facing your thighs). Before lifting, pull your shoulder blades down and back ('putting them in your back pockets') and brace your core as if anticipating a punch to the stomach.
- The Concentric Ascent: Drive your feet through the floor and push your hips forward to stand tall. Squeeze the glutes at the top. Do not hyperextend the lumbar spine.
- The Eccentric Descent: Unlock your knees just a fraction (a 'soft' lock to protect the joint). Push your hips backward toward the wall behind you. Keep the dumbbells as close to your legs as gravity allows.
- The Stretch & Reversal: Lower the weights until you feel a severe, almost uncomfortable stretch in the hamstrings—usually when the dumbbells are 2 to 4 inches below the kneecap. Pause for 1 second to kill the stretch reflex, then drive the hips forward to return to the top.
Phase 4: Troubleshooting Common Form Breakdowns
Even with perfect environmental setup, the body will try to find the path of least resistance. Here is how to troubleshoot the most common installation errors in the stiff-leg hinge.
- Error: Lumbar Flexion (Rounding the lower back)
The Fix: You are lowering the dumbbells past your active hamstring flexibility limit. Stop the descent the moment your pelvis begins to tuck under (posterior pelvic tilt). Elevate your feet on 10 lb neoprene plates or a low step to increase the range of motion without forcing spinal flexion. - Error: Dumbbells Drifting Forward
The Fix: This shifts the load from the hamstrings to the lower back erectors. Engage your lats by imagining you are trying to 'squeeze an orange in your armpits.' This will keep the neoprene weights glued to your shins throughout the descent (BarBend, Deadlift Mechanics). - Error: Excessive Knee Bend
The Fix: If your knees bend past 10 degrees, you are accidentally performing a squat or a conventional deadlift. Use the cue 'shins vertical.' Your shins must remain perfectly perpendicular to the floor from the top of the movement to the bottom.
Programming the Hinge: Sets, Reps, and Tempo
To fully integrate the dumbbell deadlift stiff leg into your home gym routine, you must program it with intent. Because neoprene dumbbells typically max out at 50 to 70 lbs in most home sets, you cannot rely on sheer load to stimulate hypertrophy. Instead, use tempo and metabolic stress.
'When absolute load is capped by your home gym equipment inventory, time under tension becomes your primary driver of muscle protein synthesis. Slow eccentrics turn a moderate 40 lb dumbbell into a highly potent stimulus.' — FitGearPulse Biomechanics Desk, 2026
Recommended Home Gym Protocol
- Frequency: 2 times per week (e.g., Lower Body A and Lower Body B).
- Volume: 3 to 4 sets of 8 to 12 repetitions.
- Tempo Prescription (3-1-1-0): Take 3 full seconds to lower the weight (eccentric), pause for 1 second in the deep stretch, explode up for 1 second (concentric), and take 0 seconds at the top (do not rest at the lockout; keep tension on the hamstrings).
- Rest Periods: 90 to 120 seconds to allow for central nervous system recovery and grip restoration.
Final Thoughts on Your Setup
Mastering the dumbbell deadlift stiff leg at home is a masterclass in body awareness and equipment management. By properly installing your rubber matting, selecting neoprene dumbbells with the correct handle geometry, and rigorously enforcing the biomechanical constraints of the hip hinge, you can build elite-level posterior chain strength without ever stepping foot in a commercial gym. Respect the stretch, control the eccentric, and let the neoprene tools do the work.
More gear to consider
All reviews
EZ Curl Bar vs Straight Bar for Dumbbell Apartments: 2026 Trends

Collar Types Compared: Troubleshooting Rear Delt Raises with Dumbbells
Barbell Buying Guide: Weight, Knurling & Bench Step Ups With Dumbbells

2026 Trends: 10 Pound Dumbbell vs Cast Iron & Comp Kettlebells

Rack Mistakes: Power Rack vs Squat Stand & Lateral Squat Dumbbell Fit
