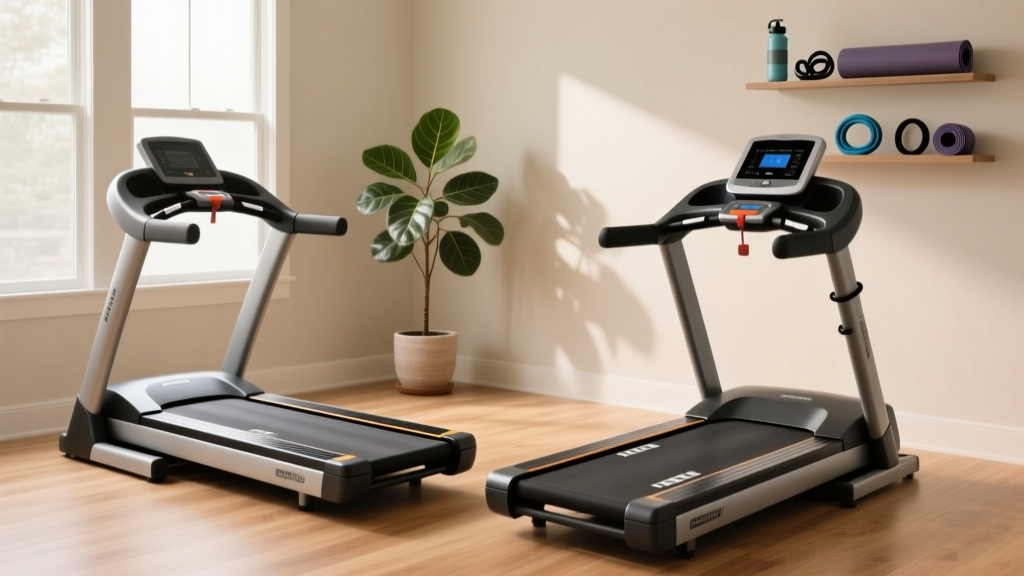
Curved vs Motorized Treadmill on Floor: Beginner Setup Guide
Learn how to choose and set up a curved manual vs motorized treadmill on floor surfaces. Step-by-step beginner guide with safety and mat tips.

Bringing a cardio machine into your home is one of the best investments you can make for your health, aligning perfectly with the American Heart Association's guidelines for weekly cardiovascular activity. However, beginners often overlook the most critical variable in home gym design: the physical interaction between the machine and your home's foundation. When setting up a treadmill on floor surfaces, the physics change dramatically depending on whether you choose a curved manual treadmill or a traditional motorized model.
This step-by-step guide will walk you through the biomechanical differences, floor preparation, and exact installation protocols to ensure your equipment is safe, quiet, and built to last.
The Core Debate: Curved Manual vs. Motorized Treadmills
Before you unbox your equipment, you must understand how these two distinct machines transfer kinetic energy into your floor. This energy transfer dictates the type of matting you need and the structural requirements of your room.
1. Curved Manual Treadmills (e.g., TrueForm Runner, AssaultRunner Elite)
Curved treadmills are self-powered. The concave shape and slatted belt require you to push the belt backward with your stride. Because there is no motor, the machine relies entirely on your biomechanics. This results in higher vertical ground reaction forces per stride, as you must actively propel your body weight and the belt's resistance. However, the thick rubber slats absorb high-frequency impact vibrations before they reach the floor.
2. Motorized Treadmills (e.g., Sole F63, NordicTrack T Series)
Motorized treadmills use an electric motor (typically 2.5 to 4.0 Continuous Horsepower) to pull the belt beneath your feet. While the vertical impact per stride is slightly lower than on a curved deck, the motor generates continuous low-frequency harmonic resonance. This constant hum and micro-vibration travel directly through the frame into your subfloor, which is notorious for annoying downstairs neighbors.
Hardware & Floor Impact Comparison Matrix
| Feature | Curved Manual Treadmill | Motorized Treadmill |
|---|---|---|
| Average Weight | 250 - 350 lbs (Heavy steel frames) | 150 - 250 lbs (Lighter decks) |
| Floor Pressure Profile | High static point-load; high stride impact | Moderate static load; continuous motor vibration |
| Base Design | Rocker base (No leveling feet) | Fixed front, adjustable rear leveling feet |
| 2026 Price Range | $2,999 - $6,500 | $499 - $3,500 |
Step-by-Step Guide: Prepping Your Floor for Heavy Cardio Gear
Placing a 300-pound machine directly onto hardwood, laminate, or carpet is a recipe for structural damage and voided warranties. Follow these steps to prep your space.
Step 1: Assess Your Subfloor Type
- Concrete (Basements/Garages): Ideal for heavy curved treadmills. Concrete will not warp under the 350-lb point load of a TrueForm Elite. However, concrete transfers motor vibrations easily, so acoustic dampening is required.
- Engineered Hardwood/Laminate: Highly susceptible to scratching and moisture damage from sweat. You must use a non-slip, waterproof barrier.
- Plush Carpet: The worst surface for motorized treadmills. Thick carpet padding causes the deck to flex, which misaligns the belt and forces the motor to work 20% harder, leading to premature burnout.
Step 2: Select the Correct Equipment Mat
Do not buy cheap, thin PVC mats from big-box stores. For a treadmill on floor surfaces, you need a 3/8-inch thick vulcanized rubber mat (such as the ProSourceFit or MegaMat puzzle mats, typically costing $70 to $120). Vulcanized rubber is dense enough to prevent the heavy feet of a curved treadmill from bottoming out, while its closed-cell structure repels sweat and moisture.
Step 3: Map the Safety Clearance Zone
According to the Consumer Product Safety Commission (CPSC), treadmill entrapment and friction-burn injuries remain a leading cause of home gym accidents. ⚠️ The 6-Foot Rule: You must leave a minimum of 2 feet of clearance on both sides of the treadmill, and a full 6 feet of unobstructed clearance directly behind the rear roller. If you fall off a motorized treadmill moving at 8 MPH, you need that 6-foot buffer to slide to a stop rather than being pinned against a wall.
Step-by-Step: Positioning and Leveling Your Treadmill
Once your 3/8-inch rubber mat is laid down and your 6-foot rear clearance is measured, it is time to position the machine. The leveling process differs vastly between curved and motorized models.
Leveling a Curved Manual Treadmill
Curved treadmills like the AssaultRunner Elite feature a 'rocker base'—they do not have adjustable feet. They are designed to sit flush on all four corner pads.
- Position the frame: Lower the treadmill gently onto the rubber mat. Do not drag it, as the steel feet will tear the vulcanized rubber.
- The Rocker Test: Stand on the side rails and shift your weight. If the machine wobbles even slightly, your floor is uneven.
- Shimming: Because you cannot adjust the feet, you must use high-density rubber shims (1/16-inch or 1/8-inch thick) under the specific corner pad that is hovering. An unlevel curved treadmill will cause the slat belt to drift laterally during sprints, leading to severe friction wear on the side guides.
Leveling a Motorized Treadmill
Motorized treadmills rely on gravity to keep the belt centered. If the machine tilts, the belt will pull to the lower side.
- Initial Placement: Push the treadmill onto the mat. Ensure the power cord is not trapped underneath the frame.
- Locate Rear Leveling Feet: Find the two adjustable hex-bolts at the rear base of the machine.
- Adjust in Quarter-Turns: Use the provided Allen wrench to turn the feet. Turn clockwise to raise that corner, counter-clockwise to lower it. Make adjustments in small 1/4-turn increments.
- The Belt Tracking Test: Turn the machine on to 3 MPH. Walk on the side rails and observe the belt. If it drifts left, the left side is too low (or the right is too high). Adjust accordingly until the belt runs dead-center for 60 seconds.
Real-World Edge Cases & Troubleshooting
Even with perfect preparation, beginners often encounter specific edge cases once they start running. Here is how to troubleshoot them like a pro.
Edge Case 1: 'Bottoming Out' on Stride Impact
The Problem: When sprinting on a curved treadmill, you hear a loud 'clack' against the floor.
The Fix: Your rubber mat is too thin, or your subfloor is flexing. The American Academy of Orthopaedic Surgeons notes that repetitive high-impact loading on unyielding surfaces can alter lower-extremity biomechanics and increase joint stress. Upgrade to a 1/2-inch thick horse-stall mat (approx. $50 at farm supply stores) for maximum acoustic and kinetic dampening.
Edge Case 2: Motor Overheating on Carpet
The Problem: Your motorized treadmill shuts off after 20 minutes and smells like hot plastic.
The Fix: The treadmill frame is sinking into plush carpet, causing the deck to bow upward in the middle. This creates massive friction between the belt and the deck. You must place a sheet of 3/4-inch plywood beneath your rubber mat to create a rigid, non-flexing platform before placing the treadmill on the floor.
Edge Case 3: Downstairs Neighbor Complaints
The Problem: The low-frequency hum of your motorized treadmill's 3.0 CHP motor is vibrating through the ceiling joists.
The Fix: Rubber mats stop impact noise (footfalls), but they do not stop structural vibration. You need to decouple the machine. Place four 'anti-vibration isolation pads' (made of sorbothane or ribbed neoprene, costing about $30 for a set of four) directly under the treadmill's feet, on top of your rubber mat. This breaks the mechanical bridge to the floor joists.
Expert Verdict: Which Should You Choose?
Your choice between a curved manual and a motorized treadmill ultimately depends on your floor type, budget, and training style.
Choose a Curved Manual Treadmill if: You have a concrete or reinforced subfloor, you prioritize high-intensity interval training (HIIT), and you want zero electrical cord management. Be prepared to invest heavily in high-density floor matting to manage the heavy static point-load.
Choose a Motorized Treadmill if: You are a beginner focusing on steady-state zone 2 cardio, you have standard residential flooring, and you need programmable incline features (which curved treadmills lack). Just ensure you strictly enforce the 6-foot rear safety clearance and meticulously level the rear feet to protect the motor.
By treating the floor as an active component of your equipment setup, you will extend the lifespan of your machine, protect your home's structural integrity, and create a safer, quieter training environment for years to come.
More gear to consider
All reviews
Air Bike vs Assault Bike Trends: Beyond How Do You Spell Treadmill

Curved vs Motorized Treadmills: Troubleshooting a Frayed Treadmill Belt
Treadmill Bycycle Hype vs Belt Maintenance Market 2026

Asuna 7750 Treadmill Review: Best Walking Pads (2026)

Precor 223 Treadmill vs Stationary Bike Types: 2026 Market Trends
