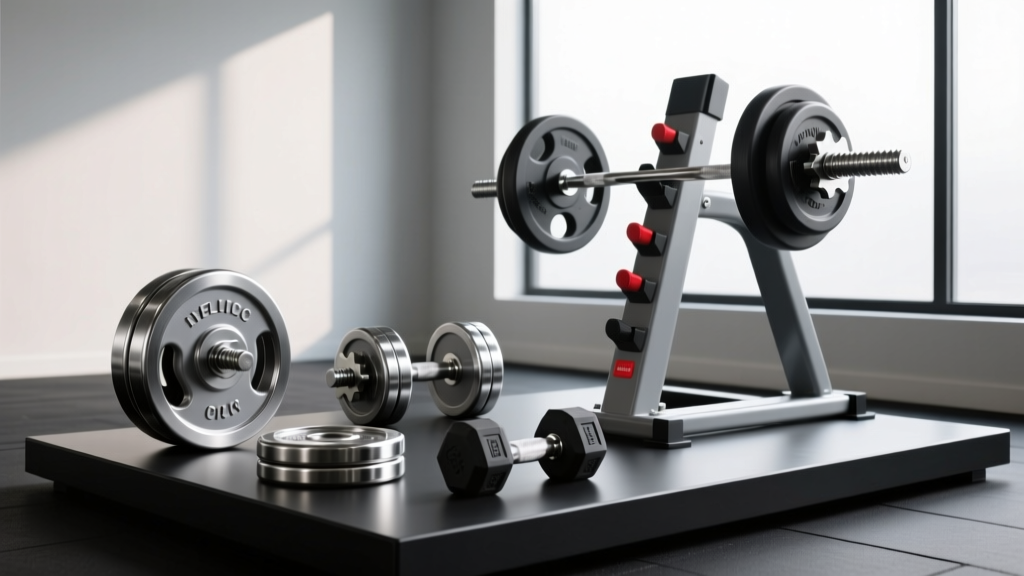
Barbell Collar Types & Rotating Dumbbell Press Safety
Master barbell collar and clamp types with our beginner guide. Learn how to secure loadable handles for the rotating dumbbell press and heavy lifts.

The Hidden Danger in Your Free Weight Routine
Building a home gym or stepping into a commercial weight room for the first time is an exciting milestone. You have your barbell, your loadable dumbbell handles, and your weight plates. However, many beginners overlook the most critical safety component in their setup: the collar. Failing to secure your weight plates properly can lead to catastrophic shifts in balance, damaged equipment, and severe joint injuries. This is especially true when performing dynamic, multi-planar movements like the rotating dumbbell press, where rotational torque puts immense stress on your equipment's sleeves.
In this comprehensive beginner-friendly guide, we will break down the essential barbell collar and clamp types comparison, helping you choose the right locking mechanism for every lift in your arsenal. We will also provide a step-by-step framework for securing loadable dumbbells specifically for rotational chest exercises.
Step 1: Why the Rotating Dumbbell Press Demands Secure Collars
The rotating dumbbell press is a fantastic hypertrophy movement. You begin the lift with a neutral grip (palms facing each other) at the bottom of the press, and as you drive the weight upward, you rotate your wrists so that your palms face forward at the top of the movement. According to exercise mechanics databases like ExRx.net, this rotation alters the force vector and engages the pectoralis major through a wider range of motion.
But here is the physics problem: if you are using loadable Olympic dumbbell handles (which feature 2-inch sleeves just like a barbell), that wrist rotation transfers kinetic energy directly into the sleeve. If your collars are loose, the centrifugal force and rotational torque will cause the iron or urethane plates to spin and slide outward. A shifted plate changes the center of gravity mid-rep, instantly placing uneven, dangerous shear stress on your rotator cuff and wrist ligaments.
⚠ Beginner Warning: Never use standard 1-inch threaded spinlock collars on smooth 2-inch Olympic dumbbell handles. The mismatch in diameter means the collar will slide off the moment you rotate your wrist, potentially dropping a 25lb plate directly onto your face or chest.Step 2: Barbell Collar and Clamp Types Comparison
To keep your weights locked in place, you need to understand the tools available. The market has evolved significantly, moving beyond simple metal springs. Here is a deep dive into the four primary collar categories you will encounter in 2026.
1. Spring Collars (The Budget Standard)
Spring collars are the most ubiquitous and affordable option, typically priced between $8 and $15 per pair. They consist of a coiled steel wire with two handles that you squeeze to expand the inner diameter.
- Best For: Light barbell work, standard 1-inch sleeves, and quick plate changes during high-rep circuit training.
- Failure Mode: Metal fatigue. After roughly 500 to 800 compression cycles, the spring steel loses its tension. Furthermore, the zinc coating often flakes off, leaving sharp burrs that can scratch your hands or the barbell sleeve.
2. Clamp / Lock-Jaw Collars (The Modern Favorite)
Clamp collars, popularized by brands like Lock-Jaw, use a heavy-duty glass-filled nylon body with a rubberized inner lining and a locking clasp. Priced between $35 and $45, they are the gold standard for most commercial gyms and serious home garage setups.
- Best For: Olympic barbells, heavy deadlifts, and securing loadable dumbbell handles for the rotating dumbbell press.
- Failure Mode: Temperature sensitivity. If you train in an unheated garage gym where temperatures drop below 40°F (4°C), the nylon polymer becomes brittle. Dropping a loaded barbell with clamp collars in freezing conditions can cause the plastic housing to shatter.
3. Spinlock / Threaded Collars (The Old Reliable)
These are the heavy cast-iron or chrome-plated nuts that thread onto the grooved ends of standard 1-inch barbells and older dumbbell handles. They cost around $12 to $20 per pair.
- Best For: Permanent weight loading, beginner home gyms using 1-inch standard equipment, and exercises where the bar is never dropped (like strict curls or floor presses).
- Failure Mode: Thread galling and time inefficiency. If you cross-thread the collar, you will strip the metal grooves, ruining both the collar and the barbell sleeve. They also take 15-20 seconds to screw on and off, ruining the pacing of drop-sets.
4. Lever / Snap Collars (The Elite Choice)
Favored by Olympic weightlifters and powerlifters, lever collars (like those from Eleiko or Titan Fitness) use a forged aluminum body and a mechanical cam-lever to clamp down on the sleeve. They range from $25 to $70 depending on the brand and calibration.
- Best For: Dropping bumper plates from overhead, heavy squats, and competitive lifting environments where absolute zero plate-slip is required.
- Failure Mode: Latch mechanism wear. The internal spring and cam system can accumulate chalk dust and metal shavings over time, requiring periodic disassembly and lubrication to maintain peak clamping force.
Step 3: The 2026 Comparison Matrix
Use this quick-reference table to match the collar type to your specific training needs and equipment.
| Collar Type | Avg. Price (2026) | Clamping Force | Sleeve Compatibility | Speed to Apply |
|---|---|---|---|---|
| Spring | $8 - $15 | Low (10-15 lbs) | 1-inch & 2-inch | 1 Second |
| Clamp (Nylon) | $35 - $45 | High (40-60 lbs) | 2-inch Olympic | 3 Seconds |
| Spinlock | $12 - $20 | Very High (Mechanical) | 1-inch Threaded | 15+ Seconds |
| Lever / Snap | $25 - $70 | Extreme (80+ lbs) | 2-inch Olympic | 2 Seconds |
Step 4: Step-by-Step Setup for the Rotating Dumbbell Press
Now that you understand the equipment, let us apply it to our target exercise. If you are using 2-inch Olympic loadable dumbbell handles for the rotating dumbbell press, follow this exact protocol to ensure maximum safety and performance.
- Select the Right Plates: Use urethane or rubber-grip plates if possible. Smooth cast-iron plates have a lower coefficient of friction and are more prone to sliding against each other during rotational movements.
- Load the Sleeve: Slide your desired weight onto the dumbbell handle. Ensure the plates are pushed flush against the inner sleeve flange.
- Leave a Micro-Gap: Do not pack the sleeve 100% full. Leave exactly 1/8th of an inch of space at the end of the sleeve. This allows the collar's inner rubber lining to grip the metal sleeve directly, rather than just pinching the outermost plate.
- Apply the Clamp Collar: Open your nylon clamp collar (such as the Rogue HG 2.0 or Lock-Jaw Pro). Slide it onto the sleeve, push it firmly against the plate, and snap the locking lever shut. You should hear a distinct, loud 'click' and feel the handle resist opening.
- The Inertia Test: Before lying on the bench, hold the dumbbell by the handle and give it a sharp, controlled twist with your wrist. If you hear the plates clanking or shifting, remove the collar, compress the plates tighter, and reapply.
Expert Troubleshooting & Edge Cases
Even with the best gear, edge cases occur. Here is how to troubleshoot common collar-related issues in the gym:
- Chalk Buildup on Lever Collars: If your lever collars start feeling 'slippery' or fail to latch completely, the cam mechanism is likely clogged with lifting chalk. Use a stiff nylon brush and compressed air to clean the hinge. Never use WD-40, as it attracts more dust; use a dry PTFE (Teflon) lubricant instead.
- Barbell Sleeve Grooves: Over time, spring collars can scratch deep grooves into the steel of your barbell sleeves. If you notice deep scoring, switch to clamp or lever collars immediately to prevent permanent damage to your barbell's finish and structural integrity.
- Asymmetrical Loading: When performing unilateral movements or exercises where one side might hit a rack (like rack pulls), the vibration can slowly walk a poorly fitted spring collar outward. Always use clamp collars for any lift where the barbell makes contact with metal uprights.
Final Thoughts
Securing your weights is not an optional courtesy; it is a fundamental pillar of lifting safety. As demonstrated in comprehensive equipment roundups by industry experts at BarBend, investing $40 in a high-quality pair of clamp collars is the cheapest insurance policy you can buy for your joints and your equipment. Whether you are loading up a barbell for heavy squats or carefully securing loadable handles for the rotating dumbbell press, taking the extra three seconds to properly lock your plates will ensure your focus remains entirely on muscle contraction and progressive overload, rather than worrying about shifting iron.
More gear to consider
All reviews
Cast Iron vs Competition Kettlebells & 120 Pound Dumbbell Value
Seated Incline Two Arm Dumbbell Curls: Olympic vs Standard Plate Mistakes

Bumper vs Iron Plate Care: Longevity for Incline Dumbbell Extensions
EZ Curl vs Straight Bar Value: Plus Sit Up With Dumbbell Core Work
Calf Dumbbell Workouts: Troubleshooting Neoprene Weight Limits
