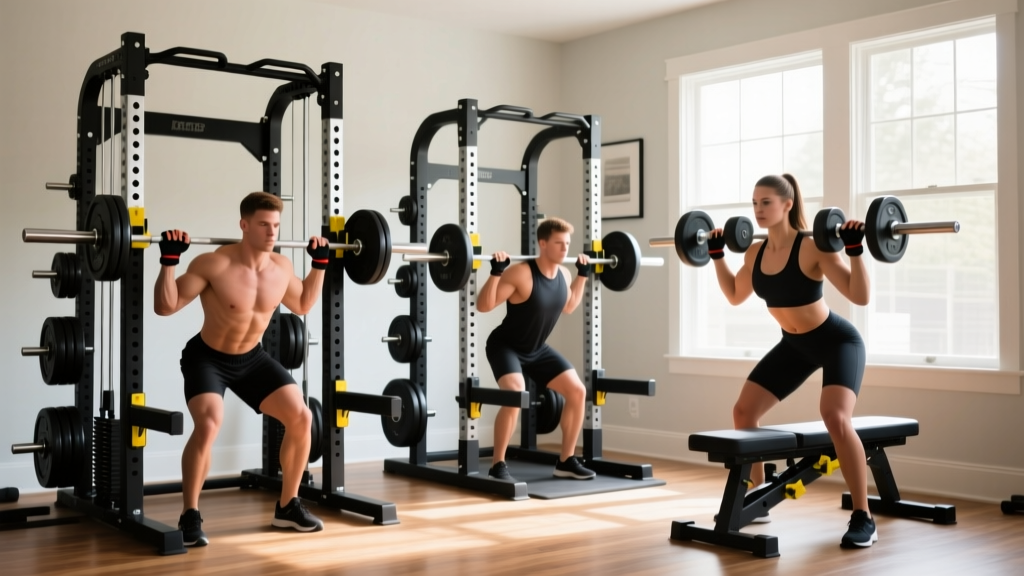
Power Rack vs Squat Stand: Lower Chest Dumbbell Exercise Mistakes
Troubleshoot spatial and safety mistakes for lower chest dumbbell exercises by comparing power racks, half racks, and squat stands for home gyms.

The Biomechanics of the Lower Chest and Rack Interference
When building a home gym, lifters often prioritize heavy barbell movements, selecting robust enclosures like power racks or squat stands. However, a common friction point arises when integrating targeted hypertrophy work—specifically lower chest dumbbell exercises like the decline dumbbell press, deficit floor flyes, or angled floor presses. These movements require deep ranges of motion, wide lateral clearance, and precise safety spotting.
According to biomechanical research published in the National Institutes of Health (PMC), targeting the costosternal and abdominal heads of the pectoralis major (the lower chest) requires a decline angle of -15 to -30 degrees. This angle alters the spatial footprint of your arms and the dumbbells, frequently causing interference with the uprights of standard power racks. Below, we troubleshoot the most common setup mistakes lifters make when pairing lower chest dumbbell exercises with power racks, squat racks, and squat stands.
The Big Three: Spatial and Safety Profiles
Before troubleshooting specific mistakes, we must understand the dimensional constraints of the three primary rack categories. The standard 120 lb urethane hex dumbbell measures roughly 14 inches in total length. When you add shoulder width and arm extension, the required lateral clearance often exceeds 45 inches.
1. The Power Rack (Full Cage)
Example Model: Rogue R-3 Power Rack (~$1,355) or Rep Fitness PR-4000 (~$999).
The Profile: Full cages typically offer an interior width of 43 inches (for 3x3 steel) and a depth of 24 to 47 inches. They utilize pin-and-pipe safeties or strap safeties.
The Mistake: Lifters attempt heavy decline dumbbell presses inside a 43-inch wide cage. As they lower the weight to achieve a full stretch on the lower chest, the outer heads of the dumbbells collide with the front or rear uprights, halting the range of motion and destroying the hypertrophic stimulus.
2. The Squat Rack (Half Rack)
Example Model: Titan Fitness X-2 Half Rack (~$699).
The Profile: Half racks feature uprights in the front with extended spotter arms pointing outward toward the lifter. The interior width is usually unrestricted laterally, but the spotter arms dictate safety.
The Mistake: Miscalculating spotter arm height. Because half-rack spotter arms are often thick steel tubes, setting them high enough to catch a failed barbell bench press means they sit too high for dumbbell work. This robs the lifter of the deep bottom-position stretch required for lower chest dumbbell exercises.
3. Squat Stands (Dual Post)
Example Model: Rogue SML-2 Monster Lite Squat Stand (~$495).
The Profile: Two independent uprights with adjustable catchers and extended spotter arms. Width is entirely customizable.
The Mistake: Ignoring lateral instability. While squat stands offer infinite width for dumbbell clearance, failing a heavy lower chest dumbbell press and dropping the weights asymmetrically can tip un-bolted stands, creating a severe crush hazard.
Comparison Matrix: Clearance, Stability, and Footprint
| Rack Type | Interior Width | Dumbbell Clearance | Safety for DB Pressing | Avg. Price Range |
|---|---|---|---|---|
| Power Rack (Full Cage) | 43" - 49" | Poor to Moderate | Excellent (with straps) | $800 - $1,500+ |
| Squat Rack (Half Rack) | 48" - 54" | Good | Moderate (arm thickness) | $500 - $900 |
| Squat Stand (Dual Post) | Customizable | Excellent | Poor (tipping risk) | $350 - $600 |
Troubleshooting Guide: Fixing Lower Chest Dumbbell Exercise Mistakes
If your current equipment is hindering your lower chest development, use this troubleshooting framework to correct your setup without buying an entirely new rack.
Mistake #1: Using Pin-and-Pipe Safeties for Dumbbell Pressing
The Issue: A standard 2-inch steel pipe safety sits inside the upright holes. If your lowest point of dumbbell descent is 16 inches from the floor, the pipe must be set at 17 inches. This means your elbows hit the pipe before your chest achieves a full stretch.
The Fix: Swap to UHMW Strap Safeties (e.g., Rogue Infinity Strap Safeties, ~$115). Straps sit 1 to 1.5 inches lower than the pin-and-pipe, catching the dumbbell handle rather than the bell, allowing for a deeper, safer stretch on the lower chest fibers. As noted in ExRx exercise mechanics guidelines, maximizing the eccentric stretch is critical for sternal head hypertrophy.
Mistake #2: Bench Footprint Clashing with Crossmembers
The Issue: To hit the lower chest, lifters use decline benches. However, many commercial decline benches feature wide foot-roller bases that collide with the bottom crossmembers of a power rack, preventing the bench from sliding fully inside the cage.
The Fix: Ditch the dedicated decline bench. Instead, use a standard 12-inch wide flat bench and elevate the rear legs using 2x4 wooden blocks or specialized rack bench risers. This creates a makeshift decline angle, eliminates the bulky foot-roller footprint, and allows the bench to slide perfectly between 43-inch uprights.
Mistake #3: Ignoring Lateral Tipping on Squat Stands
The Issue: When performing lower chest floor presses or deficit flyes inside squat stands, a failed rep often results in dumping the dumbbells to the floor. If the dumbbell strikes the extended spotter arm of an un-bolted squat stand, the leverage can tip the entire 100 lb stand onto the lifter.
The Fix: If you use squat stands for dumbbell work, you must utilize bolt-down kits (e.g., Titan Fitness Bolt-Down Kit, ~$40) into concrete. If you are renting and cannot drill, you must load the rear weight storage horns with at least 200 lbs of bumper plates to act as a counterbalance against lateral tipping forces.
Advanced Programming: Working Around Rack Limitations
If you are locked into a narrow 43-inch power rack and cannot achieve clearance for wide lower chest dumbbell exercises, pivot your exercise selection to movements that fit the spatial envelope:
- Neutral-Grip Floor Press: Keeps the elbows tucked, reducing lateral width requirements while still overloading the triceps and lower-mid chest.
- Dumbbell Svend Press (Decline): Pressing two lighter dumbbells together while on a decline bench eliminates the lateral width issue entirely, focusing on peak contraction and inner/lower chest adduction.
- Single-Arm Crossover Flyes: Anchoring a resistance band to the base of the power rack upright and performing single-arm lower chest flyes bypasses the dumbbell clearance issue while providing accommodating resistance.
Frequently Asked Questions (FAQ)
Can I do lower chest dumbbell exercises in a standard 43-inch power rack?
Yes, but it requires precise dumbbell selection. Standard hex dumbbells up to 80 lbs usually measure under 12 inches in length, allowing enough clearance inside a 43-inch cage for most lifters. Once you exceed 100 lbs, the wider bell diameter often causes upright interference. Opt for urethane-coated compact dumbbells or use strap safeties to maximize the usable interior space.
Which rack type is safest for solo heavy dumbbell pressing?
A full power rack equipped with UHMW strap safeties is the gold standard for solo dumbbell pressing. According to safety guidelines highlighted in comprehensive rack reviews by BarBend, full cages prevent the barbell or dumbbell from bouncing out of the safety catches, a common failure mode with open-concept squat stands and half racks when dropping heavy, awkward implements like dumbbells.
Do I need a spotter for lower chest dumbbell exercises if I have a rack?
If your spotter arms or straps are set correctly (roughly 1 inch below your bottom range of motion), a spotter is not strictly necessary. However, because dumbbells require independent stabilization, a spotter is recommended when attempting a new 1-rep max or when using a squat stand where dropping the weight asymmetrically could destabilize the equipment.
More gear to consider
All reviews
Bumper vs Iron Plates 2026: The Underhand Dumbbell Row Test
Beyond the Dumbbell Sketch: Bumper vs Iron Plate Value Analysis

Olympic vs Standard Plates: Sizing for Alternate Dumbbell Curls
Maximize Space: The Dumbbell Deadlift Using Loadable Plate Handles

Cast Iron Kettlebell vs Competition: The Iron Dumbbell Alternative
