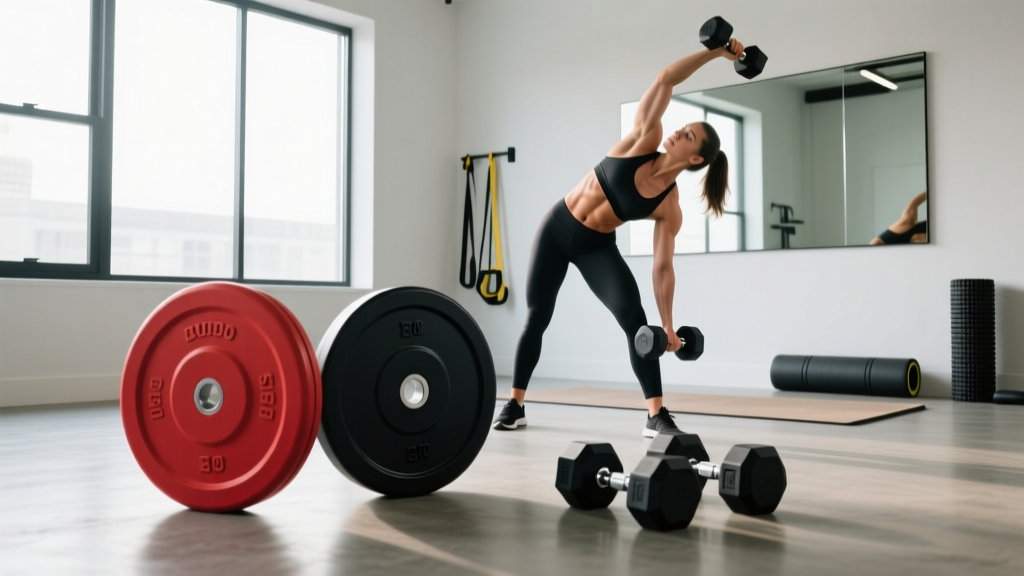
Bumper vs Iron Plate Longevity & Dumbbell Side Bends Muscles Worked
Compare bumper plate vs iron plate longevity and maintenance. Plus, explore the dumbbell side bends muscles worked for functional core training.

The Great Divide: Bumper Plate vs Iron Plate Longevity
Building a resilient home or commercial gym in 2026 requires more than just purchasing premium equipment; it demands a deep understanding of material science and biomechanics. When outfitting your free weight zone, the bumper plate vs iron plate debate is a foundational decision that dictates your maintenance schedule, noise levels, and long-term financial ROI. Simultaneously, understanding the physical toll your exercises take on both your body and your gear is crucial for injury prevention and equipment preservation.
In this comprehensive maintenance guide, we will dissect the exact failure modes, restoration protocols, and longevity expectations of rubber bumpers versus cast iron. Furthermore, we will bridge the gap between equipment care and functional anatomy by analyzing the dumbbell side bends muscles worked, highlighting how heavy lateral flexion movements impact both your core stabilizers and your dumbbell knurling.
Material Science Spotlight
Virgin Rubber vs. Crumb Rubber: Premium bumpers (like the Rogue HG 2.0) use virgin rubber, which offers high tensile strength and minimal odor. Cheaper crumb rubber plates are made from recycled tires bound with polyurethane glue, making them highly susceptible to flaking and structural delamination over time.
Bumper Plate Maintenance: Preventing Hub Blowouts and UV Rot
Bumper plates are engineered to absorb kinetic energy from overhead drops. However, they are not invincible. The most common catastrophic failure mode is insert blowout—where the steel center hub tears away from the surrounding rubber matrix due to repeated sheer force from missed snatches or careless dropping.
Step-by-Step Bumper Care Protocol
- Monthly Cleaning: Wipe down plates with a microfiber cloth dampened with a mild dish soap solution. Avoid harsh chemical degreasers or bleach, which strip the rubber of its natural moisture barriers and accelerate dry rot.
- UV Protection: If your gym faces direct sunlight or you train outdoors, UV radiation will cause the rubber to oxidize, turn gray, and become brittle. Apply a rubber protectant (like 303 Aerospace Protectant) bi-annually to block UV degradation.
- Hub Lubrication: Every six months, apply a dry PTFE (Teflon) lubricant to the steel insert. This reduces friction against the barbell sleeve during loading, preventing micro-abrasions that can widen the insert hole over time.
For a deep dive into manufacturer specifications and drop-tolerance ratings, refer to the Rogue Fitness HG 2.0 Bumper Plates documentation, which outlines the strict durometer testing standards used to ensure rubber longevity.
Cast Iron Plate Restoration: Fighting Oxidation and Enamel Chips
Cast iron plates (often finished in hammertone enamel or baked acrylic) are the gold standard for accuracy and thin-profile loading. A high-quality iron plate from a reputable brand costs roughly $1.50 to $2.50 per pound and can literally last multiple lifetimes. However, their primary enemy is iron oxide (rust), which pits the surface and can severely damage your barbell sleeves if left untreated.
The Evapo-Rust and Wire Brush Method
If you acquire vintage iron plates or notice surface rust on your current set, follow this restoration framework:
- Degreasing: Scrub the plates with mineral spirits to remove accumulated chalk, sweat, and oils.
- Chemical Chelation: Submerge rusted plates in Evapo-Rust for 12 to 24 hours. Unlike harsh acids, this chelating agent selectively removes iron oxide without eating into the healthy base metal.
- Mechanical Agitation: Use a brass wire brush (never stainless steel, which is harder than cast iron and will gouge the surface) to scrub away residual scale.
- Sealing: Finish by rubbing a thin layer of Boeshield T-9 or a high-quality automotive paste wax into the iron. This creates a hydrophobic barrier against ambient humidity.
Functional Core Mechanics: Dumbbell Side Bends Muscles Worked
Why discuss exercise biomechanics in a maintenance guide? Because the way you move dictates the wear and tear on your equipment. The dumbbell side bend is a polarizing but highly effective unilateral loading exercise. When performing this movement with heavy 100lb+ dumbbells, the asymmetric grip and lateral drag place immense stress on both the human spine and the dumbbell's knurled handle.
Anatomical Breakdown of the Side Bend
According to biomechanical analyses published by the National Strength and Conditioning Association (NSCA), lateral flexion exercises target a specific chain of stabilizers:
- Quadratus Lumborum (QL): The primary mover responsible for hiking the pelvis and lateral flexion of the lumbar spine.
- Internal and External Obliques: Engage isometrically and concentrically to control the descent and drive the torso back to neutral.
- Erector Spinae & Intertransversarii: Act as deep spinal stabilizers to prevent rotational torque during the lateral bend.
Expert Insight: 'The dumbbell side bend is often butchered by turning it into a rotational movement. Strict lateral flexion requires immense grip endurance. The friction generated by heavy, sweaty hands sliding against aggressive knurling during high-rep sets is a primary cause of chrome flaking and cerakote wear on premium dumbbells.' — FitGearPulse Biomechanics Desk
Gear Impact: Dumbbell Handle Maintenance
Because the dumbbell side bends muscles worked heavily rely on grip endurance, your hands will sweat profusely, transferring acidic moisture directly into the dumbbell's knurling. To prevent the handles from rusting and becoming slick:
- Use a stiff nylon brush to remove chalk and dead skin from the knurling immediately after your workout.
- Wipe the handle down with a towel lightly misted with a 50/50 water and rubbing alcohol solution to neutralize sweat acidity.
- Once a month, apply a single drop of 3-in-One oil to a brass brush and gently work it into the knurling to displace moisture and prevent micro-rust.
Head-to-Head Comparison Matrix
Use the table below to determine which plate type aligns with your maintenance bandwidth and training style.
| Feature | Virgin Rubber Bumper Plates | Cast Iron / Urethane Plates |
|---|---|---|
| Drop Tolerance | High (Designed for Olympic drops) | Low (Will crack flooring or chip enamel) |
| Primary Failure Mode | Steel insert blowout / UV dry rot | Surface oxidation / Enamel pitting |
| Maintenance Frequency | Low (Monthly wipe, Bi-annual UV spray) | Medium (Requires rust prevention & waxing) |
| Average Cost (2026) | $3.50 - $5.00 per lb | $1.50 - $2.50 per lb |
| Best Use Case | CrossFit, Olympic Weightlifting, Garage Gyms | Powerlifting, Bodybuilding, Commercial Gyms |
The 2026 Free Weight Maintenance Calendar
To maximize the lifespan of your investment, adopt this seasonal maintenance schedule. For further reading on facility upkeep standards, consult the equipment care guidelines provided by the American Council on Exercise (ACE).
Q1: Deep Clean & Inspection
- Inspect all bumper plate steel hubs for micro-tears in the rubber.
- Wire brush all cast iron plates and apply a fresh coat of paste wax.
- Clean and oil all dumbbell knurling to remove winter humidity buildup.
Q2: UV & Environment Prep
- Apply rubber protectant to bumpers before high-UV summer months.
- Check garage gym dehumidifiers to ensure ambient humidity stays below 50% to protect iron plates.
Q3: Hardware Tightening
- Check and tighten the bolts on all adjustable dumbbell handles and weight storage racks.
- Inspect power rack uprights for barbell knurling damage and touch up with cold galvanizing compound.
Q4: Calibration & Weighing
- Spot-check competition iron plates on a digital scale to ensure they haven't lost mass due to severe rust scaling.
- Retire any crumb rubber bumpers that are shedding excessive black dust.
Final Thoughts on Longevity
Whether you are dropping virgin rubber bumpers from overhead or grinding through heavy lateral flexion sets targeting the dumbbell side bends muscles worked, your equipment is under constant physical siege. By understanding the specific material vulnerabilities of your free weights—and implementing targeted, proactive maintenance routines—you ensure that your gear remains safe, accurate, and aesthetically pristine for decades. Treat your iron with respect, protect your rubber from the sun, and your home gym will outlast your fitness journey.
More gear to consider
All reviews
Olympic vs Standard Plates: Barbell & Round Dumbbell Guide

Beyond the All Dumbbell Workout: Barbell Buying & Setup Guide

Bumper vs Iron Plates: Upgrading Beyond Renegade Rows with Dumbbells
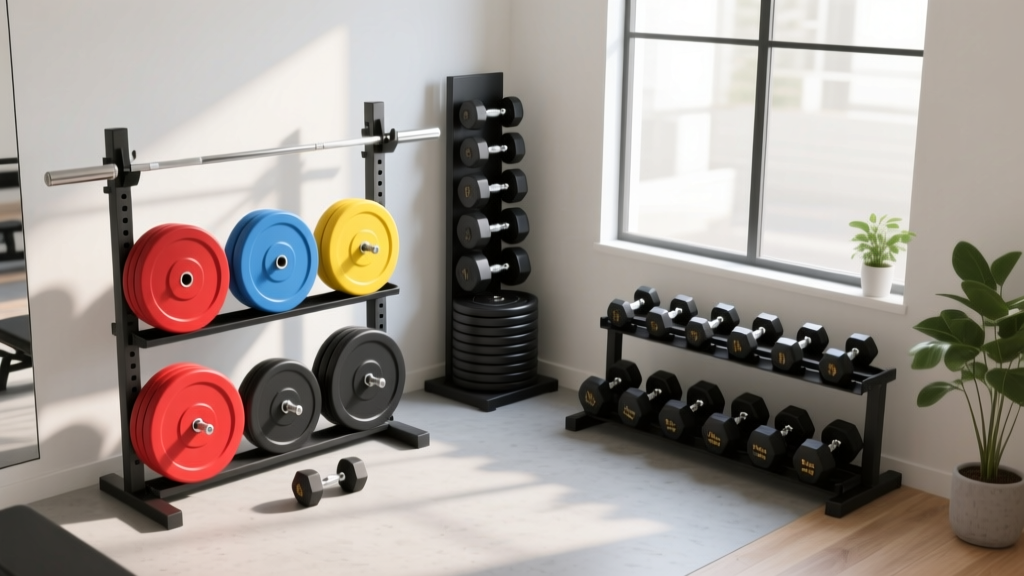
Gym Layouts: Bumper vs Iron Plates & Dumbbell Exercises for Seniors

Best Adjustable Dumbbells for Dumbbell Back Workouts (2026)
