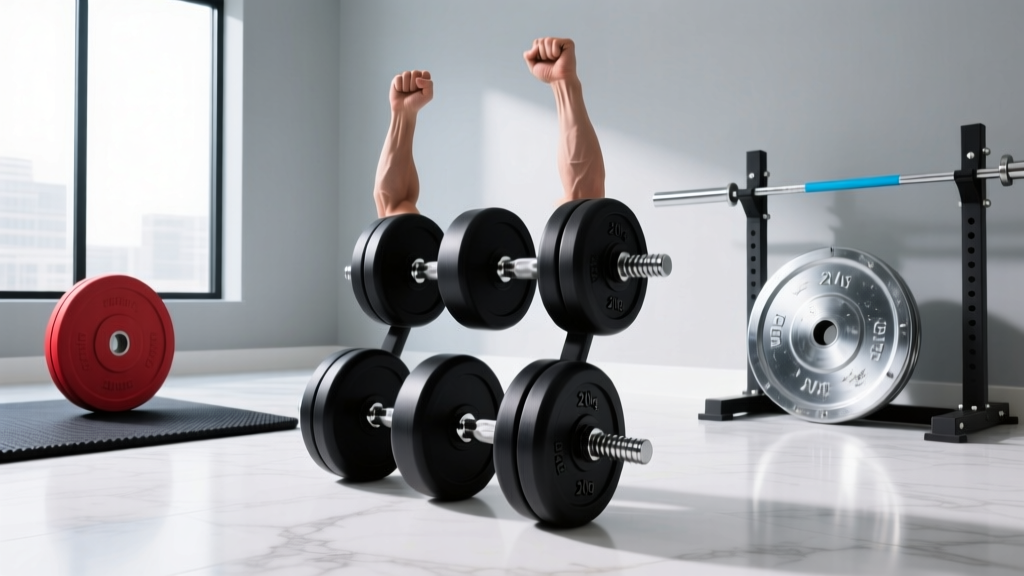
Bumper vs Iron Plate Care: How to Train Lats with Dumbbells Safely
Master how to train lats with dumbbells while protecting your home gym. Compare bumper plate vs iron plate longevity, maintenance, and flooring care.

The Biomechanics of Lat Training and Equipment Stress
When researching how to train lats with dumbbells, most lifters focus entirely on biomechanics—optimizing the stretch of a Meadows row, the contraction of a chest-supported pullover, or the sheer volume of heavy Kroc rows. However, executing these high-tension, heavy-load movements in a home or garage gym introduces massive, often overlooked stress to your physical environment. Dropping a pair of 120-pound Rogue Rubber Hex Dumbbells after a grueling set of single-arm rows sends shockwaves through your flooring, rack, and surrounding weight plates.
If your home gym is a hybrid space where you also load barbells for rack pulls or heavy bent-over rows, the choice between bumper plates and cast iron plates becomes a critical factor in your equipment's longevity. This guide bridges the gap between heavy lat-focused dumbbell training and the essential maintenance care required to keep your weight plates, racks, and flooring in pristine condition for decades.
Bumper Plate vs. Iron Plate: The Longevity Matrix
Before diving into specific maintenance protocols, it is vital to understand the material science and failure modes of the plates surrounding your dumbbell rack. As of 2026, premium virgin rubber bumpers hover around $2.50 to $3.50 per pound, while machined cast iron plates sit between $1.80 and $2.20 per pound. Each material demands a radically different care regimen.
| Material Type | Drop Tolerance | Primary Failure Mode | Required Maintenance | Est. Lifespan |
|---|---|---|---|---|
| Virgin Rubber Bumper | High (Dead-bounce) | Steel hub pop-outs, UV dry rot | UV protectant, hub tightening | 10-15+ Years |
| Hi-Temp Crumb Rubber | Medium-High | Edge crumbling, 'tacoing' (warping) | Climate control, flat storage | 5-10 Years |
| Standard Cast Iron | Low (Brittle) | Oxidation (rust), paint chipping | Wire brushing, oil coating | Generational (if oiled) |
| Machined / Calibrated Iron | Very Low | Surface rust, calibration loss | Wipe down, LPS 3 / Boeshield T-9 | Generational (if oiled) |
Bumper Plate Care: Preventing 'Tacoing' and Hub Failure
Bumper plates are engineered to absorb kinetic energy, making them ideal for dynamic barbell work that often accompanies heavy dumbbell lat days (such as explosive Pendlay rows). However, rubber is highly susceptible to environmental degradation and mechanical warping.
1. Combating the 'Taco' Effect
The most common failure in lower-tier crumb rubber bumpers is 'tacoing'—where the plate warps into a bowl shape. This occurs when plates are left leaning against a wall or squat rack for extended periods. The structural integrity of the recycled rubber yields to gravity and the tension of the steel insert. Always store bumper plates vertically on a dedicated plate tree or horizontally on a barbell.
2. UV and Ozone Degradation
If your garage gym lacks climate control or is exposed to direct sunlight, the ozone and UV rays will break down the chemical bonds in the rubber, leading to dry rot and edge crumbling. To combat this, apply a protectant like 303 Aerospace Protectant every six months. This acts as a synthetic sunscreen for your Rogue Echo Bumpers or equivalent virgin rubber plates, preserving their matte finish and structural elasticity.
3. Steel Hub Maintenance
The steel insert (hub) of a bumper plate takes the brunt of the friction when loading and unloading sleeves. Over time, the rubber bonding around the hub can separate. Inspect the perimeter of the steel insert quarterly. If you notice micro-tears in the rubber surrounding the hub, apply a flexible polyurethane adhesive to prevent the insert from popping out during a heavy drop.
Cast Iron Plate Maintenance: The War on Oxidation
For lifters who prioritize space and budget, cast iron plates—like the classic Rogue Deep Dish Cast Iron Plates—remain the gold standard. Iron is virtually indestructible regarding impact, but it is highly reactive to moisture. When performing heavy dumbbell lat pullovers on a bench, your sweat, combined with ambient humidity, creates a perfect storm for oxidation.
The 3-Step Rust Remediation Protocol
- Assessment and Stripping: If you acquire vintage iron plates or notice orange blooms of rust, do not use harsh chemical rust removers that pit the metal. Instead, use a brass wire brush attached to a standard power drill. Brass is softer than cast iron and will remove oxidation without altering the plate's calibrated weight or machined surface.
- Deep Cleaning: Wipe the plates down with a degreaser or mineral spirits to remove years of accumulated chalk dust, skin oils, and environmental grime. Allow them to dry completely in a low-humidity environment.
- The Protective Barrier: Avoid standard WD-40, which is a solvent and evaporates quickly, leaving the iron vulnerable. Instead, coat the plates in Boeshield T-9 or LPS 3 Heavy Duty Rust Inhibitor. These leave a dry, waxy film that repels moisture without transferring onto your hands, barbell knurling, or dumbbell handles during your next lat workout.
Preserving Racks and Flooring During Heavy Lat Workouts
Learning how to train lats with dumbbells safely means understanding the kinetic chain of your equipment. When you finish a set of heavy one-arm dumbbell rows, the way you dismount the weight dictates the lifespan of your flooring and rack.
Flooring: Horse Stall Mats vs. Specialized Rubber
Dropping 100+ pound dumbbells onto bare concrete will eventually cause micro-fractures in the foundation and shatter the dumbbell heads. While 3/4-inch vulcanized horse stall mats are the budget standard for home gyms, they compress and bottom out under extreme point-loads. For dedicated heavy lat and back training zones, invest in interlocking 2-inch high-density drop pads or specialized crumb-rubber flooring tiles rated for 80+ Shore A durometer hardness.
Rack Hardware and UHMW Plastic
Heavy dumbbell rows often require using a power rack for chest support or as a dead-stop anchor. The constant shifting of heavy loads can vibrate rack bolts loose.
- Quarterly Torque Check: Use a torque wrench to check all structural bolts on your squat rack every 90 days. Vibration from dropping weights settles the hardware.
- UHMW Plastic Inspection: Inspect the Ultra-High-Molecular-Weight (UHMW) plastic liners on your J-cups. If the plastic is gouged down to the bare steel, replace the liners immediately to prevent permanent damage to your barbell sleeves and dumbbell handles.
Quick-Reference Lat Day Maintenance Checklist
- Pre-Workout: Wipe down dumbbell handles and barbell sleeves with a microfiber cloth to remove abrasive chalk and dust.
- During Workout: Control the eccentric lowering of heavy dumbbells; avoid 'dumping' them directly onto the rack's crossmembers.
- Post-Workout: Spray iron plates and dumbbell heads with a 50/50 water and white vinegar solution, then dry immediately to neutralize sweat acidity.
- Bi-Annually: Apply 303 Protectant to rubber bumpers and LPS 3 to cast iron plates.
Conclusion: Invest in the Ecosystem, Not Just the Weight
Mastering how to train lats with dumbbells is only half the battle for the home gym owner; the other half is curating an environment that withstands the punishment of progressive overload. Whether you opt for the shock-absorbing versatility of virgin rubber bumper plates or the generational durability of oiled cast iron, implementing a strict maintenance matrix ensures your gear outlasts your lifting career. Treat your plates, flooring, and racks with the same meticulous attention you apply to your lat contraction, and your home gym will remain a sanctuary of iron and rubber for decades to come.
More gear to consider
All reviews
2026 Trend: Loadable Dumbbells for Leg Day Dumbbells Only Routines

Rubber Hex vs Urethane: Best for Dumbbell Sumo Squats for Glutes

Barbell Collar Comparison: Best for Upper Pec Dumbbell Exercises
Rubber Hex vs Urethane: Best Gear for Different Arm Workouts with Dumbbells

Power Rack vs Squat Rack vs Stand for Triceps Pull Down Dumbbell
