
Head-to-Head: Mirrors for Home Gym Wall Remodels 2026
Compare the best mirrors for home gym wall installations in 2026. Expert remodeling tips, cost breakdowns, and head-to-head glass vs. acrylic reviews.

The 'Dead Wall' Problem in Home Gym Remodels
When converting a garage, basement, or spare bedroom into a dedicated fitness space, most homeowners obsess over rubber flooring and power rack placements. However, leaving the front wall bare is a critical remodeling oversight. Installing the right mirrors for home gym wall setups is not about vanity; it is a biomechanical necessity. According to the National Academy of Sports Medicine (NASM), real-time visual feedback is essential for motor learning and postural correction during complex, multi-joint movements like barbell squats, deadlifts, and Olympic lifts.
As we navigate home gym renovations in 2026, the market has bifurcated into three distinct material categories. Choosing the wrong material for your specific wall substrate (drywall, concrete, or uneven plaster) can lead to distorted reflections, shattered glass, or thousands of dollars in wasted remodeling budgets. In this head-to-head comparison, we break down the top mirror solutions for your home gym remodel, analyzing optical clarity, installation frameworks, and real-world costs.
The 2026 Contenders: What Are We Comparing?
Before swinging a hammer or applying adhesive, you must select your material. We are pitting the three most popular architectural mirror types against each other:
1. Reflex Fitness 1/4" Tempered Glass Tiles (12"x48")
The DIY remodeling favorite. These individual tiles are lightweight enough for one person to handle and feature seamed edges. They are ideal for navigating around existing wall outlets or fitting into tight alcoves. However, achieving a seamless 'commercial gym' look requires meticulous leveling.
2. Gym Mirror Pro Custom Seamless Rolled Glass (1/4")
The gold standard for dedicated, high-end home gym builds. These are massive, custom-cut sheets (often 60"x72" or larger) that arrive via freight. They offer flawless, uninterrupted optics but require professional installation or a crew of three to four strong DIYers.
3. Amacy 1/8" Shatterproof Acrylic Mirror Sheets
The budget-friendly, renter-safe alternative. Acrylic is virtually unbreakable and weighs a fraction of glass. However, it is highly susceptible to optical distortion if not mounted to a perfectly flat substrate.
Head-to-Head Comparison Matrix
Below is a data-driven breakdown of how these materials perform in a real-world remodeling scenario. Costs reflect 2026 average market rates, including basic mounting hardware.
| Feature | Tempered Glass Tiles (Reflex) | Seamless Rolled Glass (Gym Mirror Pro) | Shatterproof Acrylic (Amacy) |
|---|---|---|---|
| Material Cost | $12 - $15 per sq. ft. | $18 - $26 per sq. ft. | $4 - $8 per sq. ft. |
| Weight | ~3.2 lbs per sq. ft. | ~3.5 lbs per sq. ft. | ~0.7 lbs per sq. ft. |
| Optical Clarity | Excellent (minor seam lines) | Flawless (Commercial Grade) | Poor to Fair (prone to warping) |
| Wall Prep Required | Moderate (Standard drywall prep) | High (Must be perfectly plumb) | Extreme (Requires MDF backer board) |
| DIY Feasibility | High (1-2 people) | Low (Requires pros or 3+ people) | Moderate (Easy to cut, hard to mount flat) |
Deep Dive: Glass vs. Acrylic in Remodeling Scenarios
The Case for Tempered Glass: Safety and Optics
When remodeling a garage or basement gym where heavy dumbbells and kettlebells are in use, tempered glass is the only responsible choice. The National Glass Association (NGA) mandates that large architectural mirrors in high-traffic or impact-prone areas utilize safety-backed tempered glass. Unlike annealed (standard) glass, which shatters into dangerous, razor-sharp shards, tempered glass crumbles into small, relatively harmless granular chunks if struck by a stray 50lb dumbbell.
Remodeling Insight: Never attempt to cut tempered glass on-site. The tempering process introduces immense internal tension; a single score with a glass cutter will cause the entire sheet to explode. If you need to accommodate an electrical outlet, you must order custom-cut glass with pre-drilled diamond holes from the manufacturer, which typically adds $40-$60 per cutout.
The Acrylic Alternative: When to Use It (and When to Avoid It)
Acrylic mirrors are frequently marketed as the ultimate DIY hack for home gyms. While they are shatterproof and cheap, they introduce a massive remodeling headache: telegraphing. Acrylic is highly flexible. If you apply mirror mastic directly to standard drywall, the acrylic will conform to every microscopic bump, seam, and screw head in the wall. The result is a 'funhouse' distortion that makes checking your squat depth impossible.
⚠️ Critical Acrylic Installation Rule: To use acrylic mirrors without distortion, you must first install a 1/2" MDF (Medium Density Fiberboard) or plywood backer board. Screw the MDF directly into your wall studs using a level, shim any gaps, and then apply the acrylic mirror to the perfectly flat MDF surface using double-sided mirror tape and acrylic-safe adhesive.The Remodeling Framework: Wall Prep & Installation Nuances
Choosing the mirror is only 20% of the battle. The remaining 80% is wall preparation. Here is the step-by-step framework for prepping your gym walls in 2026.
Step 1: The Baseboard Dilemma
Most DIYers attempt to rest the bottom edge of their mirrors on top of existing baseboards. This is a critical error. Standard baseboards protrude 1/2" to 3/4" from the wall. If the bottom of the mirror rests on the baseboard while the top leans against the drywall, the mirror is tilted forward. This downward angle severely distorts your reflection, making your torso look disproportionately long and masking form breakdown in your lower body.
- The Pro Remodeling Fix: Use a pry bar to carefully remove the baseboards in the mirror zone. Install the mirror flush to the floor (leaving a 1/8" gap for expansion, covered by J-channel), and then reinstall the baseboards over the bottom edge of the mirror, or butt them against the mirror's J-channel.
Step 2: Navigating Electrical Outlets
If your designated mirror wall contains standard 15A duplex outlets, you have two choices. You can order custom glass with cutouts (expensive and limits tile placement), or you can relocate the outlets. According to Angi's 2026 remodeling cost guides, moving an existing electrical outlet to an adjacent stud cavity typically costs between $175 and $280 when hiring a licensed electrician. For a seamless, commercial-grade gym aesthetic, moving the outlets to a perpendicular wall or recessing them into the floor is highly recommended.
Step 3: Adhesive vs. J-Channel Mounting
How you affix the glass to the wall dictates its longevity, especially in environments with fluctuating temperatures and humidity, like unconditioned garages or basements.
"Mirror mastic adhesive provides a permanent bond, but it destroys the drywall paper upon removal. For homeowners who may want to reclaim the space later, a mechanical aluminum J-channel system at the top and bottom, combined with mirror clips, offers a secure, non-destructive installation."
— FitGearPulse Installation Standards, 2026
If using adhesive, ensure you purchase a specialized mirror mastic (like Palmer's or Liquid Nails Mirror). Standard construction adhesives contain solvents that will eat through the silver backing of the mirror, causing permanent black spots and 'desilvering' within six months.
Sizing and Placement: The Biomechanical Sweet Spot
When framing out your mirror wall, dimensions matter. A common remodeling mistake is hanging mirrors at standard bathroom vanity height (bottom edge 36" off the floor). In a gym, you need to see your feet to check knee valgus during squats and hip hinge mechanics during deadlifts.
The Golden Ratio for Gym Mirrors
- Bottom Edge: 12 to 16 inches off the finished floor. This allows you to see your foot placement and barbell path from the floor.
- Top Edge: Minimum 72 inches, or ideally flush to the ceiling. This ensures you can see your head and bar clearance during overhead presses and push presses without stepping backward.
- Width: Cover at least 8 feet of width directly behind your primary lifting platform or rack to capture lateral movement and asymmetrical loading.
Expert Verdict: Which Should You Choose?
Your choice of mirrors for home gym wall installations ultimately depends on your remodeling budget, wall condition, and long-term plans for the space.
Choose Seamless Rolled Glass (Gym Mirror Pro) if: You are doing a full-gut basement or garage remodel, have perfectly plumb walls, and want a lifetime, commercial-grade installation. Budget $1,500 - $2,500 for a standard 8x7 foot wall, including professional freight and installation.
Choose Tempered Glass Tiles (Reflex Fitness) if: You are executing a DIY weekend remodel. The 12"x48" tiles are forgiving on slightly uneven walls, easy to transport in a standard SUV, and allow you to work around stubborn electrical outlets without custom cutting. Budget $800 - $1,200 for an 8x7 foot wall.
Choose Shatterproof Acrylic (Amacy) if: You are remodeling a rented apartment, setting up a gym in a mobile home with thin walls, or need a lightweight solution for a temporary setup. Just remember to factor in the cost and labor of installing an MDF backer board to prevent optical distortion. Budget $400 - $600 (including MDF and hardware).
By treating your mirror wall as a critical piece of biomechanical equipment rather than an afterthought, you elevate your home gym from a simple storage space to a true performance facility.
More gear to consider
All reviews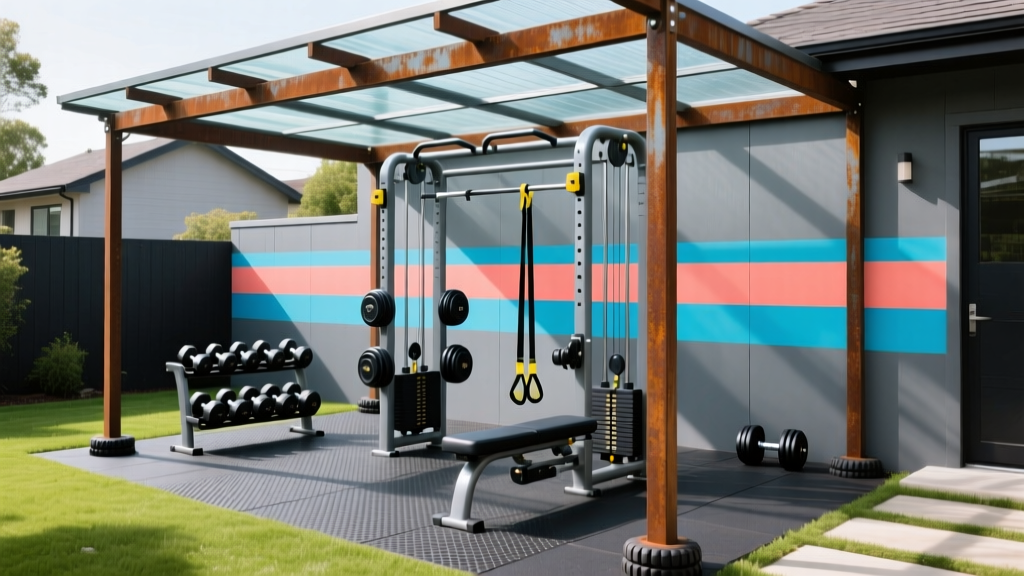
Outdoor Setup: Weatherproofing & Home Gym Paint Schemes

2026 Garage Trends: Body Solid G6BR Home Gym, Flooring & Ventilation

Top Home Gym Material Picks for Couples Building a Shared Space

Designing Beautiful Home Gyms: Compact Foldable Gear

Beyond the Garage: Practical Space Alternatives for Home Gym Setup When Square Footage Is Limited
