
Bowflex SelectTech Dumbbells with Stand Setup & Barbell Clamp Guide
Master your home gym installation with our Bowflex SelectTech dumbbells with stand setup guide and expert barbell collar and clamp types comparison.

Phase 1: Anchoring Your Space with the Bowflex SelectTech Stand
When designing a comprehensive home gym in 2026, the transition from modular dumbbell work to heavy barbell compound movements requires meticulous spatial planning and equipment installation. The cornerstone of many space-efficient setups begins with the Bowflex SelectTech 552 or 1090 adjustable dumbbells paired with the official SelectTech Stand. This unit eliminates the need for a sprawling 100-pound dumbbell rack, but its installation requires specific structural considerations to ensure safety and longevity.
Pro-Tip: Floor Protection FirstThe SelectTech stand base plate features aggressive metal feet that will easily gouge hardwood or luxury vinyl plank (LVP) flooring. Before assembling the uprights, affix 1/2-inch thick neoprene furniture pads to the base, or position the entire stand over a 3/4-inch thick 4x8 horse stall mat. Never drag the base plate once the 50-pound uprights are attached.
Step-by-Step Stand Assembly Walkthrough
- Base Plate Positioning: Lay the heavy steel base plate on your protective matting. Ensure you have at least 28 inches of lateral clearance on both sides for the dumbbell holsters and media tray.
- Upright Attachment: With a second person stabilizing the base, insert the main vertical column. Thread the four primary M10 hex bolts by hand to prevent cross-threading.
- Torque and Leveling: Using the included hex key (or a 6mm Allen wrench for better leverage), tighten the bolts in a star pattern. Do not overtighten to the point of stripping; aim for roughly 40 Nm of torque.
- Holster and Tray Mounting: Slide the cradles onto the side rails. If you purchased the media tray accessory, secure it to the top crossbar using the provided Phillips-head screws. Ensure the dial-clearance on the holsters allows the SelectTech dials to rotate a full 360 degrees without hitting the tray.
Phase 2: The Barbell Station and the Physics of Plate Shift
While the Bowflex SelectTech dumbbells with stand handle your isolation and unilateral work, a complete home gym demands a power rack and Olympic barbell for heavy squats, deadlifts, and cleans. This brings us to a critical, often overlooked safety component: the barbell collar. According to BarBend's comprehensive testing on barbell safety accessories, using substandard clamps is a leading cause of home gym property damage and minor injuries due to lateral plate shift.
When you perform a heavy deadlift or a dynamic power clean, the barbell experiences "whip"—elastic deformation that causes the sleeves to vibrate and flex. If your collars lack adequate clamping force, the vibration acts as a ratcheting mechanism, slowly walking the collar outward until the bumper plates slide off the sleeve mid-rep. Understanding the mechanical differences between collar types is essential for a safe installation and lifting environment.
Phase 3: Barbell Collar and Clamp Types Comparison
The market for barbell clamps has evolved significantly. Below is a deep-dive comparison of the four primary collar architectures available to home gym owners in 2026, analyzing their clamping force, material degradation, and ideal use cases.
| Collar Type | Avg. Price (Pair) | Clamping Mechanism | Best For | Failure Mode |
|---|---|---|---|---|
| Spring Clips | $5 - $10 | Tensioned Steel Wire | Light accessories, rehab | Metal fatigue, slips on chalky sleeves |
| Lock-Jaw Pro-Loc | $25 - $30 | Nylon Jaw with Lever | General powerlifting, bench | Nylon teeth strip after ~2 years of drops |
| Aluminum Quick-Release (e.g., Rogue HG 2.0) | $35 - $45 | Machined Aluminum + Urethane Liner | Olympic lifts, heavy deadlifts | Urethane liner compresses over 5+ years |
| Competition Spinlock (e.g., Eleiko) | $85 - $110 | Threaded Steel with Rubber Seal | Sanctioned meets, precise loading | Threads cross if forced; slow to change |
Deep Dive: Real-World Failure Modes and Edge Cases
Choosing the right collar isn't just about budget; it is about matching the clamp to your specific training modality. Here are the non-obvious edge cases that dictate collar performance:
- The Chalk Dust Lubrication Effect: If you use liquid or block chalk heavily, microscopic dust accumulates on the barbell sleeves. On bare aluminum or steel spring clips, this chalk acts as a dry lubricant. During high-rep touch-and-go deadlifts, the plates will slowly push the chalk-covered collars outward. Solution: Use collars with an inner urethane or rubber lining (like the Rogue HG 2.0 or Eleiko), which grips the sleeve regardless of chalk presence.
- The Bar Whip Bind: During heavy cleans, the barbell bends significantly. If a rigid clamp is pushed completely flush against the bumper plate, the bending of the sleeve can cause the clamp to bind, warp, or pop off entirely due to lateral tension. Solution: Always leave a 1/4-inch gap between the plate and the collar to allow the sleeve to flex without compromising the clamp's structural integrity.
- Nylon Jaw Degradation: Polymer-based clamps like the Lock-Jaw are fantastic for bench press and squats where the bar is controlled. However, if you routinely drop the bar from overhead during snatches or cleans, the repeated high-impact shockwaves will micro-fracture the nylon teeth, leading to sudden slippage within 18 to 24 months.
Phase 4: Proper Installation and Maintenance Walkthrough
Even a $100 pair of Eleiko competition collars will fail if installed incorrectly. Follow this standardized installation protocol every time you load your barbell to ensure maximum clamping force and safety.
- Sleeve Preparation: Keep a microfiber towel in your gym. Before loading plates, wipe the barbell sleeve to remove oxidized steel dust, sweat, and excess chalk. A clean sleeve increases friction by up to 40%.
- Plate Seating: Load your bumper or iron plates. Ensure they are seated flush against the inner barbell shoulder. Tap the plates against the floor vertically to align them perfectly.
- Collar Placement (The 1/4-Inch Rule): Slide the collar onto the sleeve. Push it toward the plates until it makes contact, then pull it back exactly 1/4 of an inch. This micro-gap accommodates bar whip and thermal expansion of the steel sleeve.
- Locking Mechanism: Engage the lever or screw mechanism. If using a quick-release aluminum collar, ensure the lever snaps completely flat against the collar body. If it stops at a 45-degree angle, the collar is too loose; adjust the tension screw with an Allen key until the lever requires firm, deliberate thumb pressure to close.
Safety Warning: Never use a barbell collar on a threaded spinlock dumbbell handle, and never attempt to use a standard 2-inch Olympic collar on a 1-inch standard barbell with an adapter sleeve. The tolerance gap will cause the collar to spin freely during dynamic movements, creating a severe laceration hazard.
Final Gym Layout Considerations
Integrating the Bowflex SelectTech dumbbells with stand into the same zone as your barbell station requires careful spatial mapping. Position the SelectTech stand at least 36 inches away from the uprights of your power rack. This ensures that when you are racking heavy bumper plates or dropping a barbell, the vibration and potential bounce will not strike the dumbbell holsters, which could crack the internal dial mechanisms of the adjustable dumbbells.
By investing 45 minutes into properly assembling your dumbbell stand and taking the time to select, test, and correctly install the appropriate barbell collars for your specific training style, you establish a commercial-grade safety baseline in your home gym. Whether you are dialing in 50-pound dumbbell presses or pulling a 400-pound deadlift, respecting the physics of your equipment is the ultimate key to long-term, injury-free lifting.
More gear to consider
All reviews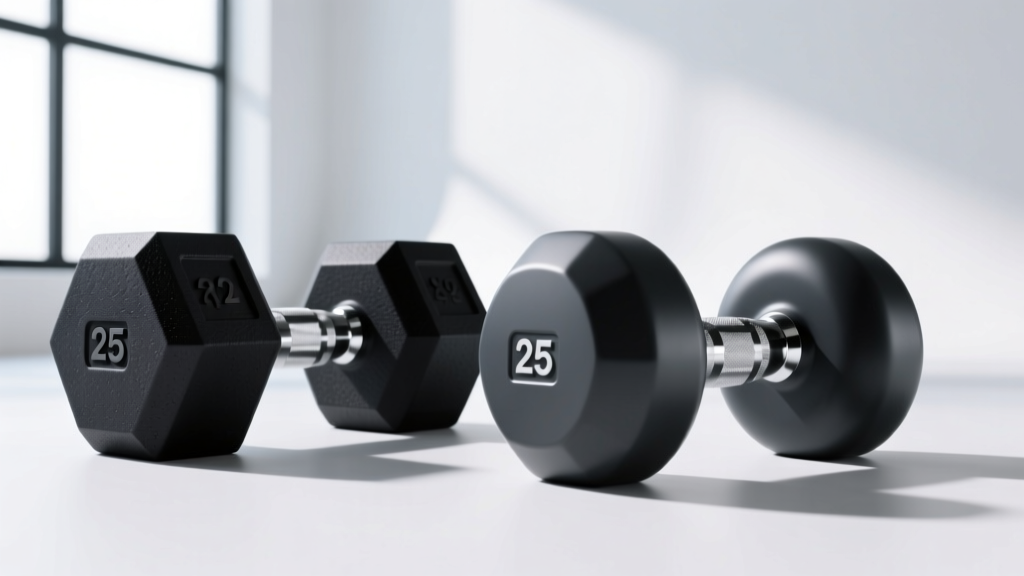
Rubber Hex vs Urethane: Best Gear for a 25 Pound Dumbbell Workout

Chest and Bicep Dumbbell Workout Upgrade: Barbell Knurling Mistakes

Best Neoprene Dumbbells for the Twisting Dumbbell Curl (2026)

Olympic vs Standard Plates for Overhead Dumbbell Triceps Extensions

2026 Dumbbell Rack Market: The Iso Lateral Skull Crusher Effect
