
Setup: Biceps Workout at Home with Dumbbells & Collars
Master your home gym setup. Learn space planning for a biceps workout at home with dumbbells and compare barbell collar types for safe, heavy lifting.

The Home Free-Weights Station: Foundation & Clearance
Building a functional, safe home gym in 2026 requires more than simply unboxing equipment; it demands precise spatial planning, structural assembly, and an understanding of equipment tolerances. Whether you are dialing in an adjustable dumbbell set for isolation work or loading an Olympic barbell for heavy compound lifts, the integrity of your setup dictates your safety and performance.
This complete installation walkthrough covers the foundational setup for your free weights zone. We will first outline the spatial and hardware requirements for an optimized biceps workout at home with dumbbells, before executing a deep-dive comparison and installation guide for barbell collars and clamps—the most critical, yet frequently misunderstood, safety hardware in your gym.
Optimizing the Dumbbell Zone
When configuring a dedicated dumbbell area, particularly for upper-body isolation, spatial clearance is your primary constraint. A highly effective biceps workout at home with dumbbells often incorporates movements like dumbbell sweeps, lateral raise variations, and alternating hammer curls. These require a minimum lateral wingspan clearance of 4.5 feet on either side of the lifter.
- Matting: Install 3/4-inch vulcanized rubber stall mats. Thinner 1/2-inch mats will compress unevenly under heavy dumbbell drops, destabilizing your stance during strict curls.
- Rack Assembly: If utilizing a 3-tier rack (e.g., Rogue 3-Tier Dumbbell Rack), ensure you use Grade 8 hardware. Torque the M12 carriage bolts to 65 ft-lbs to prevent the rack from racking (leaning) over time due to asymmetric loading and unloading.
- Adjustable Dumbbell Clearance: If using rectangular adjustable dumbbells like the PowerBlock Elite series, ensure your rack tiers have at least 7.5 inches of vertical clearance to accommodate the blocky chassis without scraping the cradle.
Never perform heavy barbell lifts without properly seated collars. According to the National Strength and Conditioning Association (NSCA), failing to secure plates can lead to asymmetric loading if a plate slides off one sleeve. This instantly alters the barbell's center of mass and moment of inertia, resulting in catastrophic torque on the lifter's wrists and spine.
Barbell Collar and Clamp Types: The Complete Comparison
Transitioning from the dumbbell station to the barbell platform, we must address plate security. As of 2026, the market offers four primary collar architectures. The physics of barbell whip—especially during heavy deadlifts or Olympic lifts—means that even a millimeter of plate shift changes the harmonic oscillation of the bar, sapping your power and risking injury.
Below is a comprehensive comparison matrix based on current 2026 pricing, clamping force, and material durability.
| Collar Type | Model Example | Avg. Price (2026) | Clamping Force | Best Use Case | Primary Failure Mode |
|---|---|---|---|---|---|
| Lever (Nylon Insert) | Rogue HG 2.0 | $45.00 | High | Powerlifting, Heavy Deads | Nylon insert deformation over 2+ years |
| Lock-Jaw (Clamp) | Lock-Jaw Pro | $35.00 | Medium-High | CrossFit, Oly Lifting | Plastic housing micro-fractures on drops |
| Screw-Down (Aluminum) | Eleiko Competition | $120.00 | Extreme | Competitive Weightlifting | Thread stripping if over-torqued |
| Spring Clip (Steel) | Harbinger Pro | $12.00 | Low | Accessories, Bench Press | Spring fatigue; slips on whip-heavy bars |
For a comprehensive breakdown of clamping force metrics, BarBend's comprehensive collar testing remains the industry standard, demonstrating that lever and screw-down collars provide upward of 300 lbs of lateral resistance, whereas standard spring clips often fail under 40 lbs of lateral shear force.
Step-by-Step Installation and Seating Walkthrough
Buying the right collar is only half the battle; proper installation and seating on the barbell sleeve is where most lifters make critical errors. Standard Olympic sleeves measure 50mm in diameter, but machining tolerances mean your sleeve could be anywhere from 49.8mm to 50.2mm. Here is how to properly seat the three most common collar types.
1. Seating the Lever Collar (e.g., Rogue HG 2.0)
- Sleeve Prep: Wipe the barbell sleeve with a dry brush. Chalk buildup reduces the friction coefficient between the steel sleeve and the collar's nylon insert.
- Flush Seating: Slide the collar onto the sleeve. Push it completely flush against the outer face of the innermost bumper plate. Do not leave a gap.
- The 180-Degree Rule: Pull the lever handle outward and snap it down. The cam mechanism must rotate past the 180-degree center point to lock. If the lever feels loose, the nylon insert has worn down and requires replacement.
2. Installing the Lock-Jaw Clamp
- Alignment: Open the clamp hinges and place the Lock-Jaw over the sleeve, ensuring the inner teeth are aligned with the sleeve's end groove (if present) or seated tightly against the plate.
- The Squeeze: Squeeze the handles together until you hear the dual-pawls click into the ratchet track.
- Indicator Check: Look at the side indicator window. The red line must be fully obscured by the green block. If red is visible, the clamp has not achieved maximum compression.
3. Threading the Screw-Down Competition Collar
- Thread Engagement: Slide the aluminum collar onto the sleeve. Hand-thread the outer ring clockwise. Never use a wrench or tool to tighten these; hand-torque is sufficient and prevents cross-threading.
- Compression: Tighten until the inner thrust bearing makes firm contact with the plate. Stop tightening the moment you feel rigid resistance.
Failure Modes and Edge Cases
Understanding how and why equipment fails is the hallmark of an expert home gym owner. Let's examine two specific edge cases that occur during heavy training sessions.
"The danger of a slipped collar isn't just the plate falling off. It's the sudden shift in the barbell's harmonic oscillation. When a 45lb plate shifts two inches outward on one side during the concentric phase of a deadlift, the asymmetric whip can violently rotate the bar out of the lifter's grip."
Edge Case A: The Stainless Steel Sleeve Slip
Stainless steel barbell sleeves are incredibly resistant to rust, but they are also smoother than black oxide or chrome finishes. If you are using a rigid aluminum screw-down collar on a stainless sleeve (like a Rogue Ohio Stainless), the metal-on-metal contact can result in micro-slipping during high-vibration movements like the clean and jerk. Solution: Always use a lever collar with a high-friction nylon or UHMW plastic insert for stainless steel sleeves.
Edge Case B: Spring Clip Fatigue on High-Whip Bars
Deadlift-specific bars (e.g., Rogue Deadlift Bar) are designed with a smaller 27mm shaft diameter and longer sleeves to maximize 'whip' (elastic deformation). When the bar bends, the sleeve actually compresses and shifts slightly in its geometry. A standard steel spring clip cannot adapt to this rapid geometric shift, leading to the clip popping off mid-lift. Solution: Ban spring clips from your deadlift platform. Reserve them strictly for bench pressing or accessory work where bar whip is negligible.
Maintenance Schedule for 2026
To ensure your collars maintain their rated clamping force, implement this bi-annual maintenance routine:
- Lever Collars: Inspect the nylon/UHMW insert for deep grooves. If the groove depth exceeds 1mm, the cam will no longer apply adequate radial pressure. Order replacement inserts (usually $8-$12 per pair).
- Lock-Jaws: Check the hinge pins for hairline fractures. Clean the ratchet teeth with a stiff nylon brush and compressed air to remove chalk dust that can cause the pawl to slip.
- Screw-Downs: Apply a single drop of lithium grease to the thrust bearing washer to ensure smooth rotation and prevent the aluminum threads from galling.
By meticulously planning your spatial layout for dumbbell work and treating your barbell collars as precision safety instruments rather than mere accessories, you guarantee a home gym environment that is as safe as it is effective. Whether you are executing a strict biceps workout at home with dumbbells or pulling a 500lb deadlift, your equipment setup should never be the weak link in your training.
More gear to consider
All reviews
Dumbbell Curl for Women: Troubleshooting Olympic Barbell Knurling

Dumbbell Skull Crusher Alternative: Barbell Weight & Knurl Guide
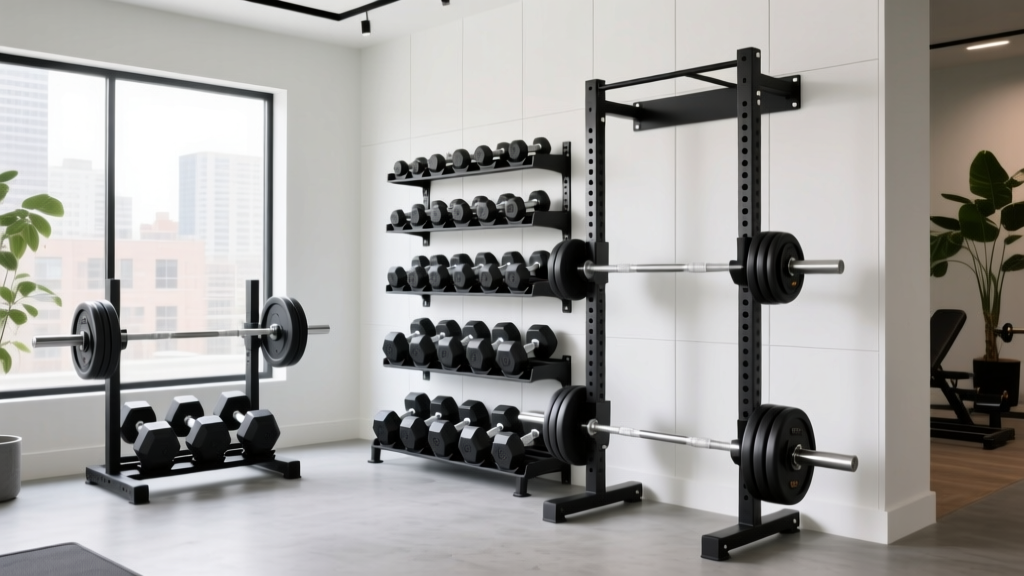
2026 Market Trends: Storage Racks for Dumbbells and Barbells

Smisko Dumbbell Trend & Cast Iron vs Competition Kettlebells (2026)
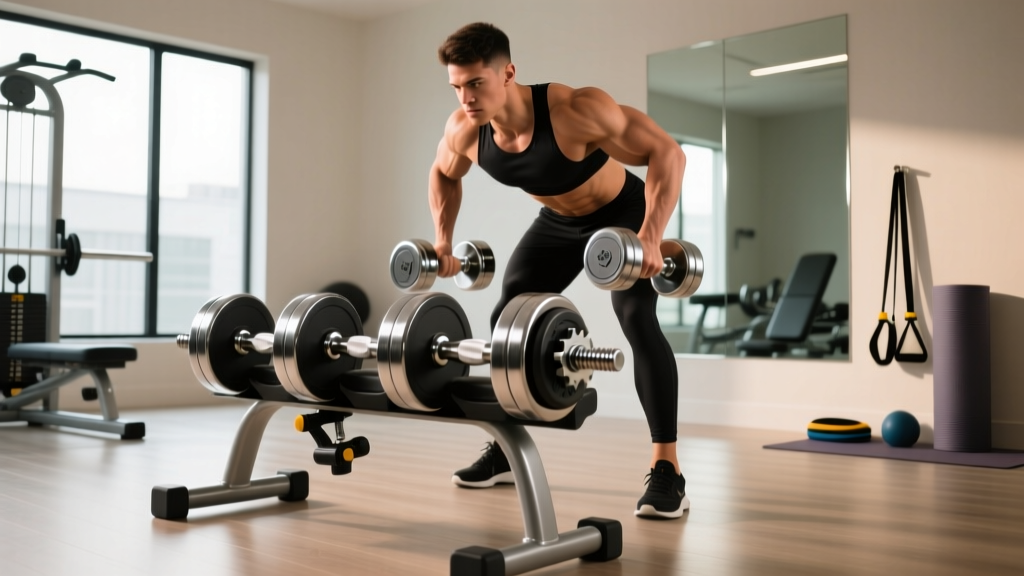
Chest Workouts with Dumbbells Standing: Adjustable Setup & Review
