Power Rack vs Squat Stand Mistakes & Dumbbell Exercises Names Guide
Avoid critical home gym mistakes. We troubleshoot power rack vs squat stand choices, safety failures, and how your routine dictates the right rig.

The Home Gym Rig Dilemma: Enclosed vs. Open-Concept Lifting
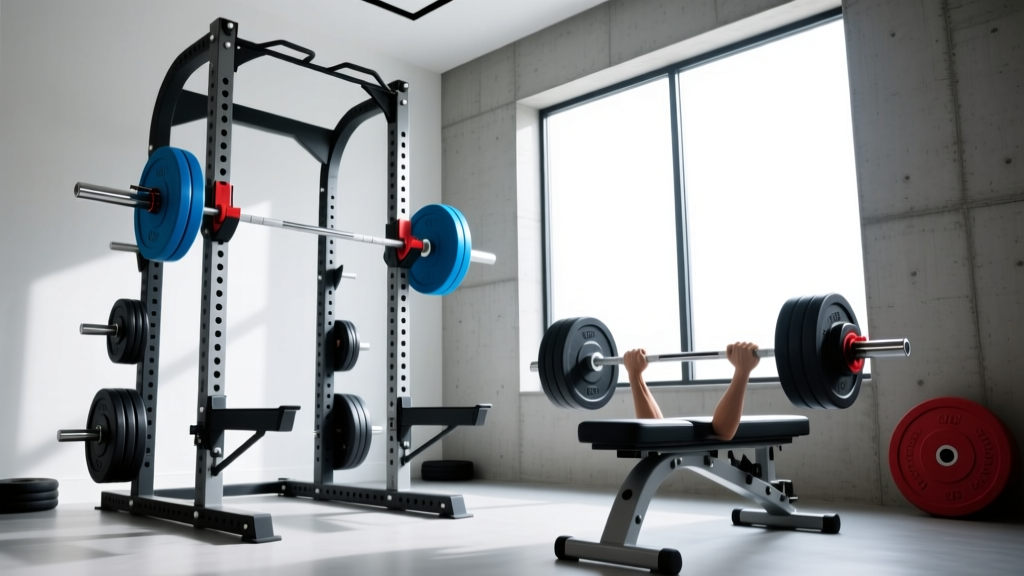
Building a home gym in 2026 requires navigating a saturated market of steel, where the lines between a power rack, a squat rack, and a squat stand are frequently blurred by misleading marketing. Choosing the wrong rig doesn't just waste your budget—it introduces severe safety hazards and limits your programming. A power rack features four enclosed uprights with continuous safety pins or straps, designed to catch failed lifts from any angle. A squat rack (or half-rack) typically utilizes two front uprights and two rear stabilizers, offering an open front for Olympic movements but requiring precise spotting arm placement. A squat stand consists of two independent or lightly connected uprights, prioritizing minimal footprint over maximum safety.
Troubleshooting your equipment choices begins with understanding your biomechanics, your available square footage, and your specific programming needs. In this guide, we break down the most common mistakes lifters make when selecting and setting up their racks, ensuring your home gym is both a high-performance training facility and a safe environment.
⚠️ SAFETY WARNING: According to the American College of Sports Medicine (ACSM), improper equipment setup and lack of safety catches are leading causes of home gym crush injuries. Never attempt heavy barbell squats or bench presses on unanchored squat stands without spotter arms and a spotter.Mistake #1: Misaligning Upright Spacing with Your Biomechanics
One of the most frequent troubleshooting issues we see in home gym forums is the mismatch between rack upright spacing and the lifter's bench. Upright spacing—the distance between the inside edges of the two front uprights—typically comes in two standard widths: 24 inches and 30 inches.
Troubleshooting the 24-inch vs. 30-inch Gap
A 24-inch inside spacing (like the popular Rogue RML-390F) is designed to perfectly accommodate standard Olympic benches, which usually have a base width of around 12 to 14 inches. This leaves ample room for your hands to grip the barbell without scraping your knuckles against the steel uprights during a bench press.
Conversely, a 30-inch spacing is common in commercial-grade racks or specific wide-stance squat racks. If you purchase a 30-inch rack but use a narrow, budget-friendly bench, you create a dangerous gap. If you fail a rep and dump the bar forward or backward, the barbell can easily slip past the j-cups and miss the safety pins entirely, resulting in a catastrophic drop. Always measure your bench base before ordering a rack.
Mistake #2: Ignoring the 'Dumbbell Exercises Names' Factor
When building your initial programming spreadsheet, most lifters obsess over barbell movements and max-out numbers. However, if you frequently search for dumbbell exercises names to integrate movements like the dumbbell floor press, Bulgarian split squat, or heavy Romanian deadlifts into your routine, your rack footprint matters immensely.
A massive 4-post power rack like the Rep Fitness PR-5000 (which can extend up to 108 inches in depth with added storage) can severely bottleneck your open-floor dumbbell work. If your garage is only 12 feet deep, a 9-foot power rack leaves you pinned against the wall, making it impossible to perform walking lunges or heavy dumbbell swings. Conversely, a pair of Titan T-2 folding squat stands clears your garage floor entirely for unilateral dumbbell movements when not in use. Always map out your required open-floor space based on the specific dumbbell exercises names in your weekly split before committing to a massive 4-post footprint.
Comparative Matrix: Power Rack vs. Squat Rack vs. Squat Stand
To help you troubleshoot your current setup or plan your next purchase, here is a data-driven comparison of three distinct rig categories based on 2026 market standards.
| Feature | Power Rack (e.g., Rogue RML-390F) | Half Rack (e.g., Titan X-2) | Squat Stand (e.g., Rogue SML-2C) |
|---|---|---|---|
| Upright Configuration | 4 Posts (Enclosed) | 2 Front Posts + Rear Stabilizers | 2 Independent Posts |
| Steel Gauge & Size | 11-Gauge, 3x3 Inch | 11-Gauge, 2x3 Inch | 11-Gauge, 3x3 Inch |
| Footprint Depth | 43 to 108 inches | 48 to 60 inches | 24 to 30 inches |
| Safety Mechanism | Internal Pin/Pipe or Strap Safeties | Extended Front Spotter Arms | External Spotter Arms (Add-on) |
| Best Use Case | Heavy Solo Lifting, Kipping Pull-ups | Olympic Lifts, Squats, Bench | Small Spaces, Light/Moderate Lifts |
| Avg. 2026 Price | $800 - $1,200+ | $500 - $750 | $350 - $500 |
Mistake #3: Overlooking Steel Gauge and Hole Spacing
Not all steel is created equal, and assuming a rack is safe simply because it looks thick is a critical error. The industry standard for a safe, heavy-duty home gym rack in 2026 is 11-gauge steel (approximately 3mm thick). Budget racks often use 14-gauge or 16-gauge steel to cut manufacturing costs. While a 14-gauge rack might hold a static 500 lbs, the dynamic force of dropping a 400 lb barbell onto the safety pins can bend the uprights or shear the welds.
The Westside Hole Spacing Advantage
Another troubleshooting point is hole spacing. Standard racks feature 2-inch hole spacing throughout the entire upright. However, premium racks offer 'Westside' hole spacing, which reduces the gap to 1 inch in the bench press and squat zone. This 1-inch spacing is crucial for micro-adjusting your j-cups. If you are bench pressing and need the safeties set exactly 1.5 inches below your chest to allow for a full range of motion while still catching a failed rep, 2-inch spacing makes this mathematically impossible. You are forced to choose between a safe range of motion and adequate safety clearance.
Mistake #4: Failing to Anchor Lightweight Stands
The physics of a squat stand are inherently less stable than a bolted-down power rack. When you unrack a heavy barbell, the center of gravity shifts forward. If the stand is not secured, the entire rig can tip toward you.
- Concrete Anchoring: If your gym is on a concrete slab, use 1/2-inch wedge anchors driven at least 3 inches into the concrete. Sleeve anchors are insufficient for the dynamic lateral forces of kipping or heavy re-racking.
- Weight Horn Anchoring: If you are renting or cannot drill into the floor, you must purchase squat stands with extended rear weight horns. Load at least 100 lbs of bumper plates onto the horns before every single session to lower the center of gravity.
- Band Pegs for Tension: Advanced lifters can use heavy resistance bands looped from the top of the squat stand to the base of a heavy sandbag or weight sled to create artificial downward tension, mimicking the stability of a bolted rack.
'The environment in which resistance training occurs must be rigorously evaluated for structural integrity. Equipment that shifts during the execution of a lift alters biomechanical tracking and exponentially increases shear force on the lumbar spine.' — ACE Fitness Guidelines on Resistance Training Environments
Real-World Troubleshooting: J-Cup and Spotter Arm Failures
Even if you buy the correct rack, failing to maintain the contact points will ruin your gear. The j-cups are the cradle for your barbell. In 2026, any reputable rack includes j-cups lined with UHMW (Ultra-High Molecular Weight) plastic. This dense plastic protects the aggressive knurling of your barbell from being scraped off against the steel cup, and it prevents the steel cup from gouging your rack uprights.
Troubleshooting Step: Inspect your UHMW plastic liners every six months. If you see deep grooves or cracks, replace the inserts immediately. A bare steel j-cup will destroy a $300 Olympic barbell's knurl pattern in less than a dozen heavy squats. Furthermore, ensure your spotter arms feature the same UHMW protection on the top surface; catching a dropped barbell on bare steel spotter arms can bend the barbell's shaft, rendering it permanently unusable for heavy lifting.
Final Verdict: Matching the Rig to Your Reality
Troubleshooting your home gym setup is an ongoing process of aligning your equipment with your physical reality. If your primary goal is moving maximum weight safely while training alone in a basement with low ceilings, an 84-inch short power rack with strap safeties is non-negotiable. If you are an Olympic weightlifter who needs to drop the bar from overhead and requires an unobstructed platform, a half-rack or heavy-duty squat stand with extended spotter arms is the correct choice.
By understanding the nuances of upright spacing, steel gauge, anchoring physics, and how your specific routine—down to the exact dumbbell exercises names you program—interacts with your floor space, you can build a rig that serves you safely for decades. Don't compromise on the steel that stands between you and the floor.
More gear to consider
All reviews
Hoist Dumbbells vs. Premium Adjustables: 2026 Showdown

Quick Full Body Dumbbell Workout Mistakes: Olympic vs Standard Plates

Setup: Barbell Knurling & Dumbbells for Back Shoulder Exercises

Rack Maintenance & Storage Tips for Chest Workouts Using Dumbbells

Bumper vs Iron Plate Care & the Alternating Dumbbell Hammer Curl
