Barbell vs Dumbbell Shoulder Press: Setup & Barbell Guide
Master your barbell vs dumbbell shoulder press setup. Includes spatial footprints, rack installation, and an Olympic barbell buying guide on knurling.

Designing Your Overhead Press Station: Spatial and Equipment Needs
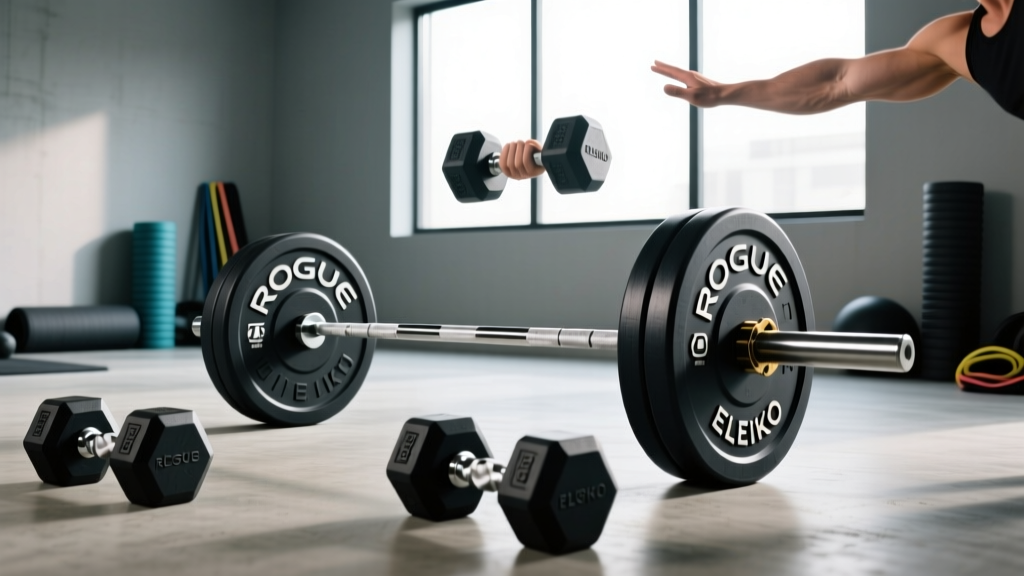
Building a dedicated overhead pressing zone in your home or commercial gym requires careful spatial planning and equipment selection. When evaluating the barbell vs dumbbell shoulder press setup, the decision extends far beyond muscle activation and biomechanics; it fundamentally dictates your rack footprint, flooring requirements, and overall budget. According to the ExRx biomechanics database, the barbell overhead press allows for greater absolute load and systemic tension, while dumbbells offer a superior range of motion and unilateral stabilization. However, accommodating both modalities safely requires a precise installation walkthrough.
Before we dive into the physical installation of your power rack and spotter arms, we must address the core implement of the barbell setup. Selecting the right Olympic barbell is a highly technical process that hinges on weight tolerances and knurling patterns. Below is a comprehensive breakdown of your setup options, followed by an elite-level Olympic barbell buying guide focusing on weight and knurling.
Setup Footprint Comparison Matrix
| Feature | Barbell Press Setup | Dumbbell Press Setup |
|---|---|---|
| Minimum Rack Clearance | 49 inches (interior width) | N/A (or 42 inches for bench) |
| Lateral Space Required | 7 feet (2200mm) for bar travel | 5 feet (elbow clearance) |
| Primary Equipment Cost (2026) | $300-$400 (Bar) + $400 (Rack) | $350-$500 (Adjustable DBs) |
| Safety Mechanism | Pin-pipe or flip-down spotter arms | Drop-zone floor mats (3/4 inch rubber) |
The Core Component: Olympic Barbell Buying Guide (Weight and Knurling)
If you opt for the barbell route, your overhead press is only as stable as the bar resting in your palms. The Garage Gym Reviews barbell buying framework emphasizes that tensile strength and knurl geometry are the two most critical factors for overhead lifting. As of 2026, the market is saturated with budget bars that bend under 200 lbs and tear calluses during high-rep sets. Here is how to decode the specifications.
Decoding Knurling Patterns for Overhead Pressing
Knurling is the cross-hatched pattern machined into the steel shaft that provides grip. For the shoulder press, your hands are placed just outside shoulder width, and the bar must remain locked in the heel of your palm without slipping during the lockout phase. According to Barbend's comprehensive barbell knurling guide, there are three primary knurl profiles:
- Hill Knurl: The peaks of the diamond pattern are flattened or rounded. This is common on Olympic weightlifting bars. It is gentle on the hands but can become slippery during heavy, sweaty overhead presses.
- Mountain Knurl: Sharp, aggressive peaks that dig deeply into the skin. Ideal for deadlifts and low-rep powerlifting, but it will tear your calluses during high-volume shoulder press accessory work.
- Volcano Knurl: The gold standard for overhead pressing. The peaks are slightly flattened, but the deep concentric valleys create a 'rim' effect that grips the skin multidirectionally. It provides immense security for the strict press without shredding your hands.
Weight Tolerances, Tensile Strength, and Center Knurls
A standard men's Olympic barbell weighs exactly 20kg (44.09 lbs), while a women's specification bar weighs 15kg (33.07 lbs) and features a thinner 25mm shaft. For overhead pressing, the 20kg bar is standard, but you must verify the tensile strength, measured in PSI (pounds per square inch).
Never purchase a barbell with a tensile strength below 165k PSI for overhead work; it will permanently bend if you drop it from lockout. For a lifetime warranty and zero deformation, target a minimum of 190k PSI, with elite bars pushing 215k PSI. Furthermore, decide if you want a center knurl. While a center knurl helps anchor the bar on your back during squats, it can scratch your upper chest and collarbone during the bottom position of a strict shoulder press. Many elite pressers prefer a bar with a smooth center ring or a very mild center knurl.
Step-by-Step Installation Walkthrough
With your barbell selected, it is time to install the rack and configure the safety mechanisms. Overhead pressing carries a unique risk profile: a failed rep does not fall to your chest like a bench press; it falls toward your face and clavicle. Proper installation is non-negotiable.
Step 1: Rack Anchoring and Spatial Alignment
- Positioning: Place your power rack so that the front uprights face an open room. You need at least 36 inches of clearance in front of the rack to allow for a slight backward lean during the lockout phase of the press.
- Anchoring: If using a commercial-grade rack (e.g., Rogue RML-390F or Titan T3), bolt the base plates to your concrete slab using 3/8-inch wedge anchors. If bolting is impossible, install rear crossmembers and add sandbags to the base storage pegs to prevent forward tipping if you drop the bar forward.
Step 2: J-Cup Configuration for the Un-Rack
The height of your J-cups dictates the efficiency of your un-rack. For the shoulder press, the bar should rest at upper-sternum height. If the J-cups are too high, you will have to artificially elevate your shoulders, wasting energy before the lift begins. If they are too low, you will be forced to perform a partial front squat just to un-rack the bar, compromising your core brace.
Step 3: Spotter Arm Placement (The Fail-Safe)
This is the most critical safety installation step for the barbell shoulder press.
- Insert your spotter arms (pin-pipe or flip-down straps) into the second or third hole from the bottom of the upright.
- The spotter arms must sit exactly two inches below your clavicle.
- Why? If you fail a rep at the top, you can safely lower the bar to your upper chest/shoulders and lean forward to rest it on the spotter arms. If the arms are set too high, they will block the bar path. If they are set too low, the bar will crush your sternum before making contact with the safety.
Integrating the Dumbbell Alternative
If your spatial constraints or injury history dictate that the dumbbell shoulder press is your primary movement, the installation is simpler but requires specialized storage. Adjustable dumbbells like the Nuobell 80s or PowerBlock Pro 100s are the 2026 standard for home gyms, eliminating the need for a massive 5-100 lb fixed hex rack.
Install a dedicated dumbbell cradle or a 3-tier rack positioned exactly 18 inches to the side of your pressing bench. When performing heavy dumbbell presses, the 'knee-kick' method is mandatory for getting the weights into position. Ensure your bench is set to a strict 85-to-90-degree incline (not perfectly vertical, which impinges the rotator cuff) and that your flooring consists of 3/4-inch vulcanized rubber mats to absorb the impact when you drop the dumbbells at the end of a set.
Frequently Asked Questions (FAQ)
Can I use a deadlift bar for overhead pressing?
No. Deadlift bars feature a 27mm shaft and extreme 'whip' (flex). During an overhead press, this flex creates a dangerous oscillation effect at the top of the movement, making stabilization incredibly difficult and placing undue stress on the rotator cuff. Always use a stiff power bar or a dedicated pressing bar with a 28.5mm or 29mm shaft.
How often should I clean my barbell knurling?
Chalk and dead skin accumulate in the knurl valleys, turning a volcano knurl into a smooth, slippery surface. Every 4 to 6 weeks, use a stiff nylon brush and a light application of 3-in-One oil or mineral oil to scrub the shaft. Wipe it down with a microfiber cloth to maintain optimal grip security for your pressing sessions.
More gear to consider
All reviews
Slight Incline Dumbbell Press Mistakes & Olympic vs Standard Plates
Optimize Your Training Program with Dumbbells: Rubber Hex vs Urethane

Blogilates Dumbbells Set vs Kettlebells: Cast Iron or Competition?

Dumbbell Workout Plan for Beginners: Neoprene Weight Mistakes
Barbell Collars vs Clamps: Securing the Dumbbell Deadlift to Row