
Olympic Barbell Knurling Guide & Dumbbell Lateral Shoulder Raise Tips
Master your home gym with our beginner guide to Olympic barbell weight, knurling patterns, and pairing heavy lifts with the dumbbell lateral shoulder raise.

The Complete Beginner's Blueprint: Barbell Specs and Shoulder Isolation
Building a functional home gym in 2026 requires more than just throwing money at the first iron you see. For beginners, navigating the world of free weights can feel overwhelming, especially when trying to balance heavy compound movements with targeted isolation work. This step-by-step guide bridges the gap between selecting the perfect Olympic barbell—focusing on critical weight tolerances and knurling patterns—and programming essential accessory movements like the dumbbell lateral shoulder raise to ensure balanced, injury-free muscle development.
Beginner Insight: Heavy barbell pressing builds raw anterior deltoid and chest strength, but it leaves the medial deltoids underdeveloped. Pairing your new barbell with a set of adjustable dumbbells for lateral raises is the ultimate blueprint for 3D shoulder aesthetics and joint health.Step 1: Decoding Olympic Barbell Weight and Tensile Strength
Before you worry about brand names, you must understand the foundational physics of an Olympic barbell. The International Weightlifting Federation (IWF) sets strict tolerances for competition bars, but commercial and home gym bars vary wildly. According to the International Weightlifting Federation, a standard men's Olympic barbell must weigh exactly 20kg (44.09 lbs) and measure 28mm in shaft diameter, while a women's bar weighs 15kg (33.06 lbs) with a 25mm shaft to accommodate smaller hand sizes.
Understanding Tensile Strength (PSI)
When shopping for your first barbell, you will see "tensile strength" measured in PSI (pounds per square inch). This dictates how much load the bar can take before permanently bending.
- Under 165,000 PSI: Avoid. These budget bars will bend during heavy squats or deadlifts and fail to return to their original shape.
- 165,000 to 190,000 PSI: The sweet spot for beginners and intermediate lifters. Bars like the Rogue Ohio Bar sit right in this zone, offering enough flexibility (whip) for Olympic lifts while remaining rigid enough for heavy pressing.
- 190,000 to 215,000+ PSI: Powerlifting specific. Extremely stiff, zero whip. Great for heavy squats, but can feel harsh on the joints during dynamic movements.
Step 2: Navigating the Knurling Matrix
Knurling is the cross-hatched pattern machined into the steel shaft. It is the only point of contact between you and the weight, making it the most crucial factor in barbell selection. Manufacturers use CNC machines to carve three primary knurl shapes, each serving a distinct purpose.
| Knurl Type | Shape Profile | Best Use Case | Aggressiveness |
|---|---|---|---|
| Volcano | Pointed peaks with small craters carved into the top. | All-around training, heavy pulling, high-rep hypertrophy. | Medium-High (Grippy but won't tear hands) |
| Mountain | Sharp, flat-topped peaks without craters. | Heavy deadlifts, low-rep strength work. | High (Can tear calluses over time) |
| Hill | Smooth, rounded, shallow grooves. | High-rep conditioning, casual commercial gyms. | Low (Slippery when sweating) |
The Center Knurl Dilemma
Many modern "hybrid" bars omit the center knurl to prevent scraping the collarbones during cleans and front squats. However, if your primary goal is heavy back squatting, a passive center knurl is essential for keeping the bar anchored to your upper back. Look for bars with IPF or IWF hash marks to ensure proper hand placement for bench pressing and snatching.
Step 3: The Biomechanics Gap (Why Barbell Pressing Isn't Enough)
Once you have selected a barbell with the correct weight and a volcano knurl for optimal grip, you will likely start a linear progression program focusing on the barbell overhead press (OHP) and bench press. Here is where most beginners hit a wall regarding shoulder development.
"Heavy barbell compounds heavily bias the anterior (front) deltoid and the clavicular head of the pectoralis major. The medial (side) deltoid receives minimal stimulation during a barbell OHP, leading to imbalances and a narrow shoulder profile."
To build resilient, capped shoulders, you must isolate the medial deltoid. This is exactly where the dumbbell lateral shoulder raise becomes your most valuable accessory tool.
Step 4: Step-by-Step Execution of the Dumbbell Lateral Shoulder Raise
Transitioning from the barbell rack to the dumbbell rack requires a shift in mindset. You are no longer moving maximal load; you are chasing metabolic stress and precise muscle fiber recruitment. Follow these exact steps to master the dumbbell lateral shoulder raise.
1. Weight Selection and Stance
Leave your ego at the door. For a true beginner in 2026, starting with 5 lb to 15 lb dumbbells per hand is optimal. Stand with feet shoulder-width apart, maintaining a slight forward lean (about 10 degrees) to align the medial deltoid directly against gravity.
2. The Scapular Plane Alignment
Do not raise the dumbbells directly out to your sides (the frontal plane). Instead, bring your arms roughly 30 degrees forward into the "scapular plane." This aligns the movement with the natural orientation of the shoulder blade, drastically reducing the risk of subacromial impingement.
3. Execution and the "Pitcher" Myth
- Lead with the elbow: Your elbow should always be slightly higher than or level with your wrist.
- Stop at parallel: Raising the dumbbells above shoulder height shifts the load away from the medial deltoid and onto the upper trapezius.
- Avoid internal rotation: Old-school bodybuilding advice suggested "pouring the pitcher" (turning the pinky up at the top). Modern sports science strongly advises against this, as it grinds the rotator cuff tendons against the acromion process. Keep a neutral wrist or a slight thumb-up tilt.
4. Programming the Accessory
Perform 3 to 4 sets of 12 to 20 repetitions at the end of your barbell pressing workout. Focus on a 2-second eccentric (lowering) phase to maximize muscle damage and hypertrophy without requiring heavy, joint-stressing loads.
Step 5: Budgeting Your 2026 Free Weight Setup
Allocating your budget correctly ensures you get the most out of your heavy compounds and your isolation accessories. Below is a realistic 2026 pricing matrix for a beginner setting up a hybrid barbell and dumbbell home gym.
| Equipment Category | Recommended Spec | Estimated Cost (2026) |
|---|---|---|
| Olympic Barbell | 20kg, 190k PSI, Volcano Knurl | $250 - $325 |
| Bumper Plates | 160 lb Set (Virgin Rubber) | $180 - $240 |
| Adjustable Dumbbells | 5-52.5 lbs (Dial or Lever) | $299 - $399 |
| Squat Rack / Bench | Foldable or 3x3 Uprights | $350 - $500 |
Final Thoughts on Free Weight Synergy
Investing in a high-quality Olympic barbell with the correct weight tolerances and an aggressive volcano knurl will set the foundation for your strength journey. However, true physique development and joint longevity require intelligent accessory programming. By systematically pairing heavy barbell compounds with strict, biomechanically sound executions of the dumbbell lateral shoulder raise, you create a comprehensive training stimulus that no single piece of equipment could achieve alone. Start with the fundamentals, respect the steel, and let the iron do the work.
More gear to consider
All reviews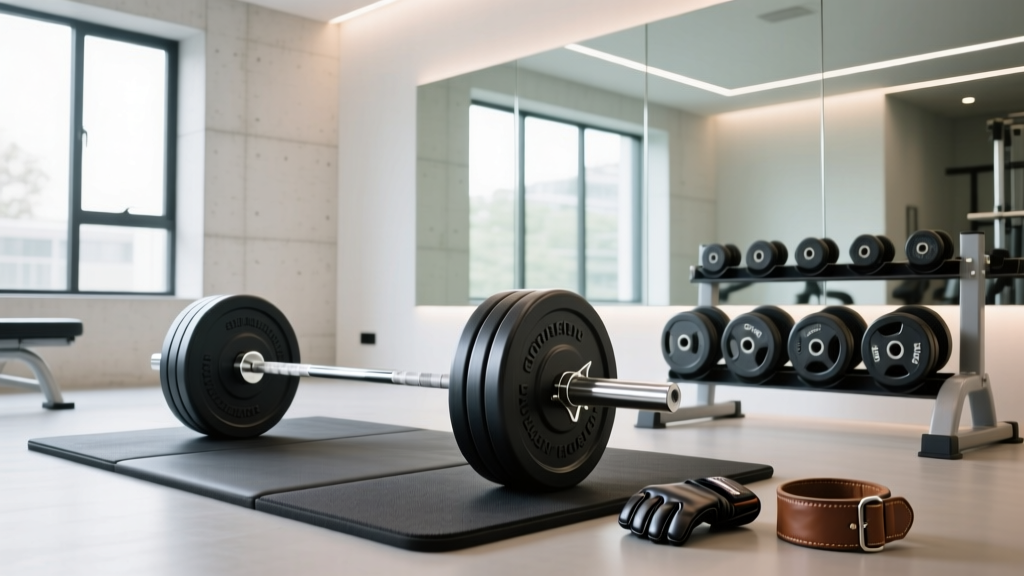
Upgrading From the Sit Dumbbell Press: Olympic Barbell Knurling Guide
EZ Bar vs Straight Bar: 2026 Trends & Incline Dumbbell Press Benefits
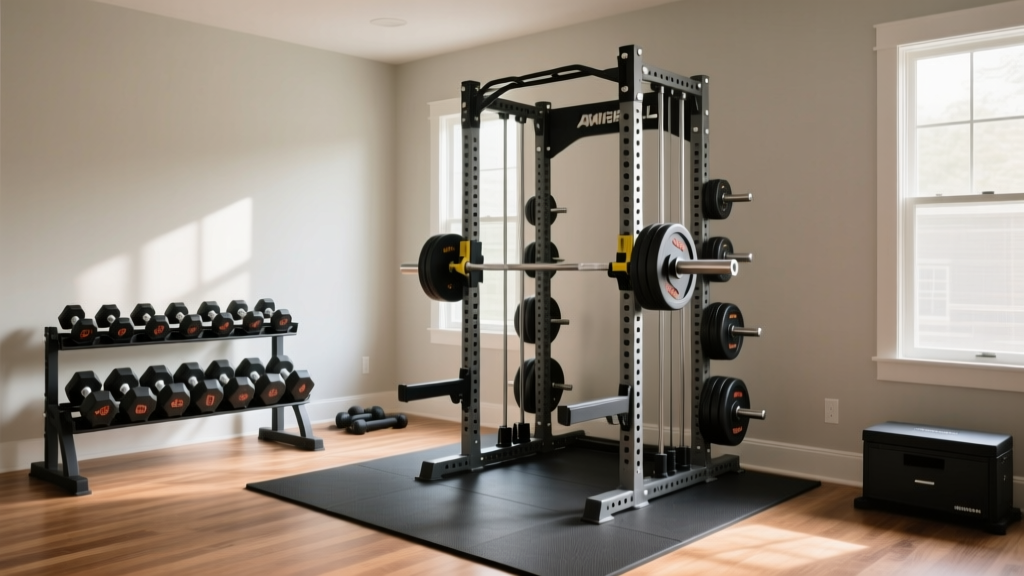
Power Rack vs Squat Stand: American Barbell Dumbbell Layout Mistakes

Cast Iron vs Competition Kettlebells: Can You Use a Dumbbell for Swings?

What Size Dumbbells Should I Get? Loadable Handles & Care Guide
