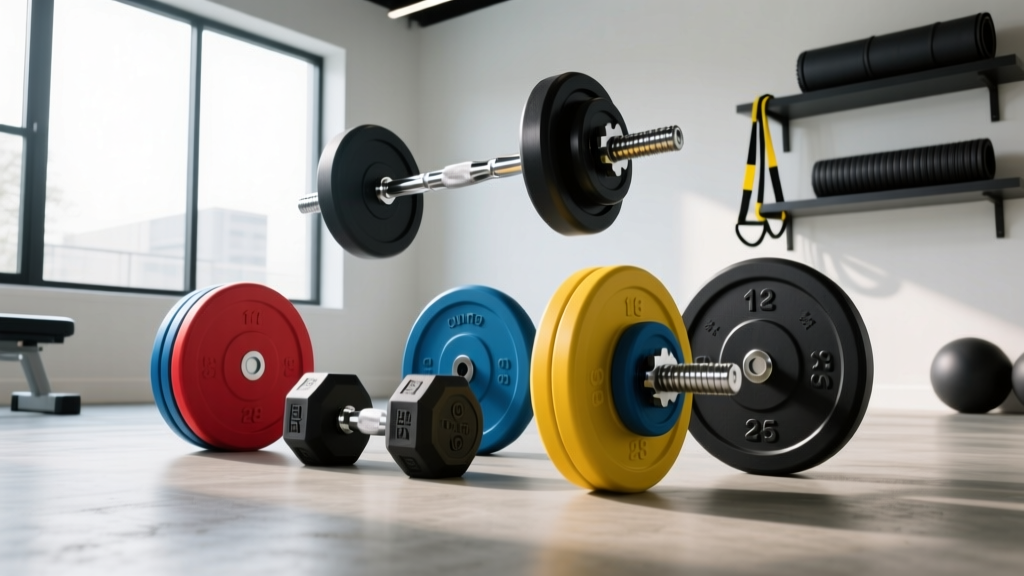
Barbell Collar Types: Safe Squats & Sit Ups with Dumbbells
Compare barbell collar and clamp types in our beginner step-by-step guide. Learn to secure weights for heavy lifts and sit ups with dumbbells safely.

The Critical Role of Barbell Collars in Modern Training
When beginners first build a home gym or step onto a commercial weight room floor, barbell collars are often an afterthought. You might assume that gravity alone will keep your 45-pound plates seated against the barbell sleeve. However, dynamic movements, uneven loading, and barbell whip create lateral forces that can shift plates mid-lift. A shifting plate alters the center of mass, potentially leading to catastrophic joint torque or a missed lift.
Securing your barbell is just as vital as managing your floor space for accessory movements. If your programming involves transitioning from heavy barbell front squats to floor-based core work like sit ups with dumbbells, you need equipment that is secure, efficient, and safe to store. In this step-by-step guide, we will break down the exact types of barbell collars available in the 2026 fitness equipment market, compare their clamping mechanics, and show you how to integrate them safely into a comprehensive strength routine.
Expert Insight: According to safety guidelines highlighted by the National Strength and Conditioning Association (NSCA), unsecured weight plates are a leading cause of non-impact weight room injuries. Always treat collar application as a non-negotiable step in your setup.Step 1: Identify Your Barbell Sleeve Type
Before purchasing any clamp, you must verify your barbell sleeve diameter. Buying the wrong size is the most common beginner mistake.
- Olympic Sleeves (50mm / ~2 inches): The global standard for powerlifting, Olympic weightlifting, and commercial gyms. Almost all high-quality lever and spring collars are designed for 50mm sleeves.
- Standard Sleeves (25mm / 1 inch): Common on budget, entry-level home gym barbells. These require specific 1-inch spinlock or spring collars, which are increasingly rare in professional settings.
Step 2: Compare the 4 Main Collar Types
Not all collars are created equal. The clamping mechanism dictates how much lateral pressure is applied to the plates and how quickly you can transition between sets.
1. Lever / Clamp Collars (The Modern Standard)
Lever collars use a cam-action mechanism to bite down on the barbell sleeve. Models like the Rogue HG 2.0 Collars or the Lock-Jawz Olympic Clamps dominate the current market. They typically apply between 120 to 150 pounds of lateral clamping force. They are fast to apply, highly secure, and stack neatly when not in use.
2. Traditional Spring Collars
Made from heavy-gauge steel wire, spring collars are the cheapest option (usually $5 to $12 per pair). While they provide decent tension for static lifts like the bench press, they suffer from metal fatigue over time. During high-vibration movements like drop snatches or heavy deadlifts, the plates can rattle and slowly push the spring collar outward.
3. Spinlock / Screw Collars
These feature a threaded sleeve and a heavy metal or plastic nut that you twist down against the plates. While they offer immense lateral security, they are incredibly slow to use. It can take 30 to 45 seconds to screw them on and off, making them useless for supersets, EMOMs (Every Minute on the Minute), or quick weight changes.
4. Magnetic / Collarless Systems
Premium brands like Eleiko have introduced magnetic locking sleeves where the plates themselves magnetically snap to the barbell sleeve, eliminating the need for an external collar. While brilliant, this requires buying into an entire proprietary ecosystem of barbells and plates, often costing upwards of $1,500 for a starter set.
Step 3: Collar Comparison Matrix
| Collar Type | Avg. Price (Pair) | Clamping Force | Setup Time | Best Use Case |
|---|---|---|---|---|
| Lever / Clamp | $25 - $45 | High (120+ lbs) | 2 Seconds | Powerlifting, CrossFit, General Strength |
| Spring | $5 - $12 | Low to Medium | 4 Seconds | Static lifts, budget home gyms |
| Spinlock | $15 - $30 | Extreme | 30+ Seconds | Threaded standard bars, permanent setups |
| Magnetic System | $100+ (System) | Very High | 1 Second | Elite weightlifting facilities |
Step 4: Mastering the Clamp Technique
Even the best lever collar will fail if applied incorrectly. Follow this step-by-step procedure to ensure a zero-gap lock:
- Load the Plates: Slide your bumper or iron plates onto the 50mm sleeve.
- Compress the Gap: Use your hand or thigh to push the outermost plate inward, compressing the plates tightly against the barbell's inner shoulder. Bumper plates, in particular, have slight manufacturing variances that leave micro-gaps.
- Seat the Collar: While maintaining inward pressure, slide the lever collar onto the sleeve until the inner lip touches the plate.
- Engage the Lever: Snap the cam lever shut. You should feel a distinct, tight resistance in the final 20 degrees of the swing. If it closes too easily, the collar is too loose; if you cannot close it at all, it is too tight and may crack the plastic housing.
Step 5: Optimizing Gym Flow and Floor Safety
Weight room safety extends beyond the barbell itself; it includes how you manage your environment during complex workout flows. Consider a superset that pairs heavy barbell back squats with floor-based core work, such as sit ups with dumbbells.
If you are using traditional spring collars, removing them often results in tossing them onto the rubber matting. Because spring collars have awkward, protruding wire handles, they create a severe tripping hazard or rolling hazard when you lie on the floor to perform sit ups with dumbbells. Conversely, modern lever collars feature flat, low-profile housings. When removed, they can be stacked neatly on a designated collar tree or placed flat against the uprights of your power rack, keeping your floor space entirely clear for your dumbbell core work.
'A well-organized training space reduces cognitive load and physical risk. Keeping the floor clear of protruding metal hardware is essential when transitioning from standing barbell lifts to supine dumbbell movements.' - Facility Safety Audit Guidelines
Common Failure Modes and Edge Cases
To train safely, you must understand how and why collars fail. Here are the edge cases every lifter should monitor:
- Plastic Housing Micro-Fractures: Lever collars (like the Lock-Jawz) use glass-filled nylon. If dropped repeatedly on concrete from a height of 4 feet, the housing can develop invisible micro-fractures that shatter under heavy lateral load. Inspect your collars every 6 months.
- Sleeve Knurling Damage: Never use metal-on-metal screw collars on a barbell with a smooth, non-threaded sleeve. The set-screws will gouge deep trenches into the steel, ruining the barbell's surface and creating rust points.
- Urethane Plate Slippage: High-quality urethane plates have a slightly tacky surface that grips the steel sleeve. Cheap rubber plates have a smooth, almost lubricated inner ring. If using cheap rubber plates, you must use lever collars, as spring collars will slide right off the slick rubber.
Final Purchasing Framework for Beginners
If you are building your first serious free-weight setup, skip the spring collars that come bundled with cheap barbell kits. Invest $30 to $40 in a pair of high-quality lever clamps. They will outlast your barbell, protect your floors from dropped plates, and keep your training environment safe—whether you are attempting a one-rep max deadlift or clearing the floor for a high-rep set of sit ups with dumbbells. Secure your gear, respect the physics of lateral force, and train with confidence.
More gear to consider
All reviews
Rubber Hex vs Urethane for Dumbbell Jumping Squats: Expert Review

Beyond Dumbbell Kick Backs: Power Rack vs Squat Rack vs Squat Stand

EZ Curl vs Straight Bar & Snode AD80 Dumbbells Care

Bumper Plate vs Iron Plate: EZ Bar Curl vs Dumbbell Curl Setups

Leg Workouts With Only Dumbbells: Troubleshooting Neoprene Mistakes