
Barbell Collar Setup: Clamp Types for Your Dumbbell Full Arm Workout
Master barbell collar setup and clamp types. This walkthrough ensures safe heavy lifts so you can focus on your dumbbell full arm workout.

The Foundation of a Safe Free Weight Station
When designing a complete home or commercial gym setup, lifters often obsess over barbell whip, plate calibration, and rack stability. Yet, the critical interface between the barbell sleeve and the weight plates—the collar or clamp—is frequently treated as an afterthought. You might be preparing for a heavy 5x5 squat session, knowing you need to conserve energy and maintain a safe environment before transitioning into a high-volume dumbbell full arm workout to finish the day. If your barbell collars are installed incorrectly, or if you are using the wrong clamp type for your specific training modality, you risk catastrophic plate shifts, compromised barbell sleeve rotation, and unnecessary central nervous system fatigue.
This complete setup and installation walkthrough will guide you through the exact mechanics of barbell collar and clamp types, comparing the industry standards for 2026, and providing a step-by-step installation protocol to ensure your hardware performs flawlessly.
Barbell Collar and Clamp Types: The 2026 Comparison Matrix
Before we dive into the physical installation walkthrough, it is vital to understand the hardware at your disposal. The standard Olympic barbell sleeve measures exactly 50mm (1.97 inches) in diameter. Every collar must interface with this dimension, but the locking mechanisms vary wildly based on the intended use case. According to comprehensive equipment reviews by BarBend's Best Barbell Collars Guide, selecting the right collar dictates both safety and workflow speed.
| Collar Type | Best Application | Avg Price (2026) | Weight | Sleeve Security & Notes |
|---|---|---|---|---|
| Spring Clips | Quick changes, commercial gyms, light isolation | $12 - $25 | ~0.2 lbs | Low. Prone to slipping during drops or heavy barbell whip. |
| Lock-Jaw / Pro-Loc | CrossFit, Olympic lifting, dynamic movements | $30 - $45 | ~0.8 lbs | High. Glass-filled nylon cam-lock grips the 50mm sleeve securely. |
| Competition Clamps | Powerlifting, heavy squats, IPF/WL meets | $90 - $160 | 2.5 kg (IPF spec) | Maximum. Aerospace aluminum with steel bolted tension. |
For a well-rounded gym that accommodates both heavy barbell compounds and accessory work like a dumbbell full arm workout, stocking a mix of Lock-Jaw collars for daily use and Competition Clamps for heavy testing days is the optimal 2026 setup.
Complete Setup and Installation Walkthrough
Proper installation is not simply about sliding a piece of plastic or metal onto the bar. It requires an understanding of barbell physics, sleeve rotation, and material friction. Follow this step-by-step walkthrough to secure your loads.
Phase 1: Sleeve Preparation and Cleaning
The most common cause of collar failure is not a defective product, but a dirty barbell sleeve. Over time, magnesium carbonate (chalk), sweat, and oxidized zinc or cerakote dust build up on the 50mm sleeve.
- Wipe the Sleeve: Use a microfiber cloth lightly dampened with isopropyl alcohol or a dedicated barbell cleaner to wipe down the outer 8 inches of the sleeve.
- Check the Snap Ring: Inspect the groove and snap ring at the very end of the sleeve. If chalk is impacted here, it can prevent the collar from seating fully, leaving a dangerous gap.
- Lubrication Check: While the internal bushings or bearings of the barbell require 3-in-1 oil or white lithium grease, the exterior sleeve must remain completely dry. Any oil on the exterior will cause Lock-Jaw and spring collars to hydroplane and slip under load.
Phase 2: Loading and Spacing Strategy
Load your calibrated plates or bumper plates onto the sleeve. The order of plates matters for collar security. Always place the largest diameter plates (e.g., 45lb/20kg bumpers) closest to the barbell shoulder, stepping down to smaller change plates (e.g., 10lb/5kg) on the outside. This creates a wider, more stable base for the collar to press against, minimizing lateral wobble.
Phase 3: Collar Placement and The 'Rotation Gap' Rule
This is where most lifters make a critical error. How you place the collar depends entirely on the type of barbell and the exercise you are performing.
Pro-Tip: The 2mm Sleeve Rotation Rule
If you are using an Olympic weightlifting bar (which relies on high-speed needle bearings to spin during cleans and snatches), do not push the collar completely flush against the outermost plate. Leaving a 1mm to 2mm gap allows the sleeve to rotate freely inside the collar. If you jam a Lock-Jaw or Competition clamp flush against the plate, you bind the sleeve. This stops the barbell from spinning, transferring severe rotational torque directly into the lifter's wrists and elbows during the catch phase.
Conversely, for powerlifting movements (squats, bench press) on a stiff bar with bronze bushings, pushing the collar completely flush is preferred to eliminate any lateral plate rattle.
Phase 4: Engaging the Locking Mechanism
Depending on your chosen collar type, the final lockdown requires specific technique:
- Lock-Jaw / Cam-Lock Collars: Slide the collar on, ensuring the inner lip passes the end of the sleeve. Pull the lever arm away from the collar body, then snap it flush against the outer face. You should hear a distinct 'click' and feel the glass-filled nylon teeth bite into the steel or zinc sleeve. If the lever closes too easily, the collar is worn out; if it requires excessive force and bends the plastic, it is too tight and may crack.
- Competition Clamp Collars (e.g., Rogue HG 2.0 or Eleiko): These utilize a threaded steel bolt or an Allen-key tensioner. Slide the aluminum body flush against the plate. Tighten the bolt until the inner brass or nylon ring expands against the 50mm sleeve. According to Rogue Fitness equipment specifications, you only need finger-tight plus a quarter-turn with a wrench. Over-torquing can strip the threads or warp the aluminum housing.
- Spring Clips: Squeeze the handles, slide past the plates, and release. Ensure the wire loops are sitting flat against the sleeve and not caught on the lip of a change plate.
Troubleshooting Common Installation Failures
Even with the correct setup, edge cases occur. Here is how to troubleshoot the most frequent collar failures encountered in serious training environments.
Failure Mode 1: The 'Chalk Slip' on Spring Clips
The Problem: During heavy deadlifts or hip thrusts, the barbell bends (whips), and the spring clip slides outward, dropping a plate.
The Fix: Spring clips rely entirely on metal-on-metal friction. Chalk acts as a dry lubricant. If you must use spring clips, wipe the sleeve with a damp towel immediately before application, or upgrade to a premium cam-lock collar from Eleiko or similar brands that use teeth to grip the sleeve regardless of chalk presence.
Failure Mode 2: Cam-Lock Creep During Drop Sets
The Problem: The vibration from dropping a barbell during high-rep CrossFit or hypertrophy work causes the plastic lever on a Lock-Jaw collar to vibrate open.
The Fix: Inspect the inner teeth of the collar. Over 2 to 3 years, the nylon teeth wear down, reducing their bite depth on the steel sleeve. Replace collars every 24 months in high-use commercial environments. For drop sets, always use the 'double-collar' method: place a spring clip behind the Lock-Jaw as a redundant fail-safe.
Failure Mode 3: Asymmetric Plate Shift
The Problem: One side of the barbell shifts outward during squats, creating a dangerous lateral imbalance.
The Fix: This is almost always caused by using mismatched collars (e.g., a 2.5kg competition clamp on the left, and a 0.5kg plastic collar on the right). The heavier collar acts as a pendulum during the eccentric descent, pulling the bar out of the lifter's groove. Always use identical collars on both sleeves.
Transitioning to Accessory Work
A meticulous barbell setup does more than just prevent injury; it optimizes your training economy. When you know your heavy squats, deadlifts, and presses are secured by properly installed, high-tolerance competition clamps or cam-locks, you can push closer to true muscular failure without the subconscious anxiety of equipment failure.
Once the heavy compound lifts are complete and the barbell is safely stripped and racked, you can transition seamlessly to your isolation work. A well-structured dumbbell full arm workout—featuring heavy bicep hammer curls, tricep skull crushers, and lateral raises—requires intense focus and mind-muscle connection. By treating your barbell collar setup with the same respect and precision as your programming, you ensure that your gym environment remains safe, your equipment lasts longer, and your energy is reserved entirely for the lifts that drive your hypertrophy and strength goals.
'The hallmark of a professional lifting environment is not just the caliber of the iron, but the precision of the hardware that secures it. A 2.5kg IPF-spec collar is not just a paperweight; it is an active counterbalance and a critical safety tether.' — International Powerlifting Federation Technical Guidelines
Summary Checklist for Your Next Session
- Wipe down the 50mm sleeves to remove chalk and oil.
- Load plates from largest to smallest diameter.
- Leave a 2mm gap for Olympic lifts; push flush for powerlifting.
- Engage cam-locks until you hear the mechanical click.
- Use matching collars on both sides to maintain barbell equilibrium.
- Strip the bar safely before moving to your dumbbell full arm workout.
By mastering the nuances of barbell collar and clamp types, you elevate your training from amateur to professional, ensuring every rep is safe, stable, and effective.
More gear to consider
All reviews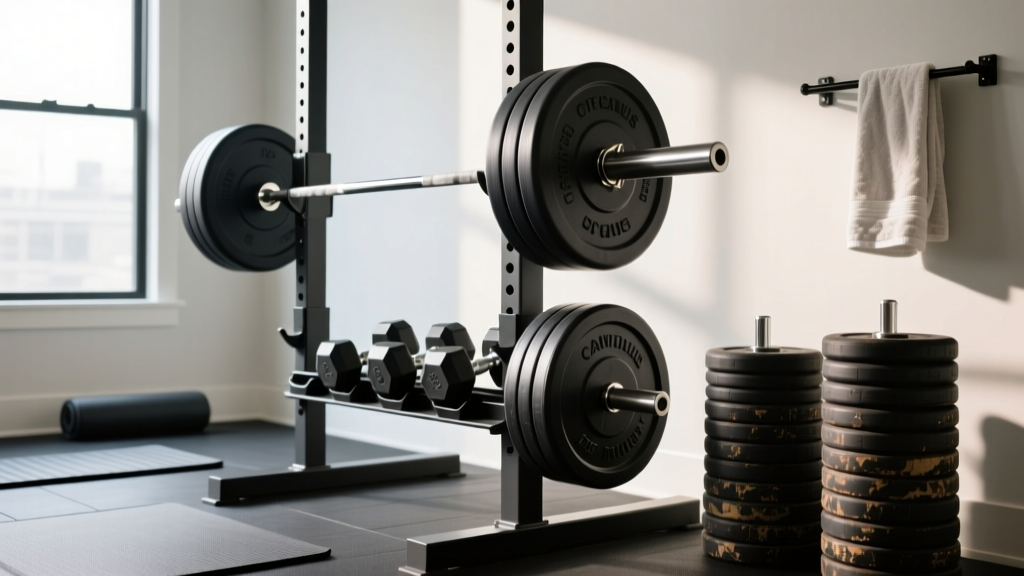
Bumper vs Iron Plates: Care Tips for Barbell and Dumbbell Training
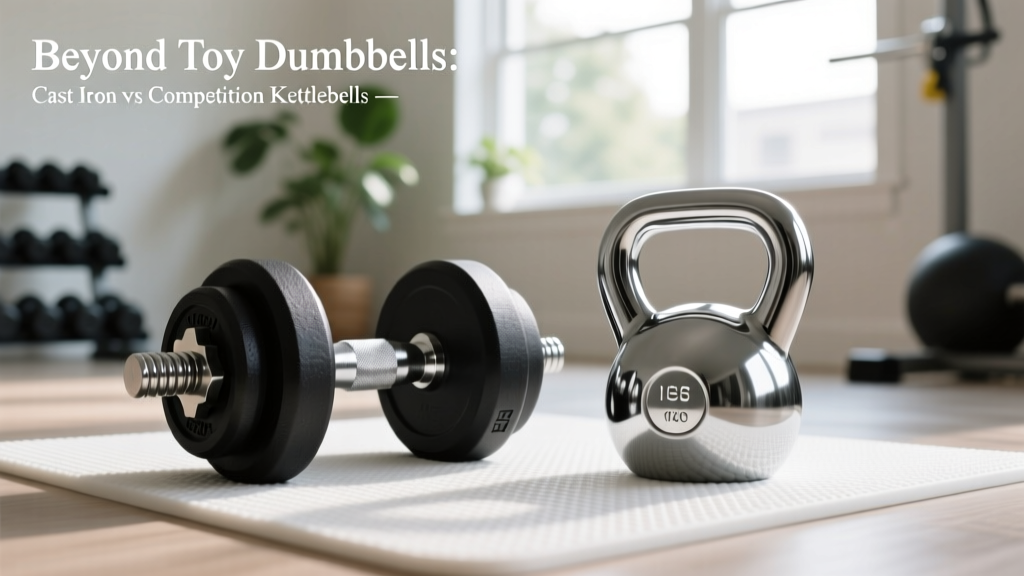
Beyond Toy Dumbbells: Cast Iron vs Competition Kettlebells

Best Neoprene Dumbbells & Your 4-Week Dumbbell Exercise Schedule

Troubleshooting Arm Exercises with Dumbbells: Neoprene Grip Errors

Cast Iron vs Competition Kettlebells: Beyond the Lying Dumbbell Press
