Barbell Collar Setup & Grip Prep for Dumbbell Curls for Forearms
Master your free weight station. Compare barbell collars, learn installation safety, and optimize grip prep for dumbbell curls for forearms.

The Anatomy of Barbell Security: Collar vs. Clamp
Building a safe, efficient home or commercial gym requires meticulous attention to the hardware that secures your loads. While lifters obsess over barbell knurling and bumper plate durometer ratings, the humble barbell collar is often an afterthought—until a 45-pound plate shifts mid-lift. Understanding the mechanical differences between traditional spring collars, lever clamps, and competition calipers is the first step in a complete free weight station setup.
Furthermore, how you interact with your barbell hardware directly impacts your downstream accessory work. Wrestling with stiff, oxidized spring collars can prematurely fatigue your flexor muscles. If your training split transitions from heavy Olympic lifts to targeted isolation movements like dumbbell curls for forearms, preserving your grip strength during equipment setup is a non-negotiable aspect of programming.
Comparison Matrix: Finding Your Ideal Barbell Collar
Not all collars are created equal. The market is segmented into three primary categories based on clamping mechanism, material science, and intended use case. Below is a comprehensive breakdown of the top-tier options available in 2026.
| Type | Model Example | Price Range | Weight (Per Pair) | Best Application | Failure Mode / Edge Case |
|---|---|---|---|---|---|
| Spring Collar | Rogue HG 2.0 | $30 - $40 | ~0.6 lbs | General fitness, WODs | Spring fatigue after 500+ drops; loses lateral tension. |
| Lever Clamp | Lock-Jaw Pro | $25 - $35 | ~0.4 lbs | Powerlifting, home gyms | Glass-filled nylon becomes brittle in unheated garages (<40°F). |
| Competition Caliper | Eleiko Olympic Clamp | $150 - $200 | 5.0 kg (11 lbs) | Sanctioned meets, heavy singles | Overkill for home use; aluminum housing can scratch if dropped on concrete. |
| Spin-Lock (Legacy) | Standard 1" Iron Nut | $10 - $15 | ~1.5 lbs | Lightweight standard bars | Thread stripping; incompatible with 2" Olympic sleeves. |
Step-by-Step Installation and Safety Walkthrough
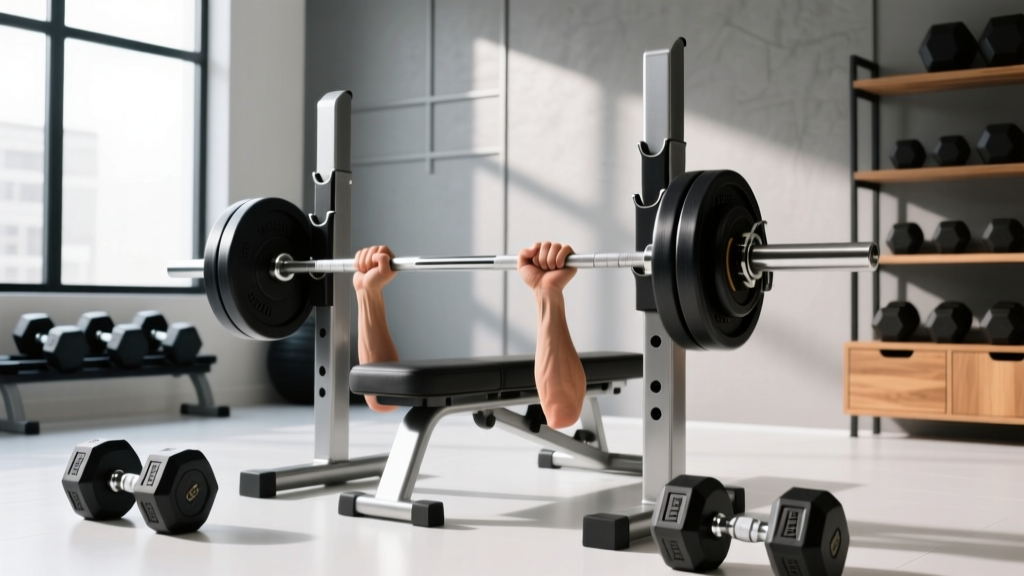
Proper installation extends the lifespan of your barbell sleeves and ensures the collar performs under extreme lateral shear forces. Follow this protocol for lever and spring collars:
1. Sleeve Preparation
Before installing any collar, wipe the barbell sleeve with a microfiber cloth and a light application of 3-in-One oil or barbell-specific lubricant. Accumulated chalk and oxidized steel create micro-abrasions that degrade the inner rubber lining of lever clamps and reduce the friction-hold of spring collars.
2. Positioning and Seating
- Spring Collars: Compress the handles fully, slide the collar onto the sleeve, and release. Ensure the inner rubber gasket is flush against the outer edge of the bumper plate. Do not leave a gap; lateral plate movement during a clean and jerk will compromise the spring's grip.
- Lever Clamps: Slide the clamp on, push it firmly against the plate, and engage the lever. You should hear a distinct 'click' and feel resistance. If the lever closes too easily, the clamp is worn out or the barbell sleeve is under-machined (common with cheap import bars).
Expert Insight: According to the International Weightlifting Federation (IWF) technical rules, competition collars must weigh exactly 2.5 kg each and are factored into the total barbell weight. In a home gym setting, lever clamps weigh virtually nothing, meaning you must manually account for the 0.4 lbs they add if you are tracking micro-loading with extreme precision.
⚠️ Warning: Cold Weather Clamp Failure
If your home gym is located in an unheated garage or shed, avoid standard nylon lever clamps during winter months. Nylon polymers lose impact resistance and become highly brittle at temperatures below 40°F (4°C). A dropped barbell can shatter a cold nylon clamp, sending plates sliding off the sleeve. Opt for aluminum-bodied clamps or keep your spring collars indoors until gym time.
Grip Preservation: Transitioning to Dumbbell Curls for Forearms
Why does barbell collar selection matter for forearm training? The answer lies in grip fatigue and central nervous system (CNS) management. Wrestling with rusted, high-tension spring collars between heavy deadlift sets forces your forearm flexors into intense, unprogrammed isometric contractions.
When programming dumbbell curls for forearms later in your session, you need your grip fresh to maximize the eccentric overload and time-under-tension required for brachioradialis and flexor carpi hypertrophy. If your flexors are pre-exhausted from fighting your barbell hardware, you will be forced to drop your working weight by 15-20%, severely limiting the mechanical tension required for growth.
Optimizing the Dumbbell Station for Forearm Isolation
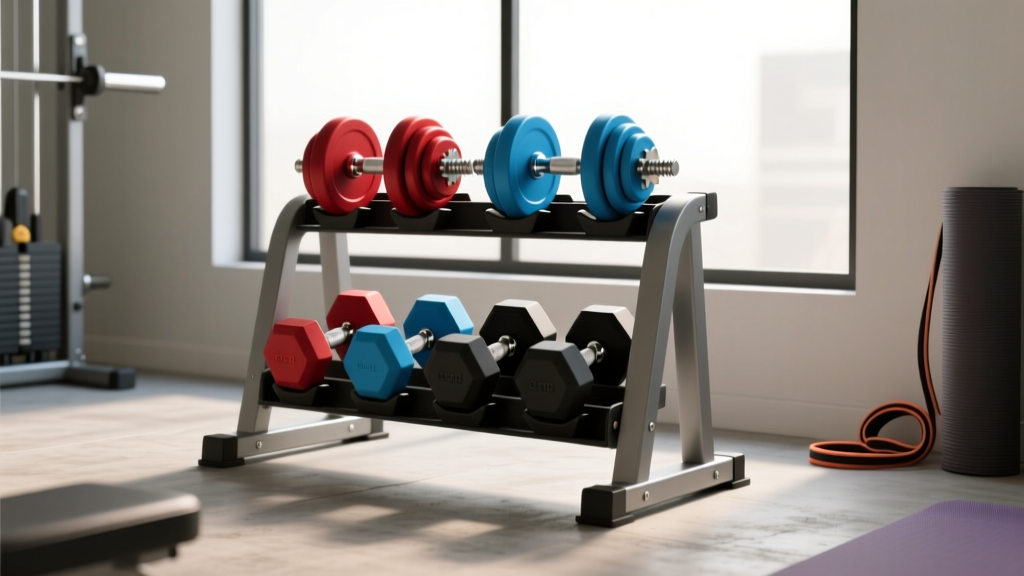
To create a seamless transition from barbell compounds to dumbbell isolation, your dumbbell rack setup must be optimized for grip variations. The brachioradialis and surrounding forearm musculature respond best to varied handle diameters and knurling depths.
- Standard Hex Dumbbells (35mm handle): Ideal for heavy, low-rep hammer curls. Ensure your hex dumbbells (like the Rep Fitness RD-2 series) feature a medium-depth knurl. Aggressive knurling will tear calluses built up from barbell work.
- Fat Grip Adapters (2.25"+ diameter): If your budget doesn't allow for a dedicated set of thick-handled dumbbells, integrate silicone fat grips into your accessory station. Wrapping these around standard dumbbells during curls forces the forearm extensors and flexors into maximum contraction, bypassing the need for heavy absolute loads.
- Adjustable Dumbbells (e.g., Nuobell, PowerBlock): Excellent for drop-sets targeting forearm pump. However, be aware that the blocky shape of PowerBlocks can interfere with the natural wrist supination required for optimal supinated dumbbell curls. Nuobell's traditional handle shape is vastly superior for rotational forearm work.
Hardware Maintenance Protocol
To ensure your free weight station remains safe and your grip remains un-fatigued by faulty equipment, implement this bi-weekly maintenance routine:
- Spring Collars: Inspect the inner rubber lining for dry rot. If the rubber is cracking or peeling, the collar will slip on chrome or stainless steel sleeves. Replace them annually if used in a high-volume commercial setting.
- Lever Clamps: Use a silicone-based lubricant on the metal hinge pin. Avoid WD-40, which attracts chalk dust and creates a grinding paste that seizes the lever mechanism over time.
- Dumbbell Handles: Scrub knurling with a stiff nylon brush and warm soapy water to remove dead skin and magnesium carbonate buildup, ensuring maximum tactile feedback during forearm isolation work.
Frequently Asked Questions
Do I need competition calipers for a home gym?
No. Unless you are hosting sanctioned meets or require the exact 2.5 kg weight calibration for competition-specific prep, high-quality lever clamps (like Lock-Jaw or Bear Komplex) offer superior ease of use, faster setup times, and better grip preservation for a fraction of the cost.
Can forearm grip strength from curls improve my barbell collar handling?
Yes. While upgrading to quick-release clamps is the best way to reduce setup fatigue, a strong grip developed through targeted dumbbell curls for forearms will make manipulating heavy-duty spring collars and loading thick-gauge bumper plates significantly easier and safer.
Are spin-lock collars ever recommended?
Only for legacy 1-inch standard bars found in budget beginner kits. They are entirely incompatible with modern 2-inch Olympic barbells and pose a severe safety risk due to thread stripping under heavy axial loads. The National Strength and Conditioning Association (NSCA) strongly advocates for secure, quick-locking mechanisms in all dynamic lifting environments to prevent catastrophic plate shifts.
More gear to consider
All reviews
Mastering Delt Flys with Dumbbells: A Beginner's Home Guide
Bumper vs Iron Plates: Budget Guide & Dumbbells for Back Muscles

Bumper vs Iron Plate Maintenance for Step Ups with Dumbbells
Olympic vs Standard Plates: Full Body Circuit with Dumbbells

Golf Dumbbell Workout vs. Barbell: Weight & Knurling Mistakes