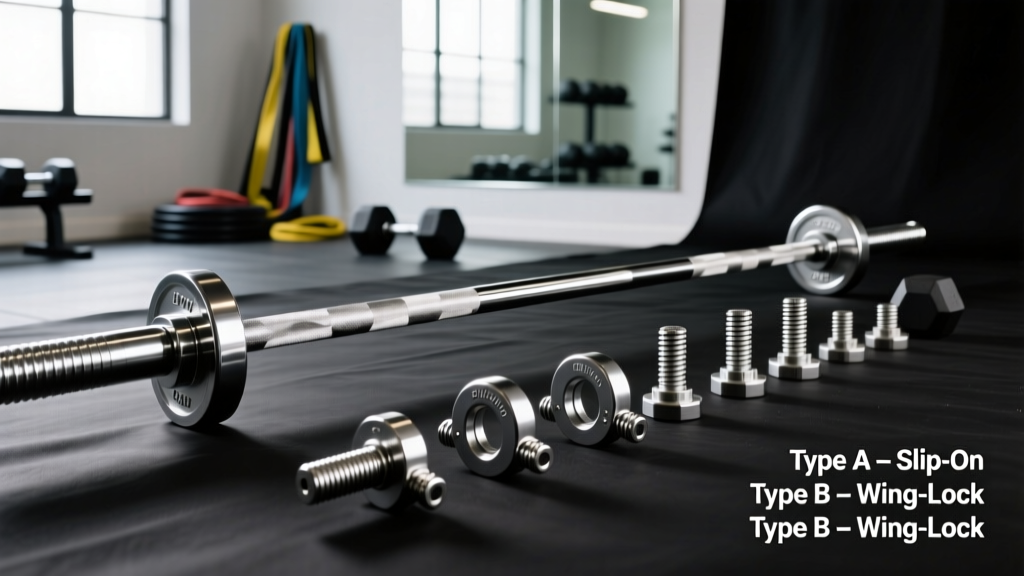
Barbell Collar Setup & Clamp Comparison: What to Watch For
Master your barbell collar setup with our 2026 clamp types comparison. Learn installation steps, failure modes, and the best collars for heavy lifts.

The "Footage vs. Reality" Gap: Why Collars Matter
Every year, thousands of beginners flood YouTube and TikTok with a very specific, albeit clunky, search query: "how heavy are the dumbbells you lift where to watch". They are hunting for raw, unedited footage of elite strongmen, powerlifters, or bodybuilders moving massive iron. But when you actually pause that footage and analyze the setup, the secret to a safe, successful lift isn't just the weight on the bar—it is the hardware keeping it there.
Elite lifters do not rely on $5 spring clips for a 500lb deadlift or a heavy overhead press. They use calibrated competition collars, heavy-duty aluminum hitch clamps, or reinforced resin locks. A shifting plate alters the barbell's center of gravity, creating a dangerous rotational torque that can tear a rotator cuff or snap a wrist mid-lift. In this complete setup and installation walkthrough, we break down exactly how to secure your sleeves, compare the top collar types on the market in 2026, and identify the hidden failure modes that ruin equipment and cause injuries.
Anatomy of a Secure Setup: Step-by-Step Installation Walkthrough
Proper installation is just as critical as the collar type you choose. A $150 competition lever collar will fail if installed over a dirty sleeve or seated improperly. Follow this exact protocol before every heavy session.
- Sleeve Preparation: Wipe the barbell sleeve with a microfiber cloth. If you are using a zinc-coated bar, ensure there is no built-up white oxidation (zinc carbonate). If using a chrome or stainless steel sleeve, wipe away excess chalk and oil. Friction is your primary defense against lateral plate shift.
- Plate Seating: Load your plates, ensuring the innermost plate is seated completely flush against the inner sleeve lip (the machined ridge where the sleeve meets the shaft). Even a 2mm gap here will cause the entire stack to rattle and degrade your collar's grip over time.
- Collar Placement: Slide the collar onto the sleeve. Push it completely flush against the outermost plate. Never leave a gap between the plate and the collar.
- Mechanism Engagement:
- For Hitch/Pin Collars: Insert the pin through the sleeve hole (if applicable) or seat it flush, then tighten the thumb screw until you meet firm resistance. Add exactly one-quarter turn past resistance. Do not overtighten, or you will strip the aluminum threads.
- For Lever Collars: Pull the lever cam open, seat the collar, and snap the lever shut. The cam should bite into the sleeve, leaving a distinct, uniform impression.
- For Clamp/Lock-Jaw Collars: Squeeze the handles, slide flush, and release. Ensure the internal teeth are fully engaged on the sleeve.
- The "Shake Test": Grab the collar and attempt to twist it laterally. If it rotates independently of the barbell sleeve, it is not tight enough. Re-seat and re-engage.
Barbell Collar & Clamp Types: The 2026 Comparison Matrix
Not all collars are created equal. Below is a data-driven comparison of the four primary collar categories used in home gyms and commercial facilities today.
| Collar Type | Weight (per pair) | Avg. Price (2026) | Best Application | Primary Failure Mode |
|---|---|---|---|---|
| Standard Spring Clip | ~0.4 lbs | $10 - $15 | Light accessories, lunges, empty bar warmups | Metal fatigue; slips on dynamic drops |
| Resin/Nylon Clamp (e.g., Lock-Jaw) | ~1.1 lbs | $25 - $35 | Powerlifting, general strength, bench press | Plastic cracking in cold environments |
| Aluminum Hitch (e.g., Rogue AH-1) | 1.36 lbs | $40 - $50 | Heavy deadlifts, strongman, cross-training | Thread stripping if over-torqued |
| Competition Lever (e.g., Eleiko) | 11.0 lbs (5.5 lbs each) | $140 - $180 | Olympic lifting, IPF/IWF sanctioned meets | Cam slippage on worn/dented chrome sleeves |
Note: According to the International Weightlifting Federation (IWF) Technical Rules, competition collars must weigh exactly 2.5 kg (5.5 lbs) each. This weight is factored into the total barbell load during sanctioned events.
Deep Dive: Failure Modes and Edge Cases
Understanding why collars fail is the hallmark of an experienced lifter. Here are the non-obvious edge cases that compromise your setup.
The Cold Garage Problem (Nylon Clamps)
Clamps like the popular Lock-Jaw Pro are constructed from glass-filled nylon. While incredibly strong at room temperature, nylon becomes brittle in extreme cold. If you train in an unheated garage where temperatures drop below 40°F (4°C), the internal teeth of the clamp can micro-fracture upon impact when dropping a heavily loaded barbell. Solution: If you train in cold environments, upgrade to an aluminum hitch collar like the Rogue AH-1, which is impervious to temperature fluctuations.
Galvanic Corrosion on Zinc Sleeves
If you use an aluminum collar on a zinc-coated barbell sleeve and leave it clamped tight for weeks in a humid environment, you risk galvanic corrosion. The zinc and aluminum, acting as anodes and cathodes in the presence of moisture (sweat/humidity), will fuse together. You will eventually need a rubber mallet and penetrating oil to remove the collar. Solution: Always remove aluminum collars after your workout and wipe down the sleeve.
The Chrome Sleeve Illusion
Competition lever collars rely on a steel cam biting into the barbell sleeve. On bare steel or black oxide sleeves, this creates a perfect, non-slip lock. However, on heavily polished chrome sleeves (common on cheaper commercial gym bars), the cam can slip laterally under heavy asymmetric loads (like a 400lb bench press where one arm stalls). Independent testing by BarBend has shown that lever collars can slide up to 1.5 inches on polished chrome during high-vibration movements. For chrome sleeves, a hitch-pin collar that physically locks into the sleeve's end-hole is vastly superior.
Final Verification Checklist Before the Lift
Before you step up to the bar for your working sets, run through this 10-second mental checklist:
- [ ] Inner Lip Check: Are the inner plates flush against the sleeve ridge?
- [ ] Gap Check: Is the collar pushed completely flush against the outer plate? (Zero daylight visible).
- [ ] Engagement Check: Is the thumb screw tightened past resistance, or is the lever fully snapped shut?
- [ ] Symmetry Check: Are both collars the exact same type? (Mixing a spring clip on one side and a lever on the other creates uneven weight distribution and alters bar whip).
FAQ: Securing the Sleeves
Do I need to factor collar weight into my total?
For general home gym training, no. A pair of aluminum hitch collars weighs roughly 1.3 lbs total, which is negligible. However, if you are training for an IWF or IPF competition, you must account for the 5kg (11 lbs) total weight of the competition lever collars, as judges will include this in your official attempt weight.
Can I use hose clamps from a hardware store?
Absolutely not. While a stainless steel hose clamp might seem like a cheap hack, the screw mechanism cannot withstand the sheer lateral force of a dropped barbell. The screw housing will snap upon impact, turning the metal band into a sharp, whipping hazard. Always use purpose-built fitness hardware.
How often should I replace my spring clips?
If you are using them for light accessory work, replace standard spring clips every 12 to 18 months. The metal fatigues over time, losing its outward tension. If you notice the clip can be squeezed with just two fingers instead of requiring a firm grip, it is compromised and must be discarded.
More gear to consider
All reviews
Olympic vs Standard Plates: Setup & Gorilla Row with Dumbbells

Stability Ball Dumbbell Exercises: Neoprene Weight Mistakes & Fixes

Power Rack vs Squat Stand: Best Dumbbell Snatch Alternative Rigs

EZ vs Straight Bar Care: Beyond Exercises With Two Dumbbells

Loadable Dumbbell Maintenance for Safe Inner Chest Dumbbell Exercises
