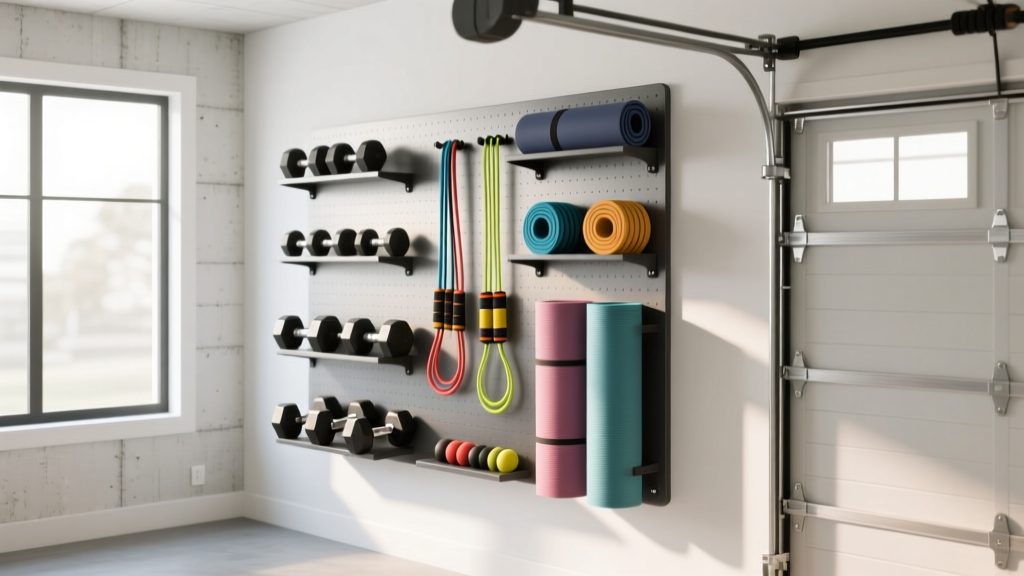
Small Dumbbell Rack for Home: The Complete Setup Guide
Master small space storage. This walkthrough covers measuring, assembling, and safely installing a small dumbbell rack for home gyms to maximize space.

When outfitting a compact workout space, finding the right small dumbbell rack for home use is only half the battle. The true challenge lies in spatial planning, structural integrity, and safe installation. Small space equipment storage solutions require a meticulous approach to ensure your gear is accessible without turning your garage or spare room into a tripping hazard. This comprehensive setup and installation walkthrough will guide you through measuring, assembling, and securing your rack for long-term durability.
Pre-Installation: Spatial Planning and The 'Swing Zone'
Before unboxing any hardware, you must map out your floor plan. A common mistake in small home gyms is measuring only the static footprint of the rack while ignoring the dynamic space required to use it safely.
💡 The 18-Inch Swing Zone RuleAlways leave a minimum of 18 inches of lateral clearance on both sides of your dumbbell rack. When lifting a 50 lb hex dumbbell from a low tier, your elbows will naturally flare outward. If your rack is flush against a wall or a squat cage, you risk striking the surrounding equipment or drywall during the lift.
Additionally, account for baseboard heaters, door swings, and HVAC vents. If you are utilizing a corner setup, ensure the diagonal depth allows for safe retrieval of the longest dumbbells (typically 12 to 15 inches in length for 50+ lb pairs).
Choosing the Right Storage Architecture
Small space equipment storage solutions generally fall into three categories. Selecting the right one depends on your floor space constraints and wall structure.
| Rack Type | Example Model (2026) | Approx. Price | Floor Footprint | Best For |
|---|---|---|---|---|
| A-Frame | CAP Barbell A-Frame | $65 - $85 | ~1.5 sq ft | Ultra-small spaces, light sets (5-25 lbs) |
| 3-Tier Freestanding | Rogue 3-Tier Rack | $295 - $350 | ~4.5 sq ft | Full rubber hex sets (5-50+ lbs) |
| Wall-Mounted | Titan Fitness Wall Rack | $149 - $199 | 0 sq ft | Garage gyms with exposed wood studs |
Step-by-Step Installation Walkthrough
Whether you are assembling a freestanding unit or anchoring a wall-mounted system, proper installation is critical to prevent catastrophic tipping or structural failure.
Phase 1: Freestanding Rack Assembly
For heavy-duty freestanding racks like the Rogue 3-Tier, the assembly sequence dictates the final stability of the unit.
- Inventory and Stage: Lay out all steel uprights, crossbars, and hardware on a rubber mat to prevent scratching the powder coat. Verify the bolt counts against the manual before starting.
- Base-First Construction: Assemble the bottom tier and base feet first. Do not fully tighten the bolts yet. Leave them at 80% torque to allow for micro-adjustments when attaching the upper tiers.
- Upright Alignment: Attach the vertical uprights. Use a carpenter's level on the front and side planes. If your floor is uneven (common in older garages), insert steel shims under the base feet rather than relying on the bolts to pull the frame into alignment.
- Final Torque: Once the top tier is secured and the rack is perfectly plumb, use a socket wrench to fully tighten all Grade 8 bolts. Apply a medium-strength threadlocker (like Loctite Blue 242) to the threads of the bottom-tier bolts, as these endure the most vibration when heavy dumbbells are dropped onto the saddles.
Phase 2: Wall-Mounted Rack Anchoring
Wall-mounted racks are the ultimate small space equipment storage solution, freeing up 100% of your floor space. However, they transfer hundreds of pounds of sheer force directly into your wall studs.
⚠️ Critical Safety Warning: Never use drywall anchors, toggle bolts, or masonry sleeves in hollow brick for a dumbbell rack. The dynamic shock load of placing a 50 lb dumbbell onto the rack can instantly pull drywall anchors through the gypsum, causing the rack to collapse. You must anchor directly into wood or steel wall studs.
According to standard building practices outlined in resources like the This Old House and Family Handyman stud-finding guides, standard wall studs are spaced 16 inches on-center (OC).
- Locate and Mark Studs: Use a magnetic or electronic stud finder to locate the center of two adjacent studs (16 inches apart). Mark the centerline with a pencil.
- Position the Bracket: Hold the wall bracket against the wall at your desired height. The ideal ergonomic height for the middle tier is roughly 30 to 36 inches from the floor, minimizing spinal flexion during lifts (aligning with National Safety Council ergonomic guidelines).
- Pre-Drill Pilot Holes: Using a 7/32-inch wood bit, drill pilot holes through the bracket's mounting slots directly into the center of the studs. This prevents the wood from splitting when driving the lag screws.
- Drive the Lag Screws: Use 3/8-inch x 3-inch structural lag screws (or the heavy-duty hardware provided by the manufacturer). Drive them in using an impact driver until the washer is flush and tight against the steel bracket. Do not overtighten to the point of stripping the wood threads.
Loading Strategy and Weight Distribution
How you load your small dumbbell rack for home use directly impacts its center of gravity and overall safety.
- Bottom-Heavy Rule: Always store the heaviest dumbbells (40 lbs and above) on the bottom tier. This lowers the center of gravity and prevents freestanding racks from tipping forward if bumped.
- Mirrored Symmetry: Never load all heavy weights on the left side of the rack. Distribute weight evenly across the horizontal plane to prevent torsional stress on the crossbars.
- Handle Orientation: Store hex dumbbells with the handles parallel to the front of the rack. This allows for a natural, neutral-grip pickup without requiring you to twist your wrists or shoulders.
Long-Term Maintenance and Failure Modes
Even the best small space equipment storage solutions require periodic maintenance. The most common failure mode in home gym racks is hardware backing out due to vibrational shock. When you drop a heavy dumbbell onto a steel saddle, the kinetic energy travels through the frame, slowly loosening untreated nuts and bolts over 6 to 12 months.
Your 2026 Maintenance Checklist:
- Bi-Annual Torque Check: Every six months, take a socket wrench to every bolt on the rack. You will be surprised by how much the bottom-tier bolts have loosened.
- Inspect Rubber Saddles: Cheaper racks use plastic cradles that crack under UV exposure or extreme garage temperature fluctuations. Inspect them for micro-fractures and replace them with polyurethane pads if necessary to protect your dumbbell handles from tearing.
- Wall-Mount Creep: For wall-mounted units, check for 'creep'—where the bracket slowly pulls away from the drywall surface. If you see a gap forming between the steel and the wall paint, the lag screws have lost their bite and must be removed, the holes filled with wood epoxy, and re-drilled.
By treating your equipment storage with the same respect as your primary lifting apparatus, you ensure a safe, efficient, and highly optimized home gym environment for years to come.
More gear to consider
All reviews
Best Equip Body Chest for Boot: Smart Storage Solutions for Home Gyms & Tactical Environments

Kettlebell Storage vs a Full Dumbbell Rack: 2026 Guide

Matrix Dumbbell Rack & Barbell Storage: Horizontal vs Vertical Care

Small Space Storage & BalanceFrom Dumbbell Rack Assembly Instructions
Wall Mounted Home Gym Equipment Storage: 2026 Market Trends