
DIY Storage: Homemade Dumbbell Rack & Resistance Band Care
Maximize gear lifespan with expert resistance band storage organization tips and structural maintenance guides for your homemade dumbbell rack.

The Hidden Enemies of Home Gym Gear: UV, Ozone, and Neglect
When outfitting a garage or basement gym, fitness enthusiasts often invest heavily in premium iron and steel, only to overlook the proper storage and maintenance of their elastomers and wooden structures. Resistance bands, made from either natural latex or thermoplastic elastomers (TPE), are highly susceptible to environmental degradation. Similarly, a custom-built wooden storage unit requires specific upkeep to handle the immense dynamic loads of heavy dumbbells. In 2026, as home gym setups become more permanent and sophisticated, understanding the intersection of resistance band storage organization and the structural care of your homemade dumbbell rack is critical for maximizing the lifespan of your equipment.
According to research on polymer degradation, elastomers break down rapidly when exposed to ultraviolet (UV) light, ozone, and sustained mechanical tension. A band left stretched over a barbell or tossed onto a concrete floor near a sunlit garage window will lose up to 40% of its tensile strength within six months. Proper storage is not merely about tidiness; it is a vital maintenance protocol.
Material Matrix: Band Composition and Storage Requirements
Not all resistance bands are created equal. The market has shifted significantly over the last few years, with fabric bands gaining massive market share over traditional TPE and latex. Below is a breakdown of how different materials dictate your storage strategy.
| Band Material | Primary Failure Mode | Ideal Storage Environment | Estimated Lifespan |
|---|---|---|---|
| Natural Latex | Ozonolysis, UV dry-rot, micro-tearing | Cool, dark, sealed containers with talc | 1–3 Years |
| TPE (Thermoplastic) | Permanent deformation (creep) if stretched | Hung loosely on wide pegs, away from heat | 2–4 Years |
| Fabric/Elastic Blend | Fraying, elastic core snapping, sweat staining | Mesh bins, washed monthly, air-dried flat | 3–5+ Years |
Integrating Band Storage into a Homemade Dumbbell Rack
One of the greatest advantages of building a homemade dumbbell rack is the ability to customize it for multi-equipment storage. Many DIYers build a standard 3-tier A-frame or tiered box rack using 2x6 lumber, but fail to account for where to hang their loop bands, mini-bands, and mobility straps. Throwing bands into a plastic bin leads to tangling and accelerates degradation due to trapped moisture and friction.
The Steel Pipe Flange Modification
To integrate heavy-duty band storage directly into the side uprights of your wooden dumbbell rack, skip the cheap plastic pegs. Instead, head to the plumbing aisle of your local hardware store and pick up 3/4-inch black steel pipe flanges and 12-inch pipe nipples (total cost: roughly $18 to $25 per station).
- Locate the Studs/Uprights: Identify the exterior-facing 2x6 uprights on your homemade dumbbell rack.
- Pre-Drill to Prevent Splitting: Wood shrinkage over time can cause splitting when driving thick screws. Use a 3/32-inch drill bit to pre-drill four pilot holes through the flange mounting points into the wood.
- Secure with Lag Screws: Mount the flange using four 1/4-inch x 1.5-inch galvanized lag screws. Do not use standard drywall or deck screws, as the lateral shear force of heavy resistance bands pulling down on the 12-inch pipe nipple will snap them.
- Organize by Tension: Hang your bands in a gradient. Place light mobility bands (e.g., 10-25 lbs) on the left, and heavy powerlifting loop bands (e.g., 85-150 lbs) on the right. This prevents lighter bands from being permanently stretched by the weight of heavier bands resting on top of them.
Pro-Tip from the Pros: If you are referencing commercial setups like the Rogue Fitness band peg systems, notice how they utilize steel UHMW (Ultra-High Molecular Weight) plastic sleeves over the metal pegs. You can replicate this on your homemade rack by sliding a piece of 1-inch PVC pipe over your steel pipe nipple. This prevents the sharp metal threads from micro-slicing the edges of your expensive natural latex loop bands.
Routine Maintenance: Cleaning and Conditioning Protocols
Proper organization is only half the battle; active maintenance dictates how long your gear survives. The American Council on Exercise (ACE) frequently highlights that improper cleaning agents destroy fitness equipment faster than daily use. Here is the exact protocol for maintaining both your elastomers and your wooden rack.
Cleaning Resistance Bands
Never use petroleum-based solvents, bleach, or alcohol-based wipes on natural latex or TPE bands. These chemicals break down the sulfur cross-links created during the vulcanization process, turning the rubber brittle.
- For Latex/TPE: Wipe down with a microfiber cloth dampened with warm water and a drop of mild dish soap. Dry immediately. Once a month, apply a light coat of 303 Aerospace Protectant (approx. $14 for a 16oz bottle). This UV-blocking formula is the industry standard for preventing rubber dry-rot.
- For Fabric Bands: Place them in a mesh laundry bag and wash on a delicate, cold-water cycle. Never put them in the dryer; the high heat will melt the internal elastic cores. Air dry them flat on top of your dumbbell rack tiers.
Caring for the Wooden Dumbbell Rack
A homemade dumbbell rack holding 300+ pounds of iron is under constant compressive and shear stress. Wood naturally expands and contracts with seasonal humidity changes, particularly in unclimate-controlled garage gyms.
- Bi-Annual Bolt Torquing: Every six months, take a socket wrench to every 3/8-inch carriage bolt and 1/2-inch hex bolt on your rack. Wood compression over time creates micro-gaps, loosening the hardware. Retorque them to snug, but avoid overtightening, which will crush the wood fibers.
- Sealant Maintenance: If your rack is finished with polyurethane, inspect the feet and bottom tier for moisture intrusion. Concrete garage floors wick moisture, which will rot the bottom of 2x6 pine legs. Apply a coat of marine-grade spar urethane to the bottom two inches of the legs, or glue on 1/4-inch rubber anti-vibration pads to create a moisture barrier.
Many home gym owners use ozone generators to eliminate sweat odors in garage gyms. Ozone (O3) is highly reactive and causes ozonolysis in rubber products. Running an ozone generator in the same room as your resistance bands will cause severe surface cracking and catastrophic band snapping within weeks. If you must use ozone for odor control, seal your bands in an airtight plastic storage tote first.
Inspection Framework: When to Retire Your Bands
Even with impeccable storage on your homemade dumbbell rack and rigorous cleaning routines, resistance bands are ultimately consumable items. Using a compromised band during high-tension movements like banded deadlifts or assisted pull-ups poses a severe safety risk.
Perform a visual and tactile inspection before every heavy session. Look for the following failure indicators:
- Whitish Oxidation: A chalky, white powdery residue on the surface of black latex bands indicates advanced UV and oxygen degradation. The band is drying out and must be retired.
- Micro-Tears at the Edges: Run your fingers along the entire perimeter of the loop band. Any nick or tear deeper than 1 millimeter will rapidly propagate under load, leading to a violent snap.
- Permanent Deformation (Creep): If a TPE band remains elongated and fails to return to its original resting length after 24 hours of being stored loosely on a peg, the polymer matrix has failed. It will no longer provide the rated resistance curve.
Final Thoughts on Home Gym Longevity
Building a homemade dumbbell rack is a fantastic way to save money and customize your space, but the true mark of a dedicated home gym owner is how they maintain the gear that isn't made of iron. By integrating dedicated, smooth-sleeved steel pipe pegs into your DIY rack, storing elastomers away from UV and ozone, and adhering to a strict bi-annual hardware and cleaning maintenance schedule, you ensure that your storage organization system actively extends the life of your equipment rather than just holding it. Treat your bands and your woodwork with the same respect you give your barbells, and your setup will serve you safely for years to come.
More gear to consider
All reviews
How to Build a DIY Vertical Dumbbell Rack & Weight Plate Tree

Troubleshooting Weight Plate Trees & Life Fitness Dumbbell Rack Setups
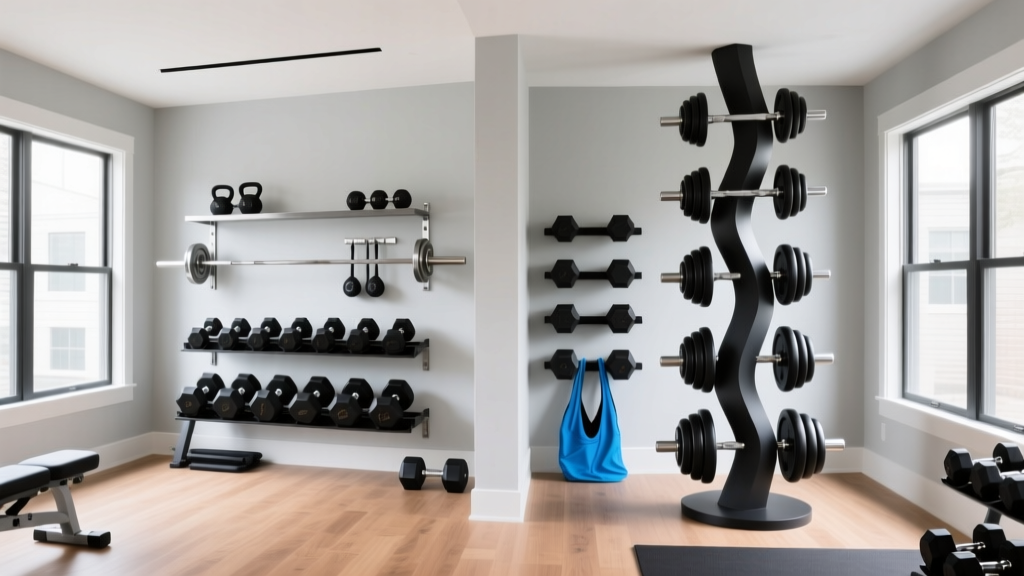
Wall Storage vs a Dumbbell Tree with Weights: Space Layout Guide

Step-by-Step Garage Storage for Sports Equipment in Small Spaces

Best Workout Equipment Organizer for Resistance Bands 2026
