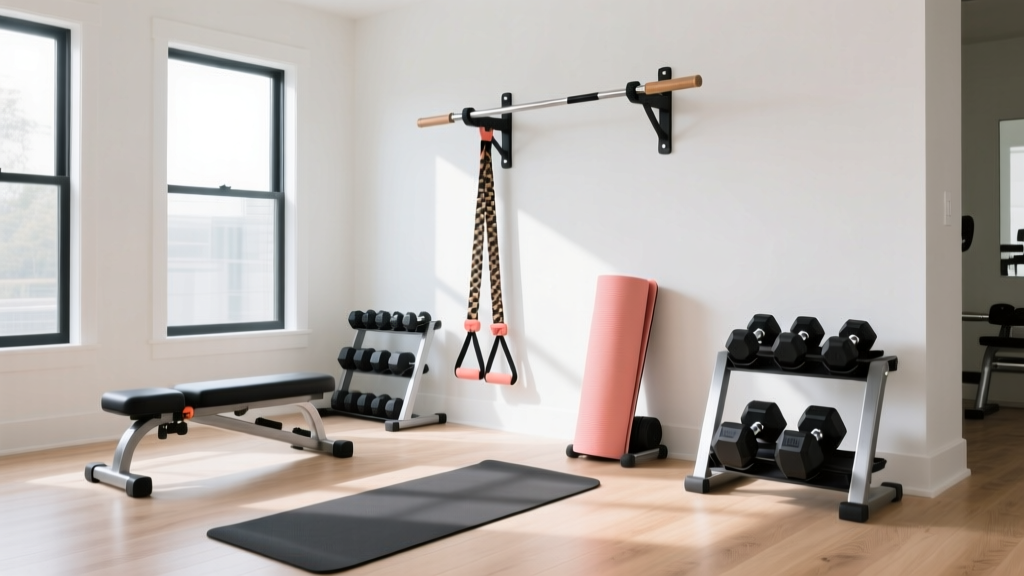
MaxPro Fitness Cable Home Gym: Step-by-Step Small Space Layout
Master your small-space home gym design with this step-by-step layout guide centered around the MaxPro Fitness cable home gym. Optimize your footprint today.

The Small-Space Paradigm Shift in 2026
Designing a high-performance home gym in a compact apartment, condo, or spare bedroom requires a radical departure from the traditional 'garage mega-rack' mentality. In 2026, the focus has shifted toward high-density, low-footprint layouts that prioritize biomechanical versatility without sacrificing square footage. At the center of this spatial revolution is the MaxPro Fitness cable home gym, a smart, electro-magnetic resistance machine that weighs under 10 pounds but delivers up to 300 pounds of concentric tension.
However, simply buying compact equipment does not guarantee an optimized workout environment. A true home gym design requires deliberate spatial planning, structural safety considerations, and complementary equipment selection. This beginner-friendly, step-by-step guide will walk you through designing a highly functional small-space layout anchored by the MaxPro system.
Step 1: Mapping Your 'Anchor Point' Layout
The MaxPro is uniquely versatile because it can be mounted to a wall, attached to a heavy door, or secured to its proprietary floor base. For a permanent, optimized home gym layout, wall-mounting is the gold standard. It frees up floor space and allows for a full 180-degree range of motion.
The Triangle of Movement Concept
When mapping your room, identify the 'Anchor Point'—the exact wall stud where the MaxPro will live. From this anchor, visualize a 'Triangle of Movement':
- Zone A (The Primary Radius): A 6-foot semi-circle directly in front of the mount for standing cable presses, rows, and squats.
- Zone B (The Floor Transition): A 4-foot lateral space for floor-based anchor points (using the MaxPro floor base or door mount) for seated rows and leg extensions.
- Zone C (The Complementary Zone): The remaining room area dedicated to free weights and adjustable benches.
By mapping these zones, you ensure that your cable vectors are never obstructed by furniture or door swings.
Step 2: Calculating Clearance and Flooring Needs
One of the most common beginner mistakes is underestimating the 'swing radius' of cable machines. While the MaxPro itself is tiny, the human body requires significant clearance during dynamic movements like cable woodchoppers or lunges.
Minimum Room Recommendation: A 10x10 foot room (100 sq ft) is the ideal baseline for a MaxPro-centered layout, allowing full limb extension without drywall impacts.
Footprint Comparison Matrix
To understand the spatial advantage, compare the MaxPro layout requirements against traditional 2026 home gym staples:
| Equipment Type | Base Footprint (LxW) | Cable Extension Radius | Total Required Clearance |
|---|---|---|---|
| MaxPro Smart Cable (Wall Mount) | 6 in x 3 in | 6 to 8 feet | ~40 sq ft (Active Zone) |
| Rep Fitness PR-4000 Functional Trainer | 48 in x 52 in | 8 feet | ~120 sq ft |
| Bowflex Xceed Home Gym | 53 in x 68 in | N/A (Fixed Path) | ~60 sq ft |
Flooring Protocol
Because the MaxPro eliminates the need for heavy iron weight stacks, your flooring requirements change. You do not need 3/4-inch thick vulcanized rubber horse stall mats. Instead, opt for 8mm interlocking EVA foam tiles with a high-density core or 5mm rubber roll flooring. This provides adequate joint cushioning for floor work and protects your subfloor from adjustable dumbbells, while saving crucial vertical ceiling clearance.
Step 3: Selecting Complementary Micro-Gear
The MaxPro utilizes electro-magnetic resistance, which inherently provides a concentric-only muscle contraction. According to the National Strength and Conditioning Association (NSCA), eccentric loading (the lowering phase of a lift) is critical for maximizing muscle hypertrophy and maintaining tendon resilience. Therefore, your layout must include a dedicated free-weight zone to provide eccentric overload.
The 2026 Small-Space Equipment Stack
To build a complete, biomechanically sound gym in under 100 square feet, pair your MaxPro with the following micro-gear:
- Adjustable Dumbbells (Nuobell 80lb or PowerBlock Pro EXP): Priced between $350 and $450, these replace an entire 500-pound dumbbell rack. They fit neatly under a bench and provide the eccentric loading the MaxPro lacks.
- Folding Adjustable Bench (Flybird FID or Rep AB-3100 2.0): A foldable flat/incline/decline bench ($150-$250) allows for seated cable presses and dumbbell work, then folds flat against the wall to reclaim your Zone A clearance.
- Resistance Band Pegboard: Mount a small steel pegboard adjacent to the MaxPro to store the included MaxPro resistance bands, long looping bands for mobility, and ankle straps.
"A well-designed small-space gym doesn't hide its equipment; it integrates it into the architectural flow of the room, turning dead corners into high-yield training zones."
Step 4: Safe Installation and Mounting Protocols
Because the MaxPro generates up to 150 pounds of resistance per handle (300 lbs total), the sheer force applied to your wall mount is substantial. The U.S. Consumer Product Safety Commission (CPSC) emphasizes that dynamic load-bearing fitness equipment must be secured directly to structural supports to prevent catastrophic drywall failure.
Step-by-Step Wall Mount Installation
- Locate the Studs: Use a magnetic stud finder to locate the center of a wooden wall stud (typically spaced 16 inches on-center). Do not rely on acoustic stud finders alone.
- Mark and Pre-Drill: Hold the MaxPro wall bracket at chest height (approx. 54 inches from the floor for a versatile mid-point). Mark the holes and pre-drill using a 7/32-inch wood bit to prevent stud splitting.
- Secure with Hardware: Drive 3/8-inch x 3-inch structural lag screws through the bracket and into the stud. Use a socket wrench, not a standard drill, to ensure maximum torque and flush seating.
- Drywall Alternative (If Studs Are Unavailable): If you must mount to a cinderblock or concrete wall, use 1/4-inch sleeve anchors rated for 200+ lbs of shear force. Never use standard plastic drywall anchors for cable machines.
Safety Warning: Always inspect the MaxPro carabiner clips and Dyneema cables before every session. While the cables are rated for high tension, micro-abrasions from improper storage can compromise their structural integrity over time.
Step 5: Environmental Optimization (Lighting & Airflow)
In a compact room, body heat and poor lighting can quickly turn a workout space into an uncomfortable sauna. The American Council on Exercise (ACE) notes that environmental stressors like heat and poor visibility significantly reduce workout adherence and output.
Ventilation Strategy
A standard bedroom ceiling fan is rarely sufficient for high-intensity interval training (HIIT) or heavy cable circuits. Install a wall-mounted oscillating fan (minimum 1,500 CFM) positioned in the corner opposite the MaxPro. This creates a cross-breeze that pulls heat away from the body without occupying valuable floor space.
Lighting and Mirrors
Avoid harsh, single-source overhead lighting, which casts shadows and makes it difficult to monitor your form during cable rotations. Instead, install LED strip lighting behind your mirror or use daylight-balanced (5000K) smart bulbs. Position a large, shatterproof acrylic mirror (safer than glass in active zones) on the wall adjacent to the MaxPro. This allows you to monitor your spinal alignment during cable squats and single-arm rows without needing to turn your head and break your cervical posture.
Final Layout Walkthrough
By anchoring your design around the MaxPro Fitness cable home gym, you are leveraging 2026's most efficient spatial technology. You've mapped your clearance zones, reinforced your wall studs, integrated complementary free weights for eccentric loading, and optimized the room's micro-climate. The result is a sub-100-square-foot training facility that rivals the biomechanical versatility of a commercial health club, proving that elite home gym design is about intelligence, not just square footage.
More gear to consider
All reviews
Space-Saving DIY Home Gym: Compact Foldable Solutions

Longevity Tips for a Fit Calisthenics Home Gym in Small Spaces

Marcy Home Gym MWM-990 & Weight Selection: How Much Do You Need?
Marcy Home Gym MWM-989 Garage Setup: Flooring & Ventilation Mistakes
Life Fitness G2 Home Gym Setup: Electrical & Safety Mistakes