
Jacked Up Home Gym Renovation: 2026 Budget Breakdown
Discover the true costs of building a jacked up home gym in 2026. Expert budget breakdowns, structural remodeling tips, and ROI analysis for premium setups.

Beyond the Equipment: The True Cost of a Jacked Up Home Gym
When most fitness enthusiasts envision a 'jacked up home gym,' they picture a $12,000 Rogue Monster RM-6 power rack, a fleet of calibrated steel plates, and a commercial-grade Concept2 RowErg. But true gym remodeling goes far beyond the equipment you place on the floor. Transforming a standard residential garage, basement, or spare bedroom into a commercial-grade training facility requires navigating complex structural, electrical, and environmental challenges.
In 2026, with specialized contracting labor remaining at a premium and building material costs stabilizing at higher post-pandemic baselines, the financial anatomy of a high-end gym renovation requires meticulous planning. A standard residential room is simply not engineered to handle the dynamic impact loads of dropped barbells, the continuous electrical draw of multiple smart treadmills, or the massive humidity spikes generated by intense interval training. This comprehensive budget breakdown and value analysis will guide you through the hidden costs and critical remodeling phases of building an elite-tier home training space.
2026 Renovation Budget Breakdown: Where the Money Goes
Before swinging a hammer or pouring concrete, you need a realistic financial framework. The table below outlines the core remodeling phases for a premium 400-square-foot home gym conversion, separating foundational upgrades from cosmetic finishes.
| Renovation Phase | Scope of Work | Estimated 2026 Cost | Value / Necessity |
|---|---|---|---|
| Structural Reinforcement | Joist sistering, LVL beam installation, subfloor leveling | $4,500 - $8,200 | Critical (Prevents structural failure) |
| Electrical Overhaul | Panel upgrade, dedicated 20A circuits, LED lighting | $2,800 - $5,500 | Critical (Fire safety & machine longevity) |
| Climate & Ventilation | Ductless mini-split install, ERV system integration | $3,500 - $6,000 | High (Equipment protection & comfort) |
| Acoustic Decoupling | Impact underlayment, resilient channels, mass-loaded vinyl | $1,800 - $3,200 | High (Preserves household sanity) |
| Premium Flooring | 3/8-inch vulcanized rubber tiles, glued perimeter | $1,400 - $2,200 | High (Durability & shock absorption) |
Note: Costs exclude the actual fitness equipment. Total remodeling budgets for a 'jacked up' 400 sq. ft. space typically range from $14,000 to $25,100 before a single dumbbell is purchased.
Structural & Foundational Upgrades: Managing Extreme Point Loads
The most common and catastrophic failure mode in home gym renovations is ignoring structural live loads. Standard residential floor joists are engineered for a uniform live load of 40 pounds per square foot (PSF). However, a 500-pound barbell dropped from a height of three feet generates a dynamic impact force that can exceed 2,000 pounds of localized pressure. Over time, this will crack standard OSB subfloors, cause drywall nails to pop, and permanently deflect undersized wooden joists.
Reinforcing the Subfloor and Joists
If your gym is located on an upper floor or a suspended wood-framed floor system, you must reinforce the joist bays. The most effective method is 'sistering' the existing joists with Laminated Veneer Lumber (LVL) beams or adding steel flitch plates. In 2026, expect to pay between $18 and $28 per linear foot for professional LVL sistering, including structural adhesive and heavy-duty carriage bolts.
For basement or garage slab conversions, the concrete itself must be prepped. Standard garage slabs often have a 5-degree slope for water drainage. You will need to apply a self-leveling underlayment, such as Ardex K-15, to create a perfectly flat surface for your squat rack and cable machines. Professional shot-blasting and leveling compound application costs roughly $3.50 to $5.00 per square foot. Skipping this step will result in uneven weight distribution, causing your power rack to rack unevenly and potentially bend under heavy loads.
Electrical Overhauls and Climate Control Engineering
A premium home gym is essentially a high-draw data center combined with a tropical terrarium. Modern smart equipment and human physiology demand robust electrical and HVAC infrastructure.
Dedicated Circuits for High-Draw Equipment
High-end treadmills like the NordicTrack X32i or the Peloton Tread+ feature massive continuous-duty motors that can draw 15 to 20 amps upon startup. Plugging two of these machines, alongside a smart TV and a commercial air purifier, into a standard 15-amp shared bedroom circuit is a guaranteed way to trip breakers or, worse, melt the wiring insulation inside your walls. A proper remodel requires an electrician to run dedicated 20-amp circuits directly from the main panel to the gym space. Budget approximately $350 to $500 per new dedicated circuit run in 2026.
Sizing Your HVAC for High-Exertion Spaces
Standard residential HVAC systems are sized to maintain comfort for sedentary living (roughly 20 to 25 BTUs per square foot). A jacked up home gym with multiple athletes performing high-intensity interval training requires 400 to 600 BTUs per square foot to manage both temperature and humidity. According to the U.S. Department of Energy, ductless mini-split heat pumps offer highly efficient, zoned climate control that prevents the gym's humidity from overwhelming your home's central air system. A 12,000 to 18,000 BTU mini-split installation typically costs between $2,800 and $4,500, providing rapid cooldowns and crucial dehumidification that protects your expensive knurled barbells and steel plates from flash rusting.
Warning: The Humidity TrapDo not rely on standard bathroom exhaust fans for gym ventilation. The sheer volume of moisture generated during a heavy lifting session requires an Energy Recovery Ventilator (ERV) or a properly sized mini-split with active dehumidification modes. Trapped moisture in drywall cavities will lead to black mold growth within 12 to 18 months.
Acoustic Decoupling: Protecting Your Home's Integrity
Nothing downgrades the value of a home gym faster than noise complaints from family members or neighbors. Impact noise (structure-borne sound) travels through floor joists and wall studs with alarming efficiency. Simply laying down 3/8-inch rubber horse stall mats is entirely insufficient for acoustic isolation; rubber absorbs surface shock but does little to stop low-frequency sound waves from vibrating the building's skeleton.
The Floating Floor Method
To properly decouple the floor, you must build a 'floating floor' system. This involves laying down a 5/8-inch recycled rubber acoustic underlayment (such as Regupol Sonus), sealing the seams with acoustic tape, and then installing your primary vulcanized rubber workout tiles on top. For walls shared with living spaces, installing resilient channels perpendicular to the studs before hanging 5/8-inch Type X drywall creates an air gap that drastically reduces sound transmission. This acoustic remodeling phase typically adds $1,800 to $3,200 to your budget but is non-negotiable for basement or upper-floor gyms.
Value Analysis: Remodeling ROI and Home Resale Impact
Does a jacked up home gym add to your home's resale value? The answer requires nuance. According to data from the National Association of Realtors (NAR) Remodeling Impact Report, highly specialized room conversions (like turning a bedroom into a fully mirrored, rubber-floored gym) often do not yield a 100% return on investment at resale, as buyers may view the space as needing conversion back to a bedroom.
However, the infrastructure upgrades you make during the remodel carry immense value. Upgrading the electrical panel, adding zoned mini-split HVAC, reinforcing structural joists, and improving insulation are universally recognized home improvements that appraisers factor into the overall valuation. To maximize ROI, design your gym space to be 'reversible.' Use surface-mounted rubber tiles instead of glued-down flooring, and rely on freestanding mirrors rather than permanently gluing them to the drywall. This allows you to market the space as a 'premium multi-use flex room' rather than a permanent gym, appealing to a broader buyer pool.
Step-by-Step Budget Allocation Framework
For homeowners working with a finite remodeling budget, prioritize your spending using this sequential framework to ensure safety and functionality before aesthetics.
- Phase 1: Structural & Safety (40% of Budget) - Joist reinforcement, concrete leveling, and electrical panel upgrades. Never compromise here.
- Phase 2: Environmental Control (25% of Budget) - Mini-split HVAC installation, ERV ventilation, and moisture barriers.
- Phase 3: Acoustic & Surface Prep (20% of Budget) - Impact underlayment, resilient wall channels, and subfloor sealing.
- Phase 4: Aesthetics & Finish (15% of Budget) - LED lighting design, mirror installation, slatwall storage systems, and premium vulcanized surface flooring.
Final Thoughts on Premium Gym Remodeling
Building a truly jacked up home gym in 2026 is an exercise in architectural foresight as much as it is a passion for fitness. By allocating your budget toward structural integrity, dedicated electrical infrastructure, and precise climate control, you create a training environment that not only supports elite-level performance but also protects your long-term real estate investment. Plan your remodel around the physics of heavy iron and the biology of human exertion, and your home gym will remain a sanctuary of strength for decades to come.
More gear to consider
All reviews
Shared Home Gym in a Garden Shed: The Ultimate Couples Guide

Weider Crossbow Home Gym Layout: A Beginner Setup Guide

Space-Saving Weider 2980 Home Gym & Starter Kit Guide
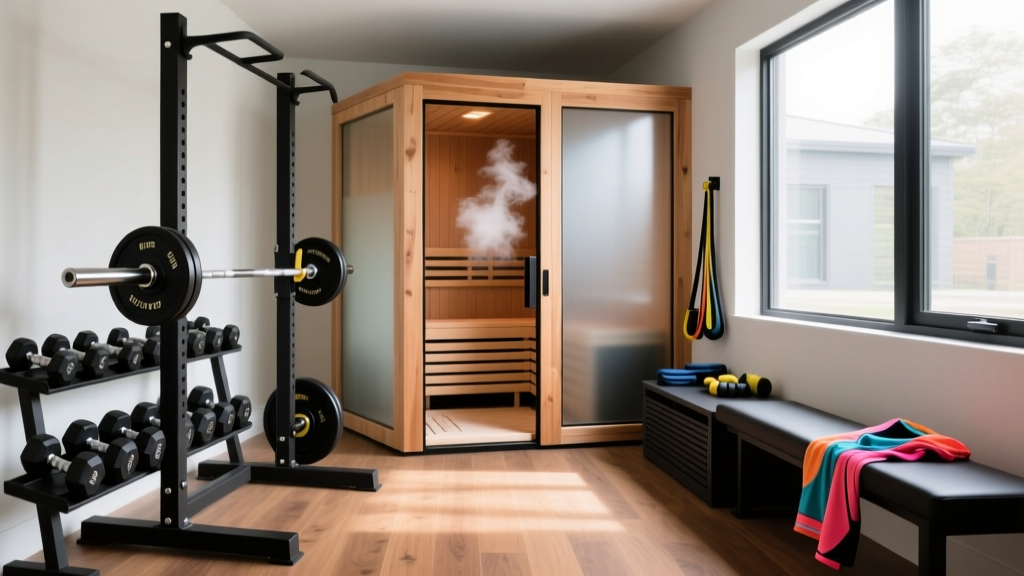
Home Gym with Sauna Setup: How Much Weight You Really Need

Apartment Home Gym Size Dimensions: Avoid These No-Damage Mistakes
