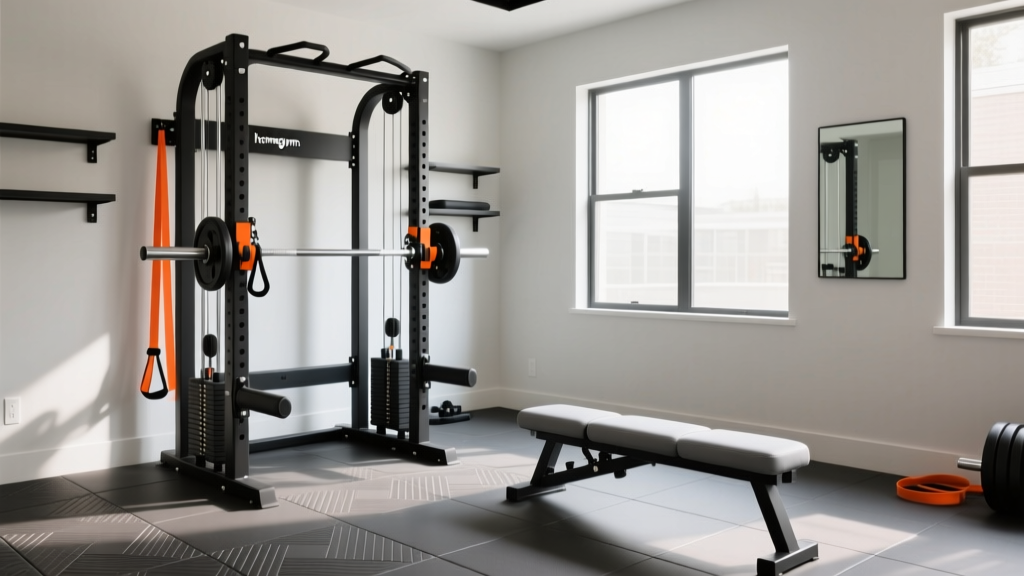
Hack Squat Alternative Home Gym: Complete Setup Guide
Discover the ultimate hack squat alternative home gym setup. We cover space-saving equipment, flooring, anchoring, and installation for massive quad growth.

The Spatial Bottleneck: Why Traditional Hack Squats Fail at Home
When designing a hack squat alternative home gym, the primary adversary is spatial geometry. A standard commercial hack squat machine (such as the Body-Solid SSH250 or Prime Fitness linear bearing models) demands a footprint of roughly 85 inches long by 50 inches wide, and critically, requires a ceiling clearance of at least 86 inches. In most residential garages, basements, and spare bedrooms, ceiling joists, HVAC ductwork, and door frames cap out at 84 inches, rendering traditional guided hack squat machines physically impossible to install.
Furthermore, the fixed-track biomechanics of a hack squat isolate the quadriceps by removing the need for core stabilization. To replicate this extreme quad bias at home without the massive footprint, we must pivot to specialized free-weight and sled-based alternatives. This complete setup and installation walkthrough will guide you through configuring a high-performance strength training space that maximizes quad hypertrophy while respecting residential spatial limits.
The 2026 Hack Squat Alternative Matrix
Before breaking ground on your installation, you must select the right equipment vector. Below is a comparison of the top three space-saving alternatives that replicate the anterior knee torque and upright torso mechanics of a hack squat.
| Equipment Type | Model Example (2026) | Footprint | Min Ceiling | Est. Cost | Quad Bias Rating |
|---|---|---|---|---|---|
| Belt Squat Machine | Titan Fitness Belt Squat | 43" x 47" | 72" | $499 - $549 | High (Spinal unloading) |
| Safety Squat Bar (SSB) | Titan Fitness SSB V2 + Rack | 48" x 48" (Rack) | 84" | $850 (Combo) | Very High (Anterior shift) |
| Linear Sled + Hack Attach. | Bells of Steel Pro Sled | 32" x 48" | None | $950 (Combo) | Maximum (Fixed angle) |
Biomechanical Justification: Replicating the Guided Track
According to kinesiological breakdowns on ExRx.net, the traditional hack squat minimizes hip flexion while maximizing knee flexion, placing the vastus lateralis and rectus femoris under immense stretch-mediated hypertrophy stimulus. To achieve this with a Safety Squat Bar (SSB), the cambered design of the bar forces the load anteriorly. This mimics the hack squat's center-of-mass shift, allowing the lifter to maintain a highly upright torso and drive the knees forward over the toes without the lower back becoming the limiting factor.
Expert Insight: If you opt for the Belt Squat route, you must elevate your toes on 10lb or 25lb bumper plates. Because the belt pulls directly downward from the hips, elevating the heels (or rather, dropping the toes) is mandatory to achieve the deep knee flexion required to match a commercial hack squat's range of motion.
Phase 1: Subfloor and Impact Preparation
Heavy quad-isolation movements generate massive downward force vectors. Dropping a 400lb belt squat or sled directly onto bare concrete will eventually cause spalling and micro-fractures in your foundation. Here is the exact layering protocol for your lifting zone:
- Moisture Barrier: Lay down a 6-mil polyethylene sheeting over the concrete. This prevents hydrostatic pressure from pushing moisture into your rubber mats, which causes mold and degrades the vulcanization.
- Subfloor (Optional but Recommended):strong> Lay 3/4-inch OSB or plywood. This distributes point-loads from heavy sleds and rack feet.
- Impact Surface: Install 3/4-inch thick vulcanized rubber horse stall mats (typically 4ft x 6ft). Do not buy cheap interlocking foam tiles; they will compress and bottom out under 500+ lb loads, ruining your stability.
Phase 2: Equipment Anchoring and Clearance
Unlike a commercial gym where machines weigh 800 lbs and stay put, home gym alternatives require mechanical anchoring to prevent tipping during aggressive eccentric loading.
Anchoring the Belt Squat or Power Rack
If you are installing a Titan Belt Squat or a squat stand for your SSB, you must anchor it to the concrete slab beneath your rubber mats.
- Hardware: Use 1/2" x 3-3/4" Red Head Trubolt concrete wedge anchors.
- Drilling: Use a 1/2" carbide-tipped masonry bit. Drill exactly 4 inches deep into the concrete.
- Cleaning: Critical Step. Use a shop-vac to remove all concrete dust from the hole. If dust remains, the wedge anchor will not expand properly and will pull out under load.
- Torquing: Tighten the nut to 60 ft-lbs using a torque wrench. This ensures the clip expands securely against the concrete walls.
The 36-Inch Clearance Rule
When placing your sled track or rack, maintain a minimum of 36 inches of clearance on all sides. When performing deep SSB squats or sled hack squats, plates will extend outward. A 45lb plate has a 17.5-inch radius; if your rack is too close to a wall, you will clip the drywall at the bottom of the movement, causing a catastrophic failure mid-rep.
Phase 3: Form Verification Without Guided Rails
The greatest danger of transitioning to a hack squat alternative home gym is the loss of the guided linear track. Free-weight alternatives require intense proprioception to prevent knee valgus (inward caving). To mitigate this, your installation must include strategic mirroring.
Mount 1/4-inch thick tempered glass mirrors on the wall directly in front of your lifting zone. Installation Tip: Mount the bottom edge of the mirror 18 inches off the floor. You do not need to see your face; you need to see your knee tracking and ankle dorsiflexion at the absolute bottom of the squat hole. Use a heavy-duty Z-bar French cleat system to secure the mirrors to wall studs, ensuring they can withstand accidental barbell impacts.
Troubleshooting Common Failure Modes
Even with perfect installation, alternative equipment presents unique mechanical edge cases that you must troubleshoot:
Failure Mode 1: Sled Track Friction and Wheel Bind
If using a linear bearing sled for hack squats, the wheels can bind if the track rails are not perfectly parallel. Fix: During assembly, do not fully tighten the track bolts until the sled is placed on the rails and pushed through the full range of motion. Tighten the bolts incrementally while moving the sled to ensure the gauge width remains perfectly uniform.
Failure Mode 2: Belt Squat Hip Pad Pinch
The canvas or leather belt on entry-level belt squats can dig into the iliac crest during heavy loads (400lbs+). Fix: Wrap a thick neoprene squat pad or a folded towel around the belt before clipping it to the carabiner. This distributes the shear force across a wider surface area of the pelvis.
Budget Breakdown: The Ultimate Quad-Building Configuration
Building this specialized zone requires targeted capital allocation. Here is a realistic 2026 pricing breakdown for a premium, space-efficient SSB and Sled combination setup:
- Titan Fitness T3 Power Rack (82" Height): $699
- EliteFTS Safety Squat Bar v2: $375 (Industry standard for yoke comfort)
- Bells of Steel Pro Sled + Hack Attachment: $948
- 3x Horse Stall Mats (Flooring): $165
- Mirrors & Anchoring Hardware: $180
- Total Estimated Investment: $2,367
Compared to a $4,500+ commercial hack squat machine that likely won't fit in your basement anyway, this configuration provides superior versatility, greater core engagement, and identical quad-building stimulus. By respecting spatial geometry and executing a precise installation, your home gym will become a lower-body hypertrophy powerhouse.
For more on the systemic benefits of heavy resistance training and joint health, refer to the Mayo Clinic's guidelines on strength training, which emphasize the importance of controlled, full-range-of-motion loading for long-term connective tissue resilience.
More gear to consider
All reviews
Home Gym Shelving & Weight Selection: How Much Do You Really Need?

Home Gym Size and Layout: The Essential Starter Kit Guide
The 2026 Home Gym Workout Guide: Electrical & Safety Trends

Build Home Gym: Best Mirrors & Lighting Compared (2026)
Space-Saving Home Gym Design Layout: Essential Beginner Starter Kit
