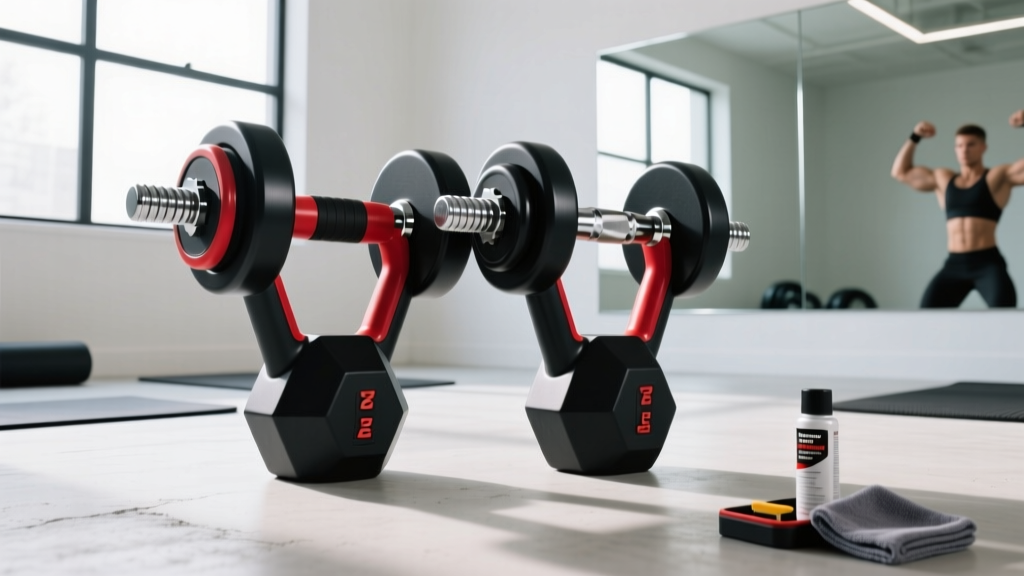
Beyond Upper Body Dumbbell Exercises: Collar Setup Walkthrough
Transitioning from upper body dumbbell exercises to barbell work? Master collar types, installation, and safety with our 2026 setup walkthrough.

While upper body dumbbell exercises form the cornerstone of hypertrophy and joint-friendly training, any serious home gym eventually requires a barbell for progressive overload. When you transition from the controlled, independent movement of dumbbells to heavy barbell compounds like squats, deadlifts, and Olympic lifts, the safety of your setup hinges on a component most lifters treat as an afterthought: the barbell collar. A failing collar doesn't just ruin a set; it alters the bar's center of gravity mid-lift, leading to catastrophic torque on the spine and wrists.
In this 2026 setup and installation walkthrough, we move beyond the basics. We will dissect the engineering of modern barbell collars and clamps, compare the top models on the market, and provide a meticulous, step-by-step installation guide to ensure your plates stay locked, no matter how aggressive your drops are.
The Physics of Plate Shift: Why Collar Selection Matters
During dynamic movements, an unloaded or poorly secured barbell sleeve experiences immense vibrational frequency. When a 45-pound bumper plate shifts just half an inch outward on one side during a power clean, the asymmetrical load creates a rotational force (torque) that the lifter must instantly counteract. According to biomechanical analyses published by BarBend, a lateral plate shift of merely two inches can increase the perceived weight on the opposing limb by up to 15%, drastically increasing the risk of a tear or strain.
Standard Olympic barbell sleeves measure exactly 50mm (1.97 inches) in diameter. The inner diameter of a high-quality collar must match this with a tolerance of +/- 0.5mm to ensure a flush fit without scraping the zinc or chrome finish off your barbell sleeves.
2026 Collar & Clamp Comparison Matrix
Not all clamps are created equal. The market is currently divided into three primary mechanisms: spring-tension, locking-jaw (nylon/polymer), and precision-machined aluminum. Below is our 2026 comparison matrix of the industry standards.
| Collar Type | Model Example | Material | Grip Mechanism | Best Use Case | Price Range (2026) |
|---|---|---|---|---|---|
| Spring Clamp | Generic Chrome Spring | Steel / Rubber | Radial Tension | Light benching, strict pressing | $8 - $15 |
| Locking Jaw | Lock-Jaw Pro | Glass-filled Nylon | Friction Lock & Latch | CrossFit, high-rep drops, WODs | $35 - $45 |
| Machined Aluminum | Rogue AH-1 | Aircraft Aluminum | Hex Screw Compression | Heavy powerlifting, static holds | $25 - $35 |
| Premium Competition | Eleiko 3.0 | Aluminum / Rubber | Spring-Loaded Lever | Olympic weightlifting, IWF meets | $85 - $95 |
Complete Installation Walkthrough: Seating Your Collars
Proper installation is just as critical as the hardware itself. A $90 Eleiko collar will fail if seated incorrectly. Follow this walkthrough to ensure maximum friction and safety.
Step 1: Sleeve Preparation and Debris Check
Before loading plates, wipe the barbell sleeve with a microfiber cloth and a light application of 3-in-One oil or mineral oil. Chalk dust and oxidized metal shavings act as microscopic ball bearings, reducing the friction coefficient between the collar and the sleeve. Never use WD-40, as it leaves a slippery residue that compromises clamp grip.
Step 2: Plate Loading and Alignment
Load your plates, ensuring the flat sides of cast iron plates are flush against one another. If using bumper plates, ensure the rubber hubs are fully seated. Any gap between plates will cause the collar to compress the plates inward unevenly, leading to a 'wobble' effect during the lift.
Step 3: Collar Seating (The 'Push-Past' Method)
For locking-jaw and spring collars, do not simply place them at the edge of the sleeve. Push the collar completely onto the sleeve, past the loaded plates, and then slide it back toward the plates until it makes firm contact. This ensures the inner lip of the collar is perfectly flush against the plate hub, eliminating microscopic gaps.
Step 4: Tension Verification and Locking
- For Spring Collars: Squeeze the handles, slide the collar flush against the plate, and release. Ensure the rubber inner lining is making 100% contact with the steel sleeve, not resting on the knurling.
- For Locking-Jaw (e.g., Lock-Jaw): Snap the primary latch shut. You should hear a distinct, sharp 'click'. Pull the secondary safety strap over the latch. Tug the collar outward with moderate force (approx. 20 lbs of pull). If it slides, the nylon has worn down and the collar must be replaced.
- For Machined Aluminum (e.g., Rogue AH-1): Slide the collar flush. Insert the hex key and tighten the grub screw. Tighten until you feel firm resistance, then give it an additional quarter-turn. Do not overtighten, as this can strip the internal threads or dent softer zinc-coated sleeves.
Edge Cases and Material Failure Modes
Understanding how and why collars fail is a hallmark of an experienced home gym owner. Here are the most common edge cases we see in the field:
The Cold Garage Gym Crack
If you train in an unheated garage where temperatures drop below 40°F (4°C), standard glass-filled nylon locking clamps become brittle. We have documented multiple cases of the hinge pins on generic locking clamps snapping mid-lift in cold environments. Solution: Store your nylon clamps indoors and bring them out only for your workout, or upgrade to aluminum or forged steel competition collars for winter months.
Knurling Interference
Many aggressive lifters have barbells with knurling that extends very close to the sleeve lip (e.g., the Rogue Ohio Power Bar). If a spring collar's inner rubber ring sits on the knurling rather than the smooth sleeve, the sharp steel peaks will slice the rubber over time, and the collar will slide off during heavy deadlifts. Always ensure you have at least 1.5 inches of smooth sleeve space for the collar to grip.
Storage Solutions and Maintenance Integration
A complete setup walkthrough isn't finished until the gear is properly stored. Tossing heavy aluminum collars into a plastic bin will degrade the rubber O-rings and scratch the anodized finish.
Pro Tip: Mount a dedicated collar holster on the upright of your power rack. Brands like Rogue and Rep Fitness offer magnetic collar holders or peg-based storage solutions that keep collars off the floor, preventing dust accumulation and accidental tripping hazards during complex upper body dumbbell exercises or barbell circuits.
For maintenance, wipe down aluminum collars with a dry brush to remove chalk. For spring collars, inspect the rubber lining every 6 months. If the rubber is compressed flat or shows micro-tears, the radial tension is compromised, and they must be retired to the scrap bin.
Frequently Asked Questions
Can I use barbell collars for adjustable dumbbells?
No. Adjustable dumbbells (like PowerBlocks or Bowflex) utilize proprietary internal locking mechanisms. Standard 50mm barbell collars will not fit the smaller diameter handles of traditional spin-lock dumbbells (which typically measure 1 inch or 25mm). If you are using traditional 1-inch threaded dumbbells, you must use specific 1-inch star-lock nuts, not barbell clamps.
How often should I replace my locking-jaw clamps?
For a commercial gym or a home gym with daily drop-bumping (like CrossFit WODs), locking-jaw nylon clamps should be replaced every 12 to 18 months. The nylon stretches microscopically with each high-impact drop, eventually losing the friction required to hold a 45lb plate securely on a vertical sleeve.
Do I need collars for bench pressing?
Absolutely. While the bar is moving horizontally, an asymmetrical lift (one arm pressing harder than the other) can cause plates to slide outward on the weaker side. This shifts the center of gravity, potentially dumping the barbell off your chest. Always use low-profile aluminum collars for bench pressing to ensure safety without interfering with rack uprights.
More gear to consider
All reviews
Squat Stand vs Power Rack Setup with Lifeline Hex Rubber Dumbbell

EZ Curl vs Straight Bar: Cap Barbell Dumbbell Set Trends for 2026
Power Rack vs Squat Rack vs Stand: V-Shape Back Workout with Dumbbells
Bumper vs Iron Plates & Standing Abs Workout with Dumbbells

EZ Curl Bar vs Straight Bar: Does a 12lb Dumbbell Win?