
Setup Guide: Neoprene Dumbbell Workout to Tone Arms at Home
Learn how to set up your home gym space and install a highly effective neoprene dumbbell workout to tone arms, complete with weight selection and storage.

Phase 1: Procuring and Inspecting Neoprene Equipment
Setting up a dedicated home fitness space begins with selecting the right tools for your specific biomechanical goals. When your primary objective is arm definition and muscular endurance, neoprene-coated dumbbells are the industry standard for home use. Unlike cast iron, which can rust and damage flooring, or urethane, which carries a higher premium and an initial chemical odor, neoprene (chloroprene rubber) offers a tactile, sweat-resistant grip and acoustic dampening.
For a comprehensive arm-toning setup in 2026, you need a graduated weight ladder. The average market price for high-quality neoprene dumbbells ranges from $1.75 to $2.25 per pound. To properly execute a dumbbell workout to tone arms, you should procure pairs in the following increments: 3 lbs, 5 lbs, 8 lbs, and 10 lbs. This 52-pound total set will cost roughly $95 to $115.
Inspection Checklist Upon Delivery
- Seam Integrity: Run your thumb along the junction where the neoprene coating meets the steel handle. There should be no peeling or visible adhesive residue.
- Hex Head Symmetry: Roll the dumbbell on a flat surface. Hexagonal heads are designed to prevent rolling; if the dumbbell wobbles, the internal casting is flawed and poses a safety risk during floor exercises like tricep kickbacks.
- Handle Knurling: The steel handle should feature moderate knurling. If the neoprene coating extends too far down the handle, it will compromise your grip during heavy eccentric loads.
Phase 2: Spatial Installation and Environmental Controls
Installing your workout zone requires more than just clearing a corner of your living room. To protect both your subfloor and the structural integrity of your neoprene dumbbells, environmental setup is critical.
⚠️ Environmental Warning: UV DegradationNeoprene is highly susceptible to ultraviolet light degradation. Never install your dumbbell storage rack in direct sunlight. Prolonged UV exposure breaks down the chloroprene polymers, causing the coating to become sticky, chalky, and prone to tearing. Always position your setup in an interior room or use UV-blocking window films.
Flooring and Mirror Installation
- Subfloor Protection: Install 3/8-inch thick EVA foam interlocking tiles (such as the BalanceFrom GoFit series). This specific thickness absorbs the acoustic shock of dropped weights without being so thick that it compromises your balance during standing lateral raises.
- Clearance Zone: Measure a minimum 4x6 foot rectangular footprint. This ensures you have adequate wingspan clearance for lateral movements without striking furniture.
- Form-Check Mirror: Mount a shatterproof acrylic gym mirror. Crucially, the bottom edge of the mirror should be installed exactly 18 inches off the floor. This allows you to monitor your elbow tracking during bicep curls while standing, without wasting wall space reflecting the floor.
Phase 3: Installing the Dumbbell Workout to Tone Arms
With the physical environment prepared, it is time to install the actual training protocol. The term 'toning' is a fitness colloquialism that actually refers to a combination of muscular hypertrophy (growth) and localized fat reduction through caloric expenditure. According to Harvard Health Publishing, consistent resistance training is essential for maintaining muscle mass and metabolic health as we age.
To achieve the 'toned' look, we utilize a high-repetition, moderate-resistance framework that maximizes time under tension (TUT). The Mayo Clinic recommends allowing at least 48 hours of recovery between strength training sessions for specific muscle groups to allow for tissue repair and adaptation.
The Arm Definition Protocol (Execute 2-3x Weekly)
Perform this circuit sequentially. Rest exactly 45 seconds between sets to maintain an elevated heart rate and promote muscular endurance.
1. Supinating Bicep Curls
- Target: Biceps brachii (long and short heads)
- Weight: 5 lb to 8 lb pairs
- Execution: 3 sets of 12-15 reps. Begin with palms facing your thighs. As you curl upward, supinate (rotate) your wrists so palms face the ceiling at the top. Use a strict 2-1-2 tempo: 2 seconds up, 1 second squeeze, 2 seconds down.
2. Overhead Tricep Extensions
- Target: Triceps brachii (emphasizing the long head)
- Weight: Single 8 lb or 10 lb dumbbell (held with both hands)
- Execution: 3 sets of 12 reps. Keep your elbows tucked close to your ears. Do not let your ribcage flare outward; engage your core to protect your lumbar spine.
3. Strict Lateral Raises
- Target: Lateral deltoids (creates the 'capped' shoulder look that makes arms appear more defined)
- Weight: 3 lb to 5 lb pairs
- Execution: 3 sets of 15 reps. Lead with your elbows, not your hands. Stop when the dumbbells reach shoulder height to prevent supraspinatus impingement.
4. Cross-Body Hammer Curls
- Target: Brachialis and brachioradialis (adds thickness to the lower arm)
- Weight: 8 lb to 10 lb pairs
- Execution: 3 sets of 12 reps per arm. Curl the dumbbell across your torso toward the opposite shoulder. Keep the wrist locked in a neutral position throughout the movement.
Phase 4: Weight Selection Matrix
Selecting the correct neoprene dumbbell weight is the most common failure point for home gym users. Use the matrix below to determine your starting weights based on your current strength baseline.
| Exercise | Beginner (Per Dumbbell) | Intermediate (Per Dumbbell) | Failure Indicator |
|---|---|---|---|
| Supinating Curls | 5 lbs | 8 lbs | Swinging torso / elbow drift |
| Overhead Extensions | 8 lbs (Total) | 10 lbs (Total) | Lower back arching |
| Lateral Raises | 3 lbs | 5 lbs | Traps taking over / shrugging |
| Hammer Curls | 5 lbs | 10 lbs | Wrist flexion / gripping too hard |
Phase 5: Maintenance and Storage Solutions
The final step in your installation walkthrough is establishing a maintenance and storage protocol. Neoprene dumbbells require specific care to maximize their lifespan, which typically ranges from 3 to 5 years in a home environment.
'Proper storage is not just about aesthetics; it prevents micro-deformations in the neoprene coating. Storing heavier dumbbells on top of lighter ones in a bin will cause permanent compression marks and eventual coating splits.'
Storage Hardware Recommendations
Avoid dumping your dumbbells into a plastic bin. Instead, install a tiered A-frame rack. The CAP Barbell IS-400 A-Frame Rack (retailing around $45) is specifically engineered for hex dumbbells up to 10 lbs. It elevates the weights off the floor, protecting them from ambient moisture and making weight selection seamless during your circuit.
Cleaning Protocol
Sweat contains urea and lactic acid, which can slowly degrade synthetic rubber coatings over time. After every dumbbell workout to tone arms, wipe down the handles and the interior seams with a microfiber cloth dampened with a solution of 90% water and 10% mild dish soap. Never use bleach, ammonia, or alcohol-based sanitizers, as these solvents will strip the plasticizers from the neoprene, leading to premature cracking and a chalky residue on your hands.
By meticulously following this setup and installation walkthrough, you transform a simple purchase of neoprene dumbbells into a highly optimized, biomechanically sound home training station capable of delivering serious arm definition and long-term muscular endurance.
More gear to consider
All reviews
Barbell Collar Types Comparison and Dumbbell Push Up Rows Safety

2026 Olympic Barbell Knurling Guide vs Dumbbell Overhead Raises

Bumper vs Iron Plates: 2026 Single Dumbbell Workout Trends
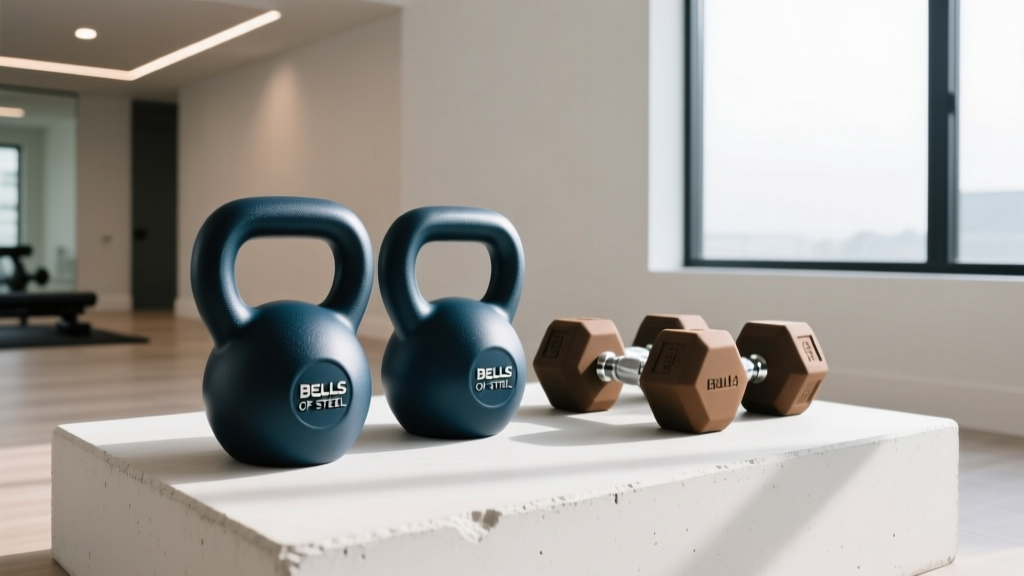
Rubber Hex vs Urethane: Maintaining Bells of Steel Urethane Dumbbells

Troubleshooting Dumbbell Flyes: Olympic vs Standard Plates
