
Power Rack vs Squat Rack vs Stand: Standing Dumbbell Overhead Press
Compare power racks, squat racks, and stands for the standing dumbbell overhead press. Includes clearance math, safety spotting, and installation steps.

The Spatial Challenge: Why Rack Choice Dictates Your Press
When configuring a home gym, most lifters obsess over barbell clearances and pull-up headroom. However, the standing dumbbell overhead press introduces a unique spatial and biomechanical puzzle that exposes the flaws in poorly planned setups. Unlike a barbell, which locks your hands into a fixed path, dumbbells require lateral drift, a wider grip, and an unobstructed vertical path. If you are choosing between a power rack, a 4-post squat rack, and a squat stand, your decision must be driven by ceiling height, upright spacing, and safety spotter configurations.
In this 2026 installation and setup walkthrough, we break down the exact clearance mathematics, equipment matrices, and concrete-anchoring protocols required to build a safe, functional station for heavy overhead pressing.
⚠️ The 8-Foot Ceiling Trap: According to ExRx.net's biomechanical directory, full shoulder flexion requires the humerus to align vertically with the torso. A 6-foot-tall lifter holding 14-inch dumbbells requires roughly 100 inches of vertical clearance at lockout. If you have standard 8-foot (96-inch) ceilings, pressing inside a standard 90-inch power rack will result in the dumbbells colliding with the top crossmember.Clearance Mathematics: Power Rack vs. Squat Rack vs. Squat Stand
To understand which rig supports the standing dumbbell overhead press, we must analyze the structural footprint and overhead obstructions of each category. Below is a comparison matrix based on current 2026 flagship models.
| Equipment Type | Flagship Model (2026) | Upright Height | Inside Width | Top Crossmember? | Ideal For Overhead Press? |
|---|---|---|---|---|---|
| Power Rack (6-Post) | REP Fitness PR-4000V2 | 90" or 108" | 43" | Yes (Pull-up bar) | No (Blocks lockout in low ceilings) |
| Squat Rack (4-Post) | Rogue S-2 Squat Rack | 90" | 43" | Yes (Stabilizer/Pull-up) | Conditional (Requires stepping forward) |
| Squat Stand (2-Post) | Rogue SML-2C 2.0 | 90" or 108" | 49" (Adjustable) | No | Yes (Unobstructed vertical path) |
The Verdict on Spatial Geometry
For the standing dumbbell overhead press, squat stands are the undisputed champions of low-ceiling environments (under 9 feet). Because they lack a top crossmember, you can stand directly between the uprights, unrack the dumbbells from J-cups set at shoulder height, and press to full lockout without hardware interference. Power racks, conversely, force you to either press outside the cage (defeating the purpose of the safety spotter arms) or accept a truncated range of motion.
Complete Setup and Installation Walkthrough
Choosing the squat stand or an open-front squat rack is only step one. Proper installation ensures the rig will not tip backward when you unrack heavy dumbbells—a common failure mode that the Consumer Product Safety Commission (CPSC) frequently flags in home gym injury reports.
Phase 1: Subfloor Assessment and Layout
Before unboxing, map your floor. You need a minimum of 36 inches of clearance behind the rack for stepping back, and 24 inches laterally for dumbbell drift.
- Concrete Slab: Ideal for wedge anchors. Requires a minimum thickness of 4 inches and 3,000 PSI compressive strength.
- Wood Subfloor (Plywood over Joists): Never use wedge anchors here. You must lag-bolt directly into the floor joists using 3/8" x 3" structural lag screws, or build a reinforced 3/4" plywood platform that distributes the load across multiple joists.
Phase 2: Anchoring the Uprights
If you are bolting into concrete, follow the Simpson Strong-Tie wedge anchor guidelines for sheer and tensile load limits. Here is the exact protocol for 3x3 uprights:
- Position the Base Plates: Use a 48-inch laser level to ensure the uprights are perfectly plumb. Even a 2-degree lean will cause J-cups to bind when loading 100 lb dumbbells.
- Drill the Holes: Use a rotary hammer drill with a 1/2" carbide-tipped masonry bit. Drill exactly 1/2" deeper than the anchor's embedment depth (typically 3.5 inches for a 1/2" x 3-3/4" wedge anchor) to allow for concrete dust displacement.
- Clean the Bore: Use a shop vac and a wire brush to clean the hole. Leftover dust reduces holding power by up to 40%.
- Set the Anchors: Insert the wedge anchors through the base plate, thread the nut, and tighten with a torque wrench to 60 ft-lbs. The wedge will expand, locking the steel plate to the slab.
Biomechanics and Safety: Spotting the Dumbbell Press
Spotting a standing dumbbell overhead press is inherently more dangerous than spotting a barbell. Dumbbells can drift laterally, slip from sweaty grips, or drop asymmetrically if one shoulder fatigues before the other. Standard 17-inch spotter arms are often too narrow to catch a rogue dumbbell.
Configuring Your Safety Straps and Arms
To create a fail-safe environment, abandon standard steel spotter arms in favor of UHMW-lined safety straps or extended 24-inch catch arms.
- Height Placement: Set the safeties at armpit height (roughly 45-50 inches from the floor for an average male). The goal is to catch the lifter's elbows and upper arms, not the dumbbells themselves. If you set the bars too high to catch the dumbbells, you will restrict your range of motion and risk smashing your wrists against the steel pins during a grind.
- Lateral Coverage: If using squat stands, attach the spotter arms to the rear storage pegs (if available) or use independent spotter stands placed 30 inches apart. This creates a wide 'catch net' that accounts for the natural outward arc of the dumbbell press.
"The standing dumbbell overhead press demands extreme core stabilization and unilateral control. Unlike a barbell, where the load is fixed, dumbbells require the lifter to manage two independent center-of-mass points. Equipment setup must account for this lateral variance by providing wider, lower safety catch points that protect the cervical spine and clavicle in the event of a unilateral failure."
— NSCA Certified Strength and Conditioning Specialist Guidelines on Overhead Pressing Mechanics
Final Configuration Checklist
Before loading your first set of 80s or 100s, run through this final installation audit:
- [ ] Upright Plumb Check: Confirm vertical alignment with a magnetic torpedo level on all four sides of the uprights.
- [ ] Hardware Torque: Re-torque all base plate bolts and crossmember hardware after 48 hours, as steel settles and rubber mats compress.
- [ ] Clearance Test: Stand in the pressing position with empty hands and simulate a full lockout. Verify at least 4 inches of clearance between your fists and the ceiling or any overhead crossmembers.
- [ ] Spotter Arm Drop Test: Drop a pair of moderate-weight dumbbells (e.g., 40 lbs) from shoulder height onto the safety straps to ensure the base plates do not shift or lift off the floor.
Summary
Building a dedicated station for the standing dumbbell overhead press requires looking past marketing photos and focusing on raw spatial geometry. For lifters in standard residential spaces with 8-foot or 9-foot ceilings, heavy-duty squat stands like the Rogue SML-2C offer the necessary vertical freedom and lateral flexibility that enclosed power racks simply cannot provide. By pairing the right open-air rig with precision concrete anchoring and biomechanically sound spotter arm placement, you create a commercial-grade pressing environment that prioritizes both massive hypertrophy and absolute safety.
More gear to consider
All reviews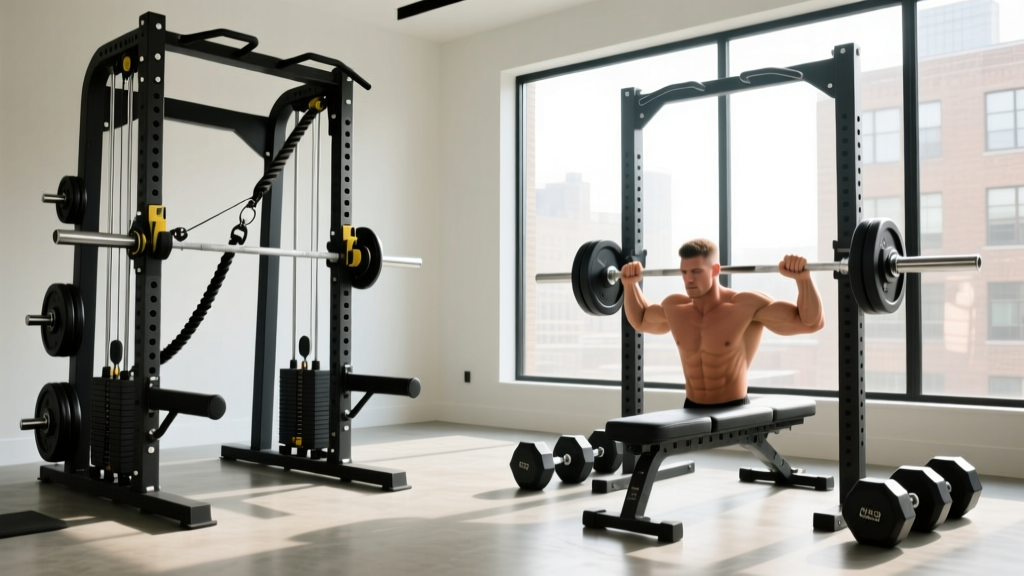
Cable Flys vs Dumbbell Flys: Power Rack vs Squat Rack Setup

EZ Curl Bar vs Straight Bar: Budget, Value, and the Dumbbell Emoji
EZ Curl Bar vs Straight Bar Value & Traps Exercises with Dumbbells
Troubleshooting the Hip Thrust With Dumbbell & Barbell Collars

EZ Curl Bar vs Straight Bar: Maintenance & Hack Squat Dumbbell Tips
