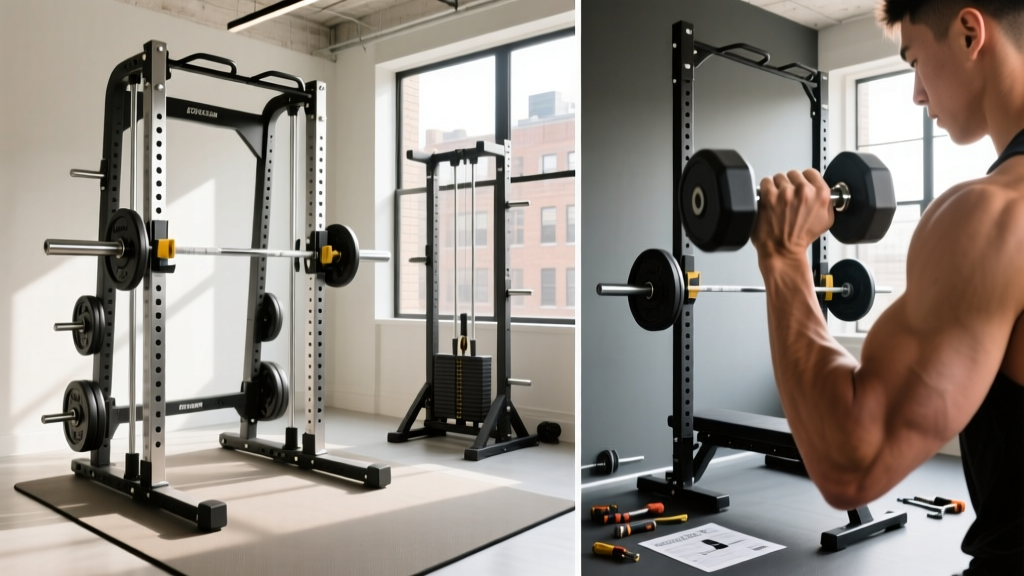
Rack Setup Guide: Power vs Squat & Wrist Pain Dumbbell Curls Fixes
Compare power racks, squat racks, and stands with our installation guide. Plus, learn biomechanical fixes for wrist pain during dumbbell curls.

The Core Foundation: Power Rack vs. Squat Rack vs. Squat Stand
Building a resilient home gym in 2026 requires more than just buying heavy iron; it demands a strategic approach to spatial layout and structural integrity. The centerpiece of any free weight zone is the rack system. Whether you are outfitting a low-ceiling basement or a spacious garage, choosing between a power rack, a squat rack, and a squat stand dictates your safety margins, attachment compatibility, and overall workout flow.
Below is a comparative matrix of the three primary rack configurations, highlighting current industry standards for 11-gauge steel uprights and 5/8-inch hardware.
| Feature | Power Rack (e.g., Rep PR-4000) | Squat Rack (e.g., Titan T-3) | Squat Stand (e.g., Rogue SML-2) |
|---|---|---|---|
| Footprint | 48' x 48' (Standard) | 48' x 24' (Compact) | 48' x 12' (Minimalist) |
| Weight Capacity | 1,000+ lbs | 800 - 1,000 lbs | 500 - 800 lbs |
| Safety Mechanism | Enclosed cage, pin-pipe safeties | Front-mounted spotter arms | External spotter arms (add-on) |
| Avg. Price (2026) | $799 - $1,299 | $599 - $899 | $395 - $550 |
| Best For | Heavy lifting, band work, full attachments | Garage gyms with limited depth | Open spaces, Olympic lifting, budget builds |
Step-by-Step Installation Walkthrough
A rack is only as safe as its installation. Improperly assembled uprights can shift under eccentric loads, leading to catastrophic failure. Follow this precise assembly protocol for 3x3-inch steel racks.
- Floor Preparation & Anchoring: If bolting to concrete, use a hammer drill with a 1/2-inch masonry bit to drill holes 3.5 inches deep. Insert 3/8-inch x 3-inch sleeve anchors. Pro Tip: Never anchor directly through thick rubber horse stall mats; the compression will loosen the anchor torque over time. Cut the mats around the base plates.
- Upright Squaring (The 3-4-5 Method): Before tightening the crossmembers, measure diagonally from the bottom-left hole to the top-right hole, and compare it to the opposite diagonal. They must be identical. Alternatively, use the Pythagorean 3-4-5 triangle method along the base to ensure perfect 90-degree corners.
- Hardware Torquing: Use 5/8-inch Grade 5 or Grade 8 bolts with nylon-insert lock nuts. Tighten to approximately 60-70 ft-lbs using a torque wrench. Overtightening can warp the steel tubing; undertightening causes the rack to sway during kipping or heavy racking.
- J-Cup & Safety Placement: Install sandwich-style J-cups (with UHMW plastic liners) to protect barbell knurling. Set spotter arms exactly one hole below your lowest squat depth to allow for a safe dump without the barbell resting on the safeties during the working set.
The Ergonomic Link: Rack Setup and Isolation Work
Most installation guides stop at the barbell. However, a properly configured rack dramatically impacts your isolation exercises, bench placement, and dumbbell work. The spatial relationship between your rack, adjustable bench, and dumbbell storage dictates your joint health over years of training.
When a rack is pushed flush against a wall, you lose the ability to perform rack-pulls, landmine variations, and proper dumbbell kickbacks. We recommend leaving a minimum of 24 inches of clearance behind the rear uprights and 36 inches on the sides to accommodate spotter arms and plate loading.
Fixing Wrist Pain: Dumbbell Curls and Rack Ergonomics
Many lifters type 'wrist pain dumbbell curls' into search engines without realizing that the root cause often stems from poor gym layout and improper unracking mechanics rather than the exercise itself. According to the Mayo Clinic, repetitive strain and acute loading in ulnar or radial deviation are primary drivers of distal radioulnar joint inflammation and TFCC (Triangular Fibrocartilage Complex) injuries.
Here is how your rack setup directly influences wrist health during arm isolation work:
- The 'Floor Pickup' Trap: Picking up 80-pound dumbbells from the floor while seated on a bench forces the wrist into extreme extension and radial deviation. The Fix: Utilize your rack's spotter arms or a rack-mounted shelf to store heavy dumbbells at knee height, allowing for a safe 'knee-kick' unrack that keeps the wrist in a neutral, stacked position.
- Lack of Forearm Support: Performing standing curls with heavy loads often leads to micro-bending in the wrist as the bicep fatigues, shifting the load to the extensor carpi radialis. The Fix: Mount a preacher curl attachment (like the Rep Fitness A4102) directly to your power rack's front uprights. As noted by ExRx biomechanics guidelines, locking the humerus and supporting the forearm forces the elbow into pure flexion, entirely removing the wrist from the kinetic chain's weak link.
- Landmine Alternatives: If you are currently suffering from wrist pain dumbbell curls exacerbate, use a rack-mounted landmine base. Performing landmine curls allows the wrist to remain in a neutral, hammer-grip position while the barbell sleeve pivots, providing a resistance curve that is incredibly forgiving on the carpal joints.
If you experience sharp, clicking pain on the pinky-side (ulnar aspect) of your wrist during the concentric phase of a supinated curl, you may be dealing with a TFCC tear. Stop immediately. Switch to neutral-grip hammer curls or utilize a rack-attached cable bicep curl to maintain constant tension without the stabilizing demands of free weights. Consult a physical therapist for a proper NCBI-documented wrist evaluation.
2026 Attachment Recommendations for Joint Health
To maximize your rack's utility and protect your joints, consider integrating these specific attachments into your 2026 setup:
- Angled Grip Dumbbells: Brands like Ironmaster and PowerBlock now offer ergonomic, slightly angled handles that align with the natural carrying angle of the arm, reducing wrist torque during heavy curls.
- Rack-Mounted Arm Blasters: Instead of wearable aluminum arm blasters that dig into the neck, newer rack-mounted isolation bars clamp directly to the 3x3 uprights, providing a fixed pivot point for strict curling without spinal compression.
- Multi-Grip Swiss Bars: Store a neutral-grip Swiss bar on your rack's rear storage pegs. This allows for immediate transitions from heavy barbell curls to wrist-friendly neutral grip tricep extensions without leaving the rack footprint.
Final Layout Verification
Before loading your first 45-pound plate, perform a 'dry run' of your entire workout flow. Walk through your unracking mechanics for squats, test the clearance for your bench press spotter arms, and practice picking up your heaviest dumbbells from your designated rack shelves. A meticulously installed power rack or squat stand is an investment in your longevity—ensure the ergonomics of your space support your joints just as well as the steel supports your barbell.
More gear to consider
All reviews
Olympic vs Standard Plates Setup & Dumbbell Single-Arm Row Guide

EZ vs Straight Bar: Budgeting Full-Body Compound Dumbbell Exercises

Fixing Squats with Dumbbell Weights: Adjustable Dumbbell Mistakes

Bumper vs Iron Plates: 2026 Data & Rotating Posterior Dumbbell Press
Beyond 5 Pound Dumbbell Exercises: Barbell Weight and Knurling
