
Squat Stand vs Power Rack Setup with Lifeline Hex Rubber Dumbbell
Compare power rack, squat rack, and squat stand setups. Includes a complete installation walkthrough and Lifeline hex rubber dumbbell integration.

The Foundation: Choosing Your Rack Architecture
Designing a high-performance home gym in 2026 requires more than simply purchasing heavy iron; it demands precise spatial engineering. When deciding between a power rack, a squat rack, and a squat stand, your choice dictates the entire floor plan, safety protocols, and accessory integration of your training space. While a power rack offers maximum safety for solo lifting, a squat stand opens up valuable square footage for dedicated free-weight zones. This walkthrough provides a complete, step-by-step installation guide for these three primary structures, with a specific focus on optimizing your layout for high-density dumbbell work using the Lifeline hex rubber dumbbell system.
Structural Comparison Matrix
Before unboxing hardware, review the spatial and load-bearing differences between the three main rack categories. As of 2026, standard 3x3-inch 11-gauge steel remains the industry benchmark for residential and light-commercial setups.
| Feature | Power Rack (Full Cage) | Squat Rack (Open Front) | Squat Stand (Dual Uprights) |
|---|---|---|---|
| Footprint (L x W) | 48' x 48' to 53' x 53' | 48' x 30' to 48' x 36' | 48' x 24' to 49' x 28' |
| Weight Capacity | 1,000+ lbs | 800 - 1,000 lbs | 500 - 850 lbs |
| Safety Mechanism | Internal pin-pipe or strap safeties | External spotter arms (extended) | External spotter arms (extended) |
| Avg. Price Range (2026) | $900 - $1,600 | $650 - $950 | $350 - $550 |
Phase 1: Subfloor Preparation and Matting
Never install a rack directly onto bare concrete or finished wood without proper impact mitigation. The dynamic force of dropping a loaded barbell or heavy dumbbells can crack foundational concrete over time.
Required Materials:
- 3/4-inch Vulcanized Rubber Stall Mats: Standard 4x6 foot mats weighing roughly 95 lbs each. Avoid interlocking foam tiles; they compress unevenly under heavy rack uprights.
- Steel Shims: For leveling uneven garage concrete.
- Moisture Barrier: 6-mil polyethylene sheeting if installing over basement concrete to prevent rust on the rack base.
Pro-Tip: Lay your mats out 48 hours before installation to allow them to acclimate to room temperature and flatten. According to guidelines referenced by the National Strength and Conditioning Association (NSCA), proper flooring is the first line of defense against equipment degradation and joint impact.
Phase 2: Rack Assembly and Torque Specifications
Whether you are assembling a 4-post power rack or a minimalist squat stand, the sequence of assembly is critical to ensuring the frame remains square. A twisted frame will cause barbell sleeves to bind and safety spotter arms to slide unevenly.
Step-by-Step Assembly Flow:
- Base Assembly First: Connect all base uprights and rear stabilizers on the floor. Do not fully tighten any hardware yet. Leave all bolts threaded at 50% depth.
- Erect the Uprights: With a partner, lift the uprights and attach the top crossmembers. Use a rubber mallet to seat the uprights into the base sockets if your model uses a friction-fit base.
- Square the Frame: Measure diagonally from the front-left upright to the rear-right upright, and compare it to the opposite diagonal. The measurements must be identical (within 1/16th of an inch). Adjust the frame until perfectly square.
- Final Torque: Using a calibrated torque wrench, tighten all Grade-8 hardware. For standard 3/4-inch bolts, aim for 60-80 ft-lbs of torque. For 1-inch bolts, target 110-130 ft-lbs.
Phase 3: Integrating the Dumbbell Zone and Storage
When utilizing a squat stand, the open footprint allows for a dedicated dumbbell zone immediately adjacent to the lifting platform. This is where equipment geometry matters immensely. In tight spaces, round dumbbells pose a severe rolling hazard, especially when fatigue sets in during heavy drop-sets.
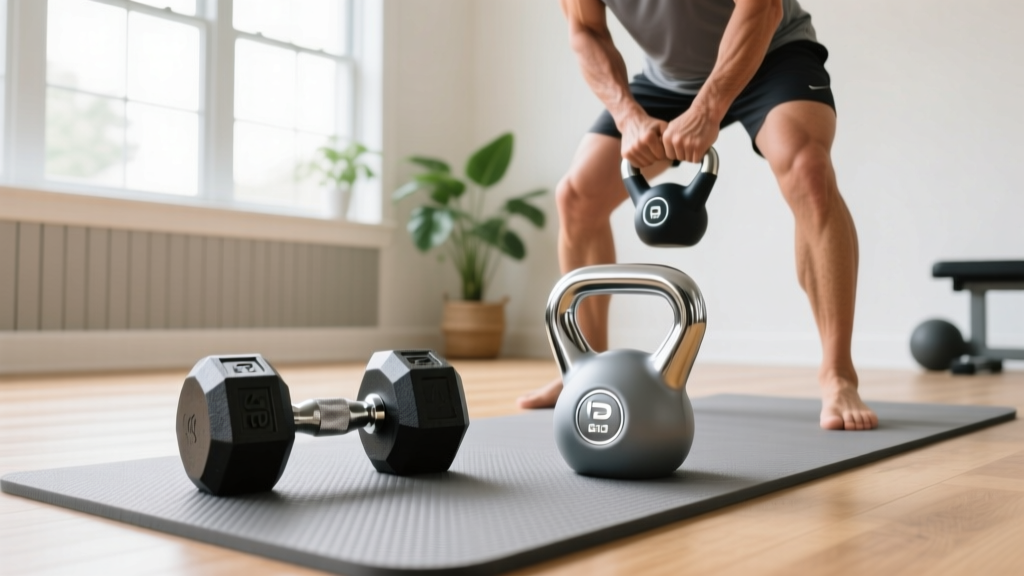
This is exactly why integrating a Lifeline hex rubber dumbbell set into your squat stand ecosystem is the optimal choice for 2026 home gym layouts. The hexagonal polyurethane-rubber hybrid coating of the Lifeline hex rubber dumbbell guarantees it remains entirely stationary when set down on the floor or stored on a tiered A-frame rack. Unlike traditional round urethane bells that can roll into the path of a loaded barbell sleeve, the flat edges of the Lifeline hex rubber dumbbell allow for flush, zero-gap storage on standard 3-tier dumbbell racks.
Dumbbell Rack Placement Metrics:
- Clearance: Position the 3-tier dumbbell rack exactly 36 inches away from the end of the barbell sleeve. This provides enough room to load 45-lb bumper plates without your knuckles scraping the dumbbell rack.
- Weight Distribution: Store the heaviest Lifeline hex rubber dumbbell pairs (e.g., 70-100 lbs) on the bottom tier to lower the center of gravity and prevent the storage rack from tipping if bumped during a heavy squat set.
- Material Standards: The rubber encapsulation meets ASTM International durability standards for impact resistance, ensuring the dumbbells won't crack or degrade when dropped onto 3/4-inch rubber matting.
Phase 4: Anchoring and Safety Spotter Configurations
A power rack can sometimes rely on its sheer footprint and weight for stability, but a squat stand must be anchored or heavily ballasted to prevent forward tipping during barbell racking.
Concrete Anchoring Protocol:
If your subfloor is poured concrete (minimum 3000 PSI, cured for at least 30 days), use 1/2-inch x 3-3/4-inch Red Head wedge anchors. Drill a 1/2-inch hole using a rotary hammer drill, vacuum the concrete dust from the hole (crucial for grip), and torque the anchor to 60 ft-lbs.
Edge Case: If your garage floor has a thin skim coat or is of unknown PSI, wedge anchors will blow out the concrete. Instead, use Simpson SET-XP chemical epoxy anchors with threaded rod. The epoxy bonds to the pore structure of the concrete rather than relying on outward expansion pressure.
Spotter Arm Geometry:
For squat stands, always deploy 24-inch or 30-inch external spotter arms. Angle the arms slightly upward (using the high-hole setting on the upright) so that a failed squat rolls backward toward the upright, rather than forward toward the lifter. Ensure the spotter arms are positioned 1 to 2 inches below your lowest squat depth.
Expert Troubleshooting & Edge Cases
| Issue | Root Cause | Expert Solution |
|---|---|---|
| Rack Wobbles Laterally | Uneven concrete subfloor causing one upright to hover. | Insert stainless steel shims under the base plate. Never use wood or plastic, which will compress and shatter over time. |
| Barbell Binding on J-Hooks | Frame is out of square; uprights are twisting inward. | Loosen all crossmember bolts, use a ratchet strap across the front uprights to pull them into perfect parallel alignment, then re-torque. |
| Dumbbell Rack Tipping | Top-heavy loading on a 3-tier rack near the squat stand. | Anchor the rear feet of the dumbbell rack to the floor, or strap the top tier to the squat stand's rear weight storage pegs using heavy-duty nylon ratchet straps. |
Final Inspection Checklist
Before loading your first barbell or picking up your Lifeline hex rubber dumbbell, perform this mandatory safety sweep:
- [ ] All structural bolts torqued to specification.
- [ ] Frame measured diagonally and confirmed square.
- [ ] Spotter arms locked in with safety pins and tested with 225 lbs of dead weight.
- [ ] Dumbbell storage zone verified for 36-inch barbell sleeve clearance.
- [ ] Floor anchoring hardware inspected for flush seating against the base plates.
By meticulously following this installation walkthrough, you ensure that your power rack, squat rack, or squat stand operates as a cohesive, safe, and highly efficient training hub for years to come. For further reading on equipment safety standards and facility layout, consult the Rogue Fitness Engineering Guidelines and current residential gym building codes.
More gear to consider
All reviews
Neoprene Dumbbells for Women's Arm Workouts: 2026 Guide

Fix Your One Handed Dumbbell Row: Neoprene Dumbbell Guide
Beyond a Full Body Dumbbell Exercises for Seniors PDF: Cast Iron vs Competition Kettlebells

Dumbbell Rows vs Barbell Rows: 2026 Dumbbell Rack & Storage Guide

Single Arm Dumbbell Clean: Olympic vs Standard Plate Loading Errors
