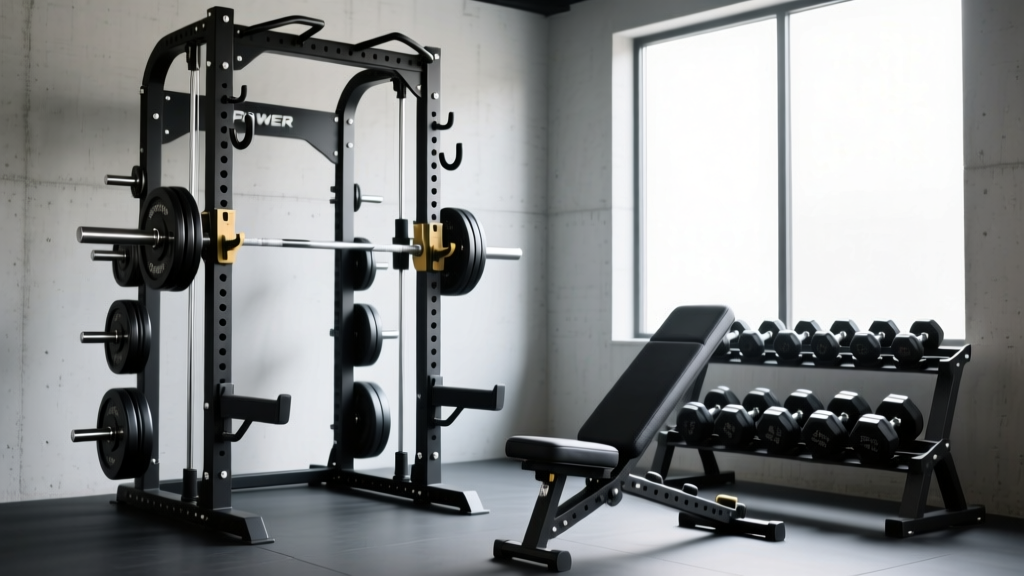
Power Rack vs Squat Rack Setup: Incline Dumbbell Row Alternative
Master your power rack vs squat rack vs squat stand installation. Learn anchoring techniques and how to rig an incline dumbbell row alternative.

Building a home gym in 2026 requires more than just dropping money on heavy iron; it demands a strategic approach to spatial geometry, structural integrity, and biomechanical versatility. When deciding between a power rack, a squat rack, and squat stands, most lifters focus solely on the squat and bench press. However, your choice of rig dictates your ability to perform crucial accessory movements safely. In this complete setup and installation walkthrough, we will break down the structural differences between these three rack types, guide you through a professional-grade installation, and demonstrate how to rig the ultimate incline dumbbell row alternative using your newly assembled hardware.
The Hardware Matrix: Power Rack vs. Squat Rack vs. Squat Stand
Before unboxing a single bolt, you must understand the structural taxonomy of free weight enclosures. The terminology is often misused by big-box retailers, so let us define the exact engineering differences.
1. The Power Rack (Full Cage)
A true power rack features four primary vertical uprights connected by horizontal crossmembers on all sides, creating a fully enclosed 'cage.' Models like the Rep Fitness PR-4000 or Rogue RM-6 Monster utilize 11-gauge or 7-gauge steel with 3x3-inch tubing. The enclosed design allows for the mounting of heavy accessories—like lat towers, belt squat attachments, and landmine posts—without compromising the center of gravity.
2. The Squat Rack (Half Rack / Open Cage)
Squat racks typically feature four uprights but lack the front horizontal crossmembers, leaving the front open for easier barbell clearance. Alternatively, some 'half racks' use two front uprights and two rear stabilizing legs. While they save a few inches of depth, they lack the overhead and lateral stability required for heavy kipping movements or complex rigging.
3. Squat Stands (Independent Uprights)
Squat stands, such as the Rogue SML-2C, consist of two independent vertical posts with weighted base feet. They are the most space-efficient and budget-friendly option (often ranging from $150 to $300), but they offer zero accessory rigging capabilities and require meticulous weight-loading discipline to prevent forward tipping.
Complete Installation Walkthrough: Securing the Rig
Improper assembly is the leading cause of equipment failure and injury in home gyms. Follow this step-by-step walkthrough to ensure your rack is plumb, level, and structurally sound.
Step 1: Inventory and Hardware Verification
Do not skip this step. Lay out all components on a protective cardboard mat. Verify your hardware counts against the manual. Pay close attention to the bolt diameters; most modern 3x3 racks use either 5/8-inch or 1-inch diameter hardware. Ensure you have the correct nylon-insert lock nuts (nyloc nuts) for all structural joints. Never substitute standard hex nuts for structural connections, as vibration from dropped weights will loosen them over time.
Step 2: The 'Finger-Tight' Assembly Sequence
Assemble the base crossmembers to the uprights first, followed by the top crossmembers. Critical Rule: Only tighten bolts to about 60% torque (finger-tight plus a quarter turn) during this phase. If you fully torque the bottom bolts before the top crossmembers are seated, you will introduce a micro-twist into the uprights, making it impossible to align the J-cups or safety straps later.
Step 3: Plumb, Level, and Torque
Place a 48-inch magnetic torpedo level on the front left upright. Use rubber shims under the base feet to achieve a perfect vertical plumb. Repeat for all four corners. Once the rack is perfectly plumb and the diagonals measure equally (ensuring the frame is 'square'), use a calibrated torque wrench or a heavy breaker bar to fully tighten all structural bolts in a star pattern.
Step 4: Concrete Anchoring Protocols
If you are installing a power rack or squat rack on a concrete slab, anchoring is non-negotiable for safety. According to the Garage Gym Reviews comprehensive anchoring guide, you must use 1/2-inch diameter wedge anchors with a minimum 4-inch embedment depth.
- Use a hammer drill with a 1/2-inch carbide-tipped masonry bit.
- Drill to a depth of 5 inches to allow for dust clearance.
- Vacuum the hole thoroughly; concrete dust will prevent the wedge anchor from expanding properly.
- Drive the anchor in with a hammer until the threads are flush, then torque the nut to 45 ft-lbs to expand the wedge.
If your garage features radiant floor heating or post-tensioned concrete, do not drill into the floor. You risk severing a heating coil or snapping a tension cable, which can cause catastrophic structural damage to your home's foundation. Instead, use the 'sandwich method': bolt the rack to a 3/4-inch plywood platform, and load the rear uprights with heavy weight storage pegs to counterbalance any tipping forces.
Rigging the Ultimate Incline Dumbbell Row Alternative
Why does the distinction between a power rack and squat stands matter for back day? The incline dumbbell row is a staple for isolating the latissimus dorsi and rhomboids while minimizing lower-back shear forces. However, it requires an adjustable bench set to 30-45 degrees, which eats up valuable floor space and requires heavy dumbbells that are expensive and difficult to get into position.
If you have invested in a fully enclosed power rack, you can rig a highly effective incline dumbbell row alternative: The Chest-Supported Landmine Row. This movement provides the exact same biomechanical chest support and strict isolation, but utilizes standard Olympic plates, saving you thousands of dollars on heavy dumbbell sets.
How to Rig the Chest-Supported Landmine Row
- Install the Landmine Post: Insert a landmine attachment into the bottom hole of your power rack's rear or side upright. The enclosed cage provides the necessary counter-mass so the landmine does not tip during heavy eccentric loading.
- Attach the Handle: Slide a V-bar or parallel-grip row handle onto the barbell sleeve and secure it with a heavy-duty clamp.
- Position the Bench: Place an adjustable bench inside the rack, angled at 30 to 45 degrees, directly behind the barbell shaft.
- Execution: Lie chest-down on the incline bench, grasp the handle, and pull. The rack's enclosure ensures the barbell path remains strictly vertical, mimicking the exact resistance curve of an incline dumbbell row without the stability demands or lower-back strain.
Biomechanical analyses referenced in the ExRx kinesiology directory confirm that chest-supported rowing variations significantly reduce erector spinae activation while maximizing mid-back hypertrophy. Attempting to rig a landmine setup on independent squat stands is highly dangerous; the lack of a rear crossmember means the stands will easily tip backward when you unrack a heavily loaded barbell from the floor.
Comparative Specifications & 2026 Pricing Data
To help you finalize your purchasing decision, review the structural and financial data below.
| Rack Type | Footprint (L x W) | Upright Profile | Avg. Price (2026) | Row Alternative Viability |
|---|---|---|---|---|
| Power Rack (Full Cage) | 48" x 48" to 53" x 53" | 3x3" 11-Gauge | $600 - $1,800 | Excellent (Safe for Landmine Rigging) |
| Squat Rack (Half Cage) | 48" x 36" | 3x3" or 2x3" | $400 - $900 | Moderate (Requires Rear Weight Storage) |
| Squat Stands | Variable (Typ. 24" x 24") | 2x2" or 3x3" | $150 - $350 | Poor (Tipping Hazard for Accessories) |
Troubleshooting Common Installation Failures
Even with meticulous planning, home gym builders frequently encounter mechanical edge cases. Here is how to resolve them:
- Misaligned J-Cups: If your J-cups sit at different heights, your uprights are likely torqued out of square. Loosen all crossmember bolts by two full turns, place a level across the J-cups, gently tap the uprights with a rubber mallet until level, and re-tighten.
- Wobbly Pull-Up Bar: If the top pull-up bar wiggles during kipping muscle-ups, the uprights have flexed inward during assembly. Install an aftermarket rear stabilizer bar or use a ratcheting tie-down strap to pull the top uprights into perfect parallel alignment before torquing the top crossmember bolts.
- Hardware Thread Stripping: Never use an impact driver to seat bolts into the welded nutserts on the rack tubing. The heat generated by high-RPM impact driving can warp the nylon insert in the lock nut, leading to premature loosening. Always use hand tools for the final 10 rotations.
"The foundation of any elite home gym is not the weight on the bar, but the stability of the rig holding it. A properly anchored power rack transforms from a simple squat station into a comprehensive biomechanical laboratory, allowing for advanced rigging like chest-supported row alternatives that protect the spine while maximizing hypertrophy."
— FitGearPulse Engineering Team, 2026 Home Gym Standards Report
Final Thoughts on Rack Selection
Choosing between a power rack, squat rack, and squat stands ultimately comes down to your ceiling height, floor type, and accessory requirements. If your programming relies on strict, chest-supported isolation work like the incline dumbbell row alternative outlined above, the power rack is the only structurally sound choice. Follow the installation protocols detailed here, respect the concrete anchoring safety margins, and your rig will safely support your training for decades to come. For further reading on structural safety, always consult the manufacturer's official assembly documentation specific to your model's hardware kit.
More gear to consider
All reviews
Olympic vs Standard Plates: Setup for Dumbbell Man Makers
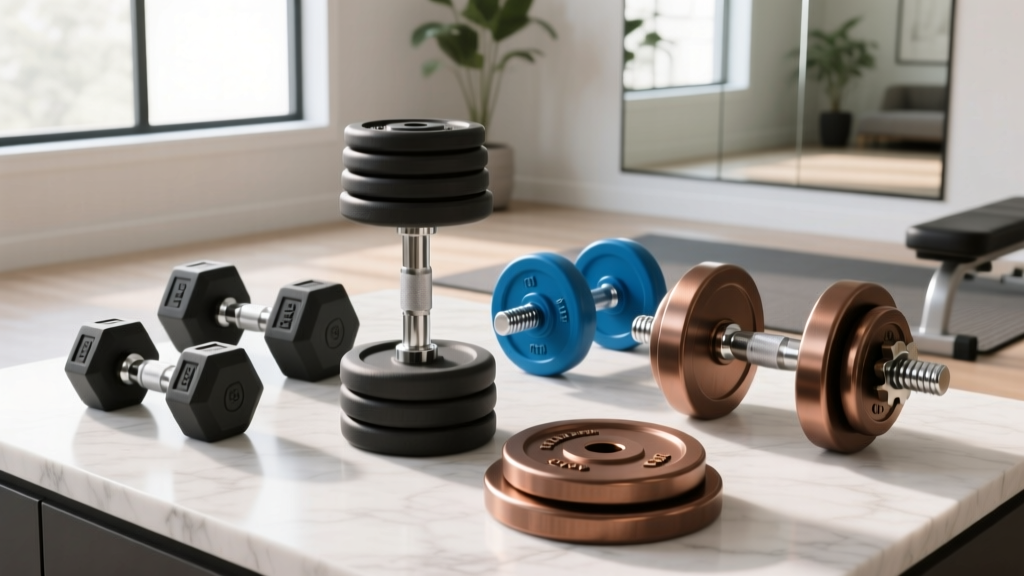
Budget Breakdown: Loadable Dumbbells for Dumbbell Stationary Lunges

Space Layouts: Cable Cross With Dumbbells and Kettlebell Guides

Rubber Hex vs Urethane: Rear Delt Workout With Dumbbells 2026

Power Rack vs Squat Rack vs Squat Stand: A Dumbbell Workout Guide
