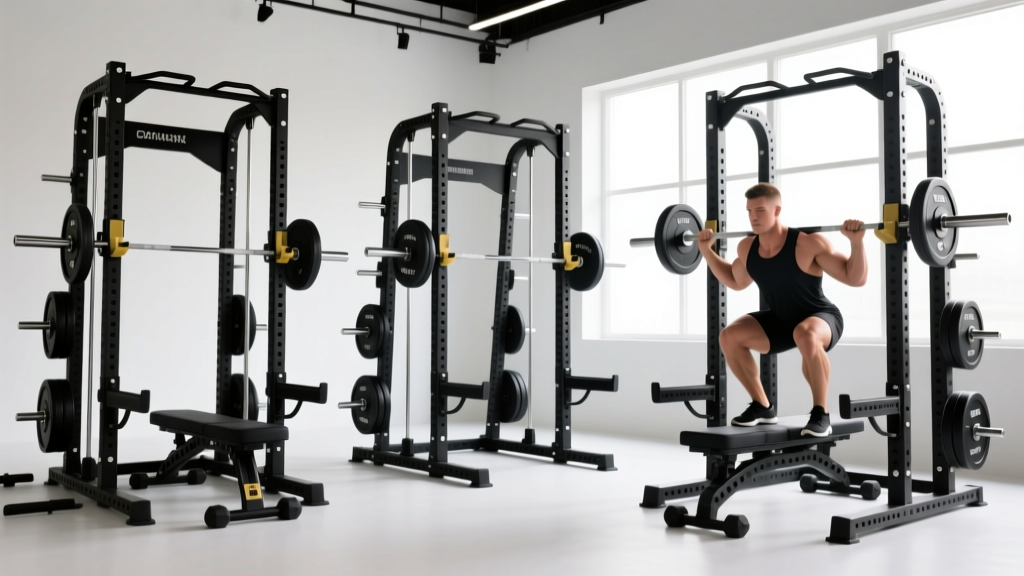
Power Rack vs Squat Rack vs Squat Stand: Dumbbell Leg Lifts Setup
Compare power racks, squat racks, and squat stands. Learn installation, anchoring, and spatial planning for heavy lifts and dumbbell leg lifts.

The Spatial Reality of Home Gym Installation
When mapping out a home gym floor plan, most lifters obsess over the 7-foot barbell clearance and completely ignore the spatial geometry required for accessory movements. Choosing between a power rack, a squat rack (half rack), and squat stands is not just about weight capacity; it is about how the equipment dictates your movement flow. According to comprehensive equipment analyses by Garage Gym Reviews, the footprint of your rack directly impacts your ability to safely perform isolation exercises without striking the uprights or safety straps.
Take dumbbell leg lifts, for example. Whether you are performing them seated on the edge of an adjustable bench to target the hip flexors, or lying flat on the floor holding a dumbbell between your feet, you need unobstructed lateral and vertical space. If your bench is wedged inside a narrow squat stand configuration, your elbows will strike the uprights, and the dumbbell will scrape the metal base. This guide provides a complete 2026 installation walkthrough, comparing the big three rack styles and detailing exactly how to anchor, shim, and arrange your space for both heavy compound lifts and peripheral accessory work.
Footprint & Clearance Matrix: Power Rack vs Squat Rack vs Squat Stand
Before unboxing any hardware, you must understand the dimensional trade-offs. Below is a comparison of three industry-standard models to illustrate how different designs affect your gym's usable square footage.
| Feature | Power Rack (Titan T-2 Series) | Squat Rack (Rogue S-2 Squat Rack) | Squat Stand (Rogue SML-2C) |
|---|---|---|---|
| Overall Footprint | 48" x 48" (Standard) | 49" x 53" (with spotter arms) | 48" x 48" (Base) |
| Interior Width | 41.5" (Between uprights) | 49" (Outside uprights) | Infinite lateral space |
| Accessory Clearance | Restricted by 4 walls | Open front, restricted sides | Unrestricted 360-degree |
| Anchoring Requirements | Mandatory (8-hole base) | Mandatory (4-hole base) | Mandatory (Heavy base plates) |
| Avg. 2026 Price | $750 - $900 | $1,200 - $1,400 | $495 - $600 |
The Accessory Flow Dilemma
Power racks offer the highest safety rating for solo heavy squats and bench presses, but their enclosed 41.5-inch interior width can feel claustrophobic during accessory work. If you place a standard 10-inch wide bench inside a Titan T-2, you are left with roughly 15 inches of clearance on either side. This is sufficient for dumbbell chest presses, but movements requiring wider lateral sweeps or leg extensions can result in knuckle-scraping contact with the 2x2 inch steel uprights.
Conversely, squat stands offer infinite lateral clearance. You can easily perform dumbbell leg lifts, lateral raises, and floor-based core work directly adjacent to the stands without spatial anxiety. However, squat stands lack the overhead pull-up bar and the comprehensive safety spotter arms of a full power rack, making them a compromise for heavy, unassisted lifting.
Phase 1: Subfloor Assessment & Anchoring Walkthrough
A rack is only as safe as its connection to the floor. The dynamic force of re-racking a 300-pound barbell, combined with the shifting center of gravity during movements like dumbbell leg lifts on an attached bench, creates immense torsional stress. According to structural guidelines detailed by Family Handyman, proper concrete anchoring is non-negotiable for garage gyms.
Step-by-Step Concrete Anchoring
- Position and Mark: Assemble the rack loosely. Position it in your desired layout, ensuring you have at least 36 inches of clearance on all sides for plate loading and accessory movements. Mark the bolt holes on the concrete with a lumber crayon.
- Drill the Holes: Use a hammer drill with an SDS-plus 1/2-inch carbide masonry bit. Drill to a depth of 4 inches. (If using 3-3/4-inch wedge anchors, the extra 1/4-inch depth allows room for concrete dust to settle without pushing the anchor back up).
- Vacuum the Dust: This is the most skipped step. Use a Shop-Vac to remove all concrete dust from the holes. Residual dust will prevent the wedge anchor from expanding properly, leading to a catastrophic failure under load.
- Drive and Torque: Insert Simpson Strong-Tie or Red Head 1/2" x 3-3/4" zinc-plated wedge anchors through the base plates. Hand-tighten the nuts, then use a calibrated torque wrench to tighten to 60 ft-lbs. This specific torque expands the wedge at the base of the hole, locking it into the concrete.
If your gym is on a wood subfloor or a second-story suspended slab, do not use wedge anchors. You must use 1/2-inch structural lag screws driven directly into the floor joists. Use a stud finder to locate the joists, and ensure your rack's base plate holes align with the 16-inch or 24-inch on-center joist spacing. If they do not align, you must bolt a 2x10 structural ledger board to the joists first, and then bolt the rack to the ledger.
Phase 2: Spatial Geometry & The Clearance Test
Once the rack is anchored, you must test the spatial geometry for your specific exercise roster. The dumbbell leg lift clearance test is a practical method to verify your layout works for isolation movements.
Executing the Clearance Test
Slide your adjustable bench into the center of the rack or directly between the squat stands. Sit on the edge of the bench holding a 35-pound dumbbell in each hand. Simulate the full range of motion for your accessory lifts:
- Lateral Elbow Flare: With arms extended, simulate a wide grip movement. Measure the distance from your elbow to the upright. You need a minimum of 6 inches of buffer to account for fatigue-induced form breakdown.
- Leg Extension Sweep: For seated dumbbell leg lifts or hip flexion drills, extend your legs fully. If you are using a power rack, ensure your feet or the dumbbell do not strike the front safety spotter arms. You may need to angle the bench slightly or utilize a rack with adjustable-depth safety straps rather than fixed pin-and-pipe safeties.
- Floor Transition: Stand up and transition to a lying position for floor-based leg lifts. Ensure the rack's base plates or rear crossmembers do not impede your ability to lie flat. Squat stands with massive 11-gauge steel base plates often require you to lay a 3/4-inch horse stall mat over the base to create a flush, even floor surface.
2026 Cost & Hardware Breakdown
Setting up a professional-grade home gym requires more than just the rack itself. Below is a realistic 2026 hardware and flooring budget for a complete, safe installation.
- The Rack: REP Fitness PR-1100 Power Rack ($449) or Rogue SML-2C Squat Stands ($495).
- Anchoring Hardware: Box of 25 Simpson Strong-Tie 1/2" Wedge Anchors ($28).
- Flooring: Two 4x6 ft, 3/4-inch thick vulcanized rubber horse stall mats from Tractor Supply Co. ($110 total). This protects the concrete from dropped dumbbells during leg lifts and provides a level surface over the rack's base plates.
- Shimming Kit: A pack of 1/8-inch and 1/16-inch steel masonry washers ($15). Essential for leveling the rack on sloped garage floors.
- Drill Rental: Bosch SDS-Plus Hammer Drill rental from a local hardware store ($45/day).
Total Estimated Setup Cost (excluding barbell and plates): $647 - $700.
Expert Troubleshooting: Wobble, Torque, and Edge Cases
Even with perfect anchoring, home gym builders frequently encounter structural edge cases. Here is how to troubleshoot the most common installation failures.
The "Garage Slope" Wobble
Most garage concrete slabs are poured with a 1/4-inch per foot slope toward the garage door to allow for water drainage. If you bolt a 4-post power rack directly to a sloped floor without shimming, the rack will torque as you tighten the bolts, leading to a permanent wobble and misaligned safety spotter arms. The Fix: Use a 48-inch digital level. Place steel washers under the downhill base plates before tightening the wedge anchors. Once level, fill the remaining gap between the steel base plate and the concrete with a high-strength, non-shrink grout or heavy-duty construction adhesive to prevent the washers from crushing under dynamic loads.
Safety Strap Interference
When performing accessory work like dumbbell leg lifts on a bench inside a power rack, rigid pin-and-pipe safety bars can block your shins or the dumbbell's path. As highlighted in the REP Fitness Blog, upgrading to UHMW plastic-lined safety straps is highly recommended. Straps can be set at an angle, allowing you to slide the bench deeper into the rack for overhead work, while still catching a dropped barbell, and they won't scratch your dumbbells or shins during tight-clearance isolation movements.
"A home gym is a living ecosystem. The rack is the anchor, but the space around it dictates the quality of your training. If you can't safely transition from a heavy squat to a set of dumbbell leg lifts without moving 80 pounds of steel, your layout has failed you."
Final Verdict: Which Rack Fits Your Layout?
If your primary focus is heavy, unassisted powerlifting and you have a dedicated 10x10 foot space, the Power Rack is the undisputed king of safety. However, if your garage is narrow, or you prioritize high-volume accessory work, CrossFit-style movements, and unrestricted isolation exercises like dumbbell leg lifts, Squat Stands offer the superior spatial flow. The Squat Rack (Half Rack) remains the ultimate hybrid for those who need the safety of spotter arms but want the open-front clearance for dynamic movements. Measure twice, drill once, and never compromise on your concrete anchors.
More gear to consider
All reviews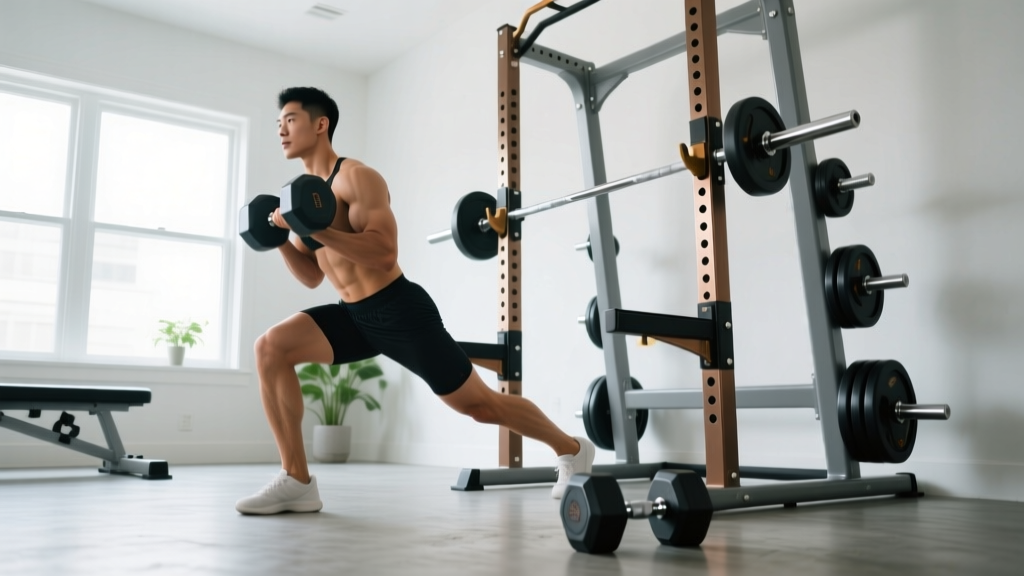
Braced Dumbbell Single Leg RDL: Power Rack vs Squat Stand Guide
Dumbbell Nan Kilo Moteru? 2026 Adjustable Dumbbell Guide

200 lb Dumbbell Market Trends 2026: Urethane vs Rubber Hex
Cast Iron vs Competition Kettlebells & Best Dumbbell for Traps

Beyond the Best Workout with Dumbbells: Olympic Barbell Buying Guide
