
Power Rack vs Squat Stand: Back Workout With Dumbbells
Avoid common setup mistakes for your back workout with dumbbells. We compare power racks, squat racks, and stands to optimize your home gym space and safety.

The Hidden Infrastructure of a Heavy Back Workout with Dumbbells
When programming a high-intensity back workout with dumbbells, most lifters obsess over load, volume, and tempo. However, the structural environment—specifically your choice between a power rack, a 4-post squat rack, and independent squat stands—dictates the safety and efficacy of your movements. In 2026, the home gym landscape has evolved. Athletes are routinely pressing 120-pound dumbbells for single-arm rows and utilizing adjustable benches for chest-supported variations. Yet, equipment mismatch remains a primary cause of stalled progress and near-miss injuries.
According to comprehensive equipment analyses by BarBend, the geometric differences between rack styles fundamentally alter your exercise menu. This troubleshooting guide dissects the most common mistakes lifters make when pairing their dumbbell back arsenal with their rack infrastructure, providing exact measurements, model references, and structural fixes.
Mistake #1: Misjudging Interior Clearance for Chest-Supported Rows
Chest-supported dumbbell rows are a staple for isolating the latissimus dorsi and rhomboids while eliminating lower-back shear forces. To perform these, lifters typically incline an adjustable FID (Flat/Incline/Decline) bench inside the rack, using the safety straps or spotter arms to catch dropped dumbbells.
The Failure Mode: Bench Protrusion and Spotter Arm Interference
A standard commercial FID bench measures between 45 and 48 inches in length. If you purchase a 4-post squat rack with a standard 24-inch interior depth (such as the popular Titan T-3 or Rogue S-Series), the bench will protrude significantly past the front uprights. When you set the safety spotter arms to catch a 100-pound dumbbell slip, the arms are positioned too far back to protect your head and shoulders, which are extending beyond the rack's footprint.
Expert Troubleshooting Fix: If your primary goal includes heavy, rack-integrated chest-supported rows, you must upgrade to a power rack with a minimum 30-inch interior depth (e.g., Rogue Monster RM-6 3.0 or Rep Fitness PR-5000 V3). The 30-inch depth fully encapsulates a 45-inch bench, allowing you to position Westside-spaced safety straps directly beneath your shoulder joints, ensuring a safe back workout with dumbbells.
Mistake #2: The Asymmetric Load Hazard on Independent Squat Stands
Independent squat stands (like the Rogue SML-2 or Rogue Echo Squat Stands) are celebrated for their minimal footprint and open-air feel, making them ideal for unilateral movements. However, they introduce severe stability risks during heavy single-arm dumbbell rows.
The Failure Mode: Center of Gravity Shifts
During a heavy single-arm row, lifters often stagger their stance, occasionally brushing against the stand or using the upright for slight balance assistance. Furthermore, many users store their heavy dumbbells on the rear weight storage horns. If you load a 50-pound dumbbell on the left horn and leave the right empty, the stand's center of gravity shifts dangerously. A slight bump during a fatigued set can tip a 150-pound steel structure onto your foot.
⚠️ Safety Protocol for Squat Stands:- Anchor the Base: Always bolt independent stands to a wooden platform or use weighted storage horns loaded with calibrated steel plates (minimum 45 lbs per side) to lower the center of mass.
- Stance Mapping: Use floor tape to mark your foot placement, ensuring your trail leg cannot swing into the stand's base during the concentric phase of the row.
Matrix: Matching Your Rack to Your Dumbbell Back Arsenal
Selecting the right equipment requires matching your specific back workout with dumbbells to the rack's geometric and attachment capabilities. Below is a 2026 troubleshooting matrix to help you identify where your current setup may be failing you.
| Rack Type | Avg. Interior Depth | 2026 Price Range | Best Dumbbell Back Application | Common Failure Mode |
|---|---|---|---|---|
| Power Rack (6-Post) | 24" - 30" | $1,400 - $3,800 | Chest-Supported Rows, Banded Pullovers | Bench clearance interference on 24" models |
| Squat Rack (4-Post) | 24" | $700 - $1,400 | Deficit Pendlay Rows, Rack Pulls | Limited attachment real estate for bands |
| Squat Stand (2-Post) | N/A (Open) | $350 - $750 | Heavy Single-Arm Unilateral Rows | Tipping hazard under asymmetric loading |
Mistake #3: Ignoring Attachment Ecosystems for Isolation
A truly comprehensive back workout with dumbbells extends beyond free-weight rows. Advanced lifters utilize accommodating resistance (bands) and hybrid landmine setups to alter the strength curve. A common mistake is purchasing a bare-bones squat rack that lacks the hole-spacing and attachment compatibility required for these advanced techniques.
The Troubleshooting Fix: Hole Spacing and Band Pegs
If you are performing banded dumbbell pullovers or resisted dumbbell rows, you need a rack with multi-grip pull-up bars and dedicated band pegs. Power racks with 1-inch holes (common on Titan and Rep Fitness models) offer a wider ecosystem of third-party attachments compared to the 5/8-inch holes found on budget squat stands. When looping a resistance band from a low band peg to the handle of a heavy dumbbell, the vector pulls the lifter forward and down, mimicking the exact strength curve of a cable row while utilizing the ergonomic handle of a dumbbell. Furthermore, utilizing a landmine attachment at the base of your rack allows for Meadows Rows—a hybrid movement that pairs the unilateral benefits of a dumbbell row with the micro-plate loading of a barbell.
Step-by-Step Guide: Fixing Your Current Setup Today
You do not necessarily need to buy a new rack to fix these biomechanical mismatches. Follow this troubleshooting flow to optimize your current gear:
- Audit Your Bench Placement: If using a 24-inch deep squat rack, pull the bench entirely out of the cage for chest-supported rows. Use the rack solely to store your dumbbells on the safety straps, acting as a makeshift dumbbell shelf rather than a lifting enclosure.
- Stabilize Independent Stands: Purchase a pair of 10-pound bumper plates and leave them permanently on the lowest storage pegs of your squat stands. This lowers the center of gravity and mitigates the tipping risk during aggressive single-arm rows.
- Upgrade Your Spotter Arms: Swap standard pin-pipe safeties for flip-down safety straps. Straps are quieter, easier to adjust mid-workout, and provide a softer catch if you fail a heavy dumbbell row, protecting both your wrists and the knurling on your dumbbells.
- Optimize Visual Feedback: Position your rack so that the open side faces your primary mirror. When performing bent-over dumbbell rows outside the rack, maintaining visual contact with your thoracic spine prevents the common mistake of lumbar rounding under heavy loads.
Final Thoughts on Rack Selection
Optimizing your back workout with dumbbells requires treating your rack not just as a barbell holder, but as a modular training station. While squat stands offer unparalleled freedom for unilateral work, they demand strict weight management and spatial awareness. Conversely, power racks provide the ultimate safety net for high-volume, chest-supported hypertrophy work, provided you respect the interior depth requirements. By auditing your clearance, stabilizing your base, and leveraging attachment points, you can transform your current setup into a flawless back-building machine.
More gear to consider
All reviews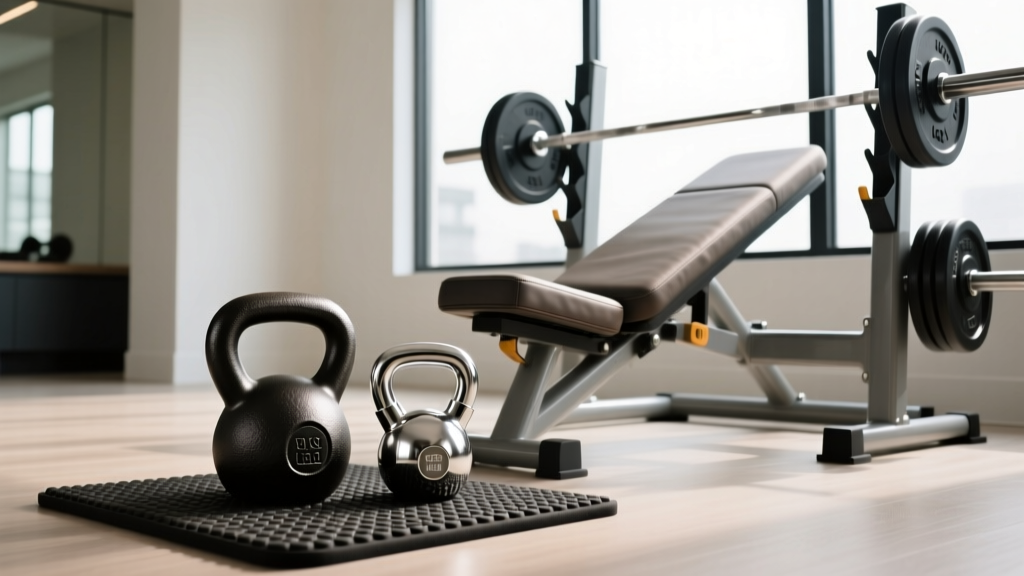
Kettlebell Guide & Chest Supported Incline Dumbbell Row Setups
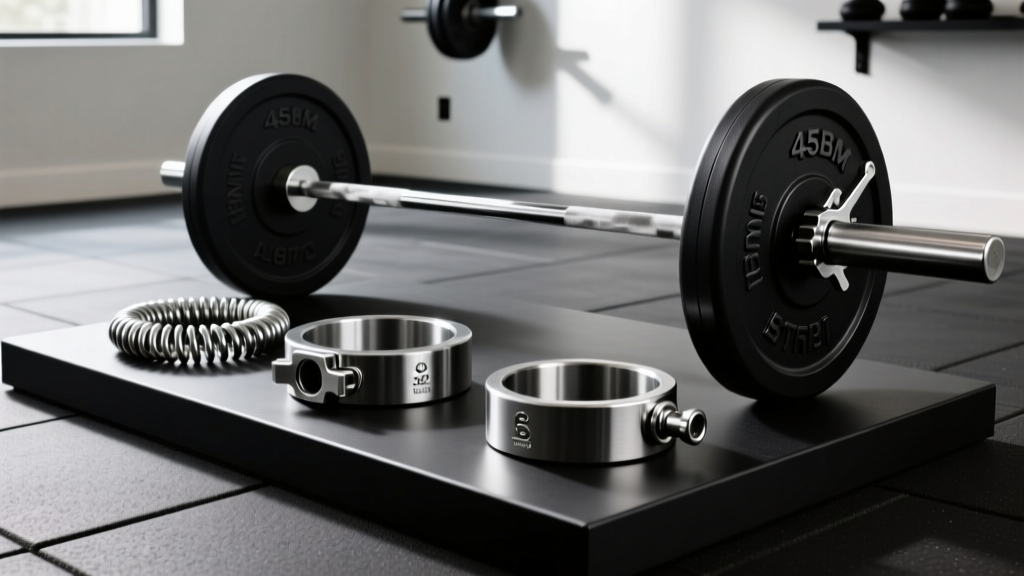
Which Barbell Collar to Use Before Your Reverse Dumbbell Curl?

Power Rack vs Squat Rack vs Squat Stand: Dumbbell Shrugs Alternative

EZ vs Straight Bar: Space Hacks for Bodyweight and Dumbbell Exercises

Power Rack vs Squat Rack vs Squat Stand for Leather Dumbbells
